
As a plant-lover, there’s nothing more rewarding than seeing your garden thrive! After all of that hard work, you finally get to see and reap (literally!) the roots of your labor. However, the feeling is even better when you know you’ve done everything from scratch – starting from the seeds!

Seed starting is one of the most exciting parts of gardening. In traditional gardening, this is done in soil trays or outdoors in spring, which is a bit limiting. With hydroponics, on the other hand, you can use a germination system that creates the perfect environment for your seeds – no matter the season. Since the whole process is done with trays, you don’t even need to get your hands dirty!
If this is your first time hearing about seed germination, you’re in the right spot! In this guide, we’ll teach you the basics of seed starting, how to do it, and what varieties are easiest to grow. We’ve also included some tips that will help you grow a thriving garden!
There’s a lot to unpack, so let’s get right to it!
What Is Seed Starting?
Seed starting is the process of growing plants from seeds instead of purchasing seedlings or taking cuttings from mature plants. The seeds are kept under special conditions until sprouting, and are later transplanted into soil.
In hydroponics, seed germination is a bit different. Instead of soil, the seeds are placed into a growth medium such as Rockwool, coco coir, or peat pellets, which is kept under special growing conditions. The seeds require a balanced amount of water, heat, and light, and this can easily be achieved with the help of a modern seed starting system.
Benefits Of Seed Starting
There’s a reason why so many gardeners stick to seed starting. So, let’s take a look at some of the benefits:
-
Year-Round Gardening: Traditionally, germination is done in spring. However, that’s not the case with an indoor germination system. You can start growing your seeds any time of the year, and since they’re kept in a controlled environment, you can choose to grow any type of plant you want!
-
Bigger Variety: Speaking of varieties, seed catalogs are packed with different herbs, veggies, fruits, and even exotic plants! If a certain plant has caught your eye, but you’ve never had the opportunity to grow it, this is your chance.
-
Budget-Friendly: Growing your own seeds is much cheaper than buying individual plants.
-
Stronger Plants: Since germination systems are controlled in terms of water, light, and heat, your plants will grow up to be stronger than ever. Thanks to these environments, you can even expect bigger yields!
What Do You Need For Seed Starting?

After hearing the benefits of seed germination, you’re probably eager to start as soon as possible – that’s the kind of enthusiasm we’re looking for! Still, for this process to be successful, you need to be fully prepared.
For that reason, here are all the tools and materials you need to begin with seed starting
Growing Medium: Rockwool cubes, pelt pellets, or coco coir plugs can be all used as growing mediums. This is where your seeds will be stored before they’re ready for transplantation. As for which to choose, it all depends on the seeds you go for.
Seeds: Naturally, you can’t grow plants from seeds without – well, seeds! You should choose varieties that are suitable for hydroponic gardening, like herbs, leafy vegetables, and fruiting plants. We’ll guide you on which plants to pick in just a few.
Nutrient Solution: This is a mild hydroponic formula where the seedlings will be placed
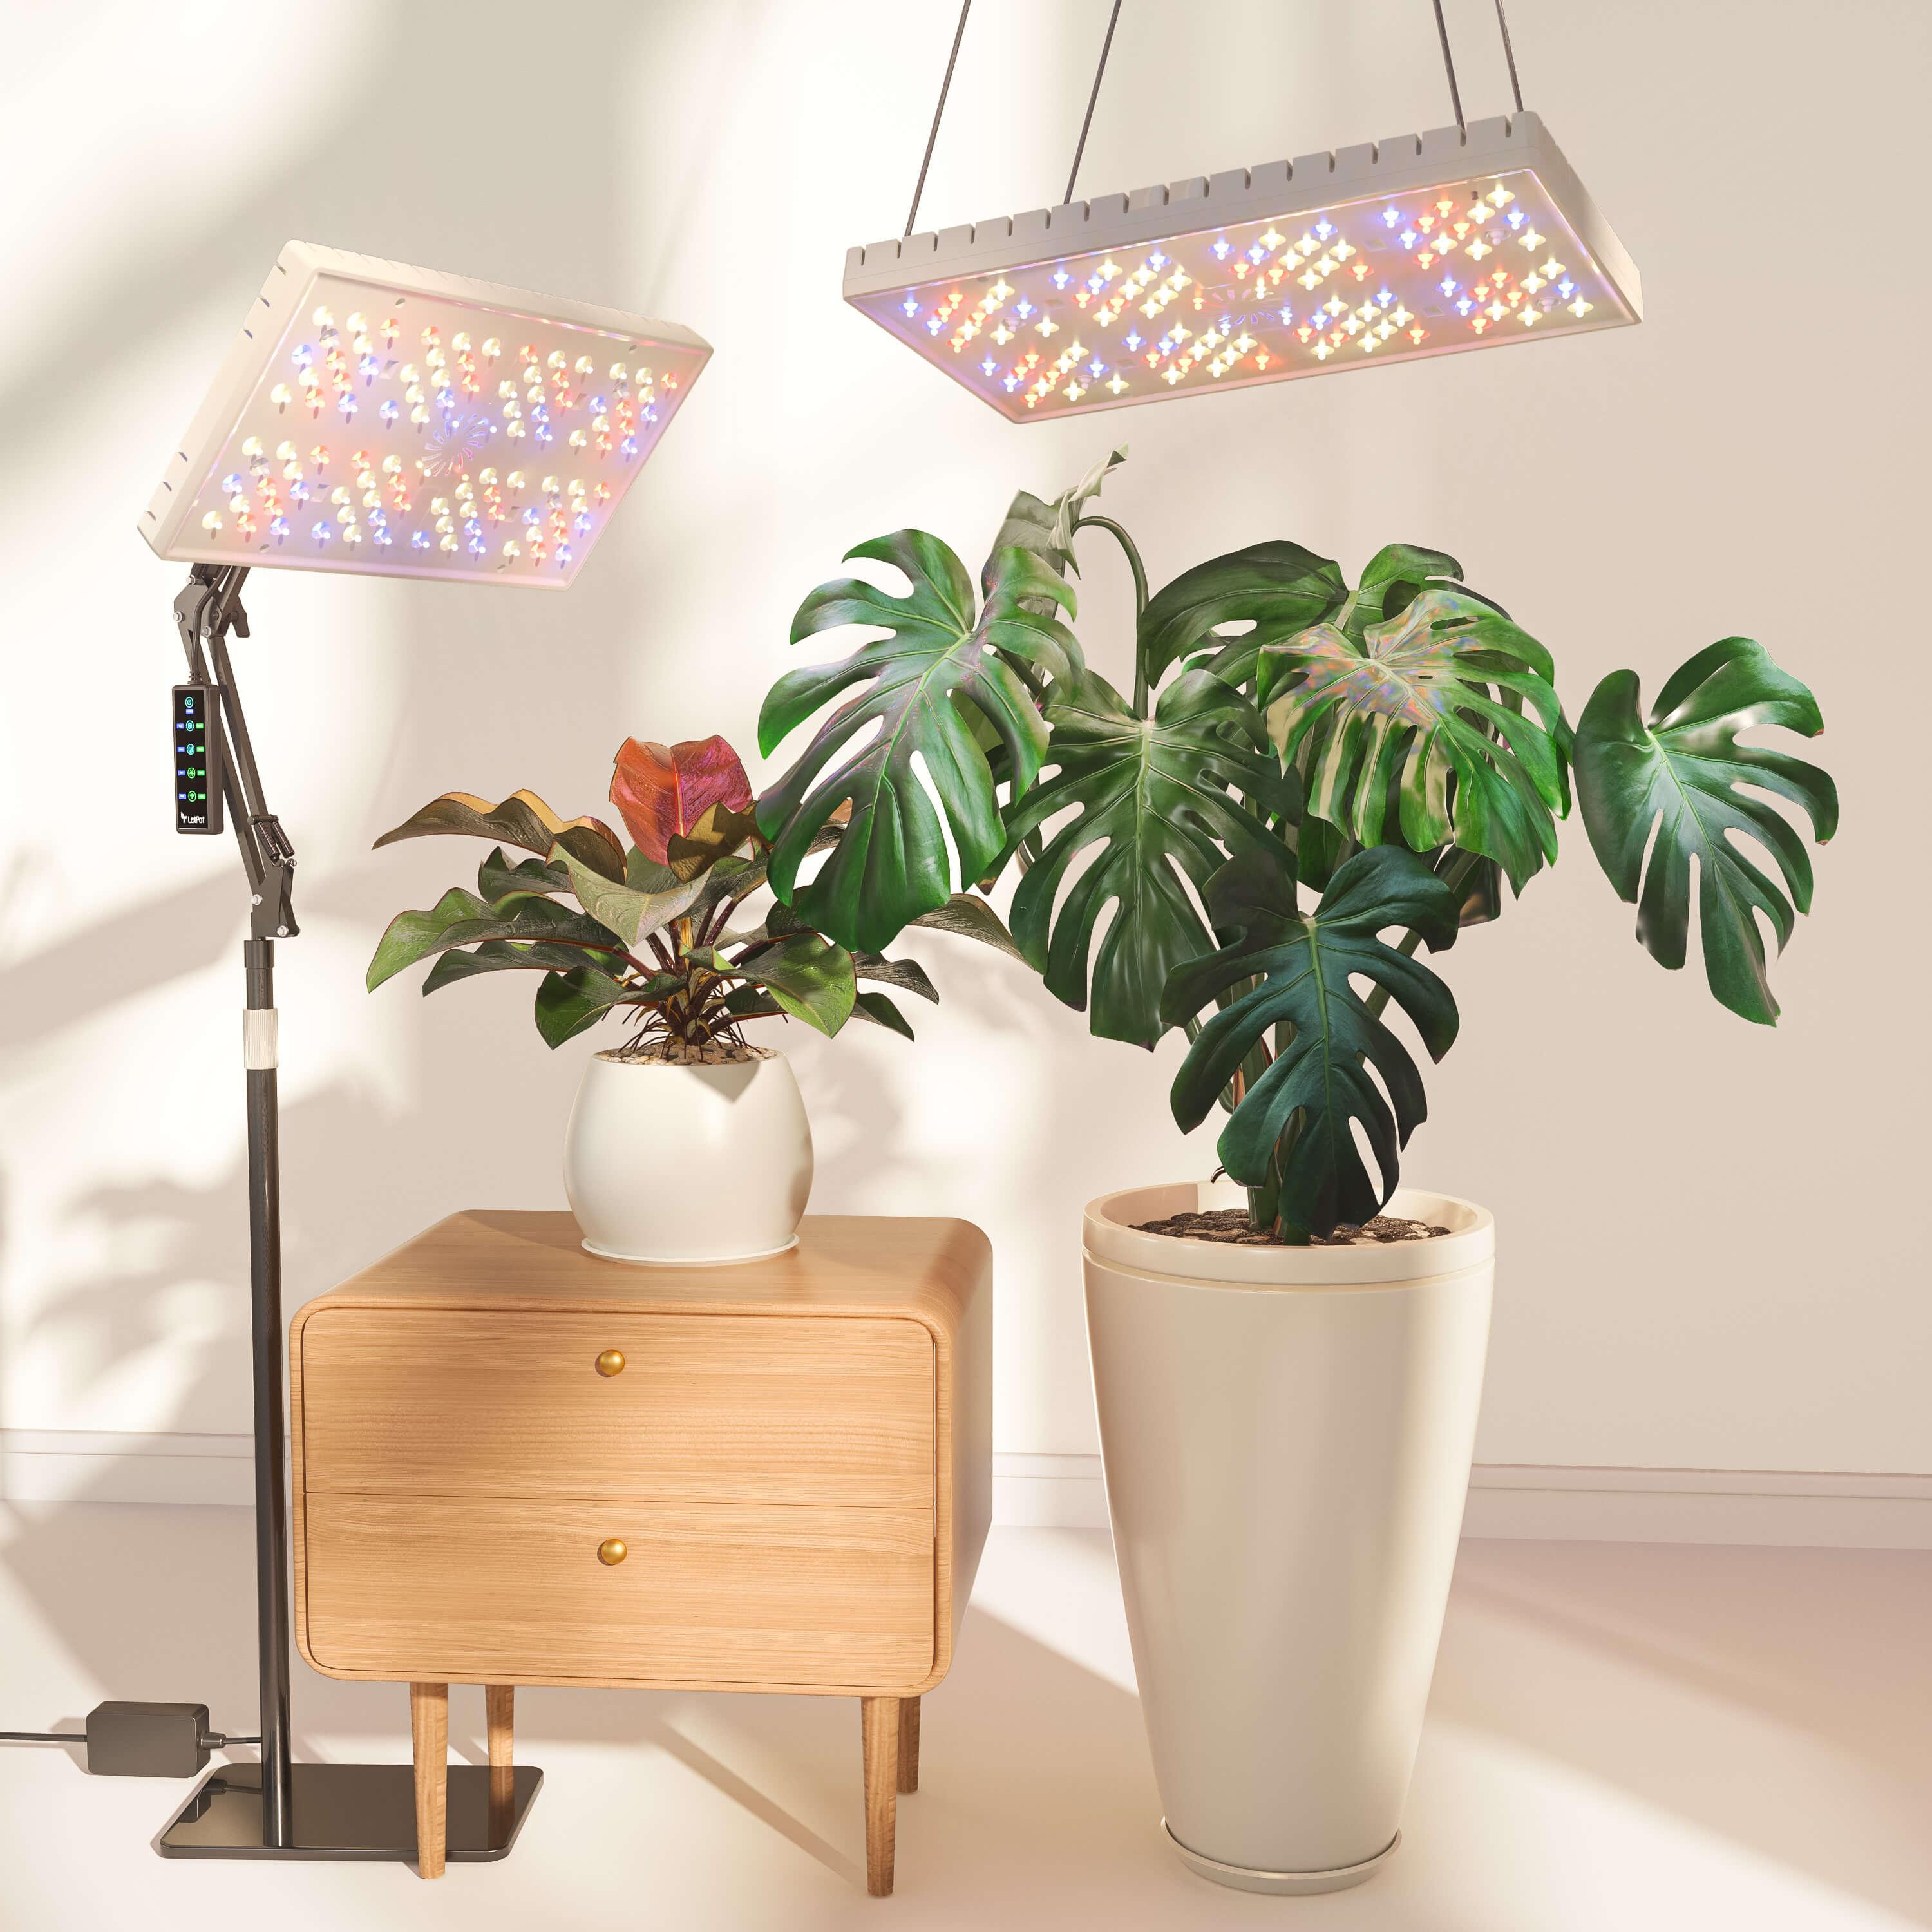
pH Meter, Thermometer, and Grow Lights: With seed germination, you need to keep a close eye on growing conditions, ensuring they’re balanced at all times. You use the pH meter and thermometer to check the water’s quality and temperature, while grow lights are used to provide your plants with consistent light indoors.
Labels: Once you see how enjoyable seed starting can be, there’s no going back! Over time, you’ll probably start growing all kinds of seeds, and it can get a bit disorganized pretty quickly. So, use labels or markers to name your varieties, which further helps you keep track of them.
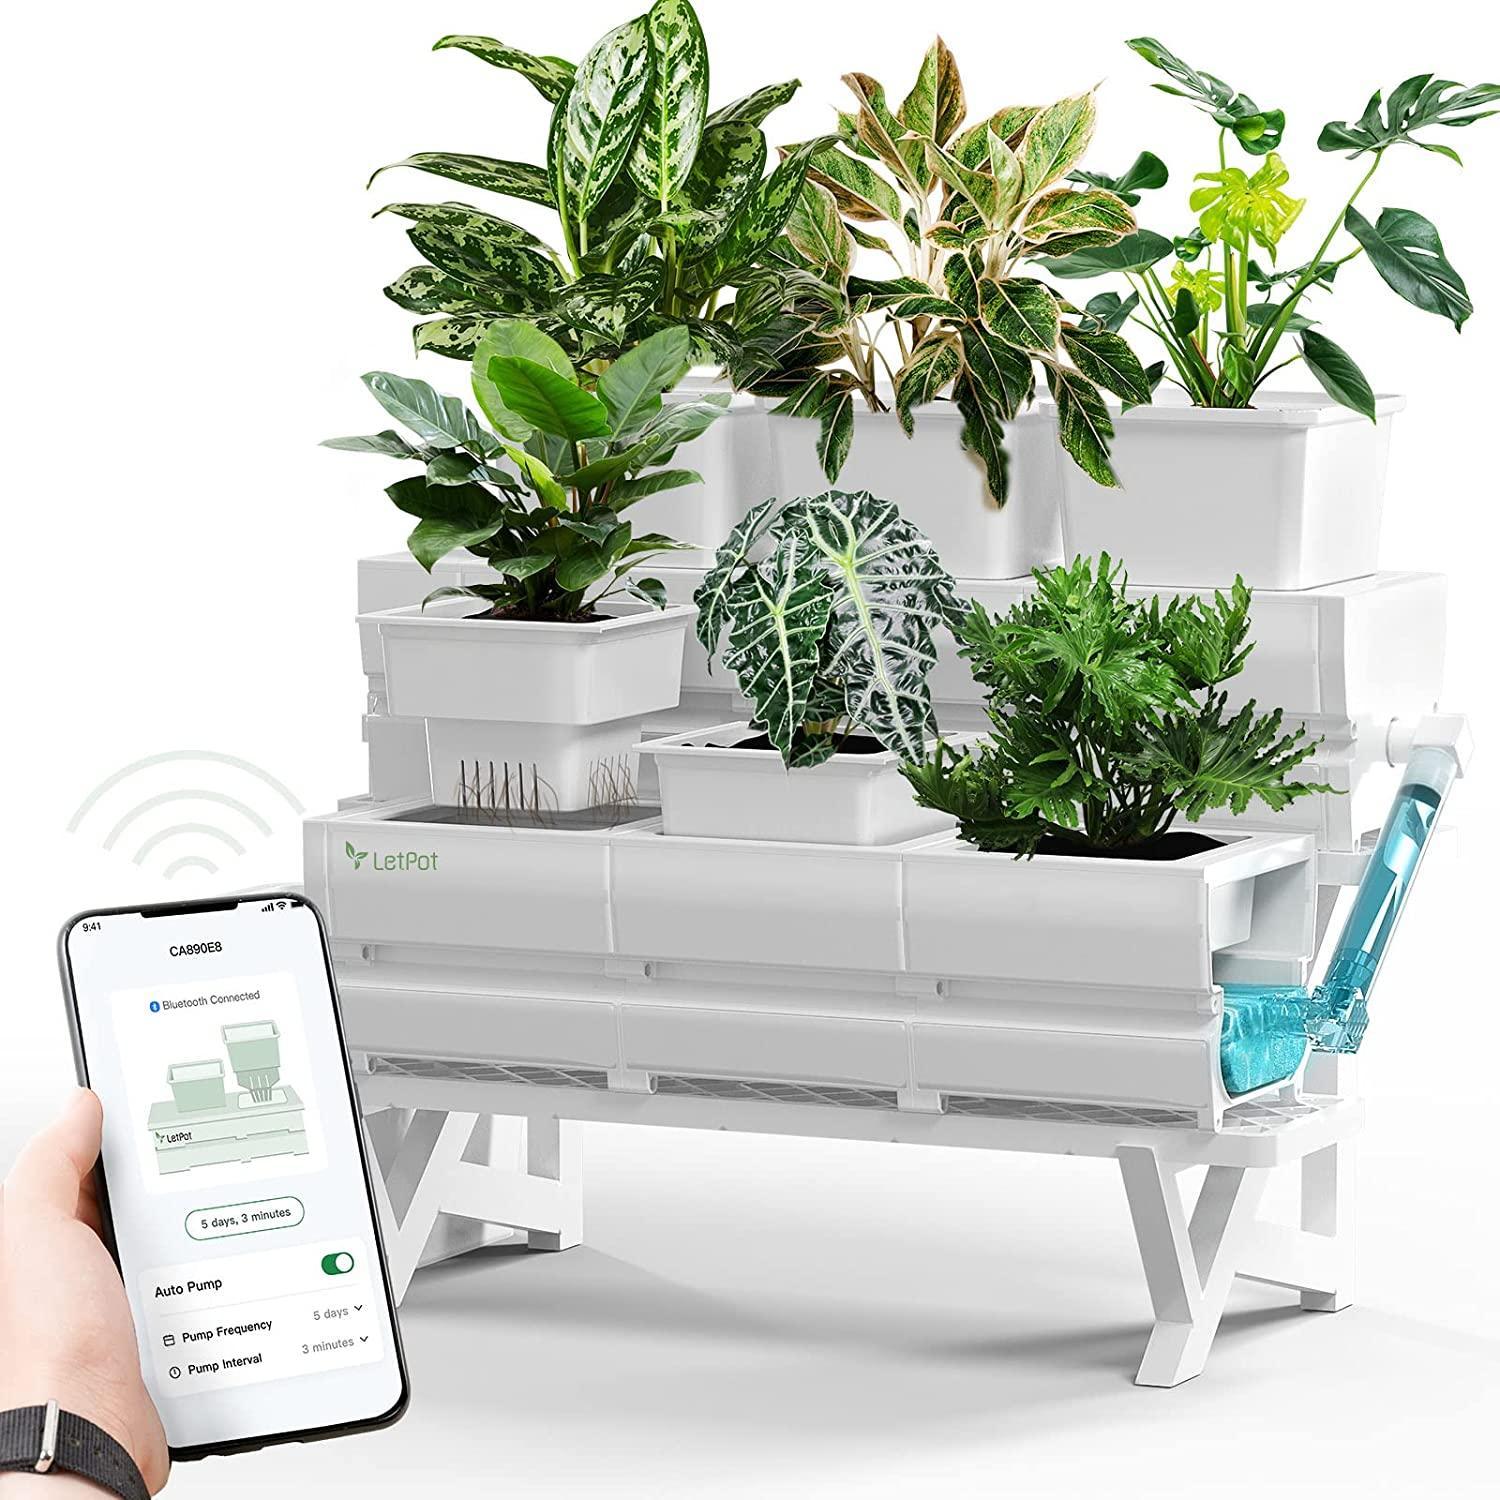
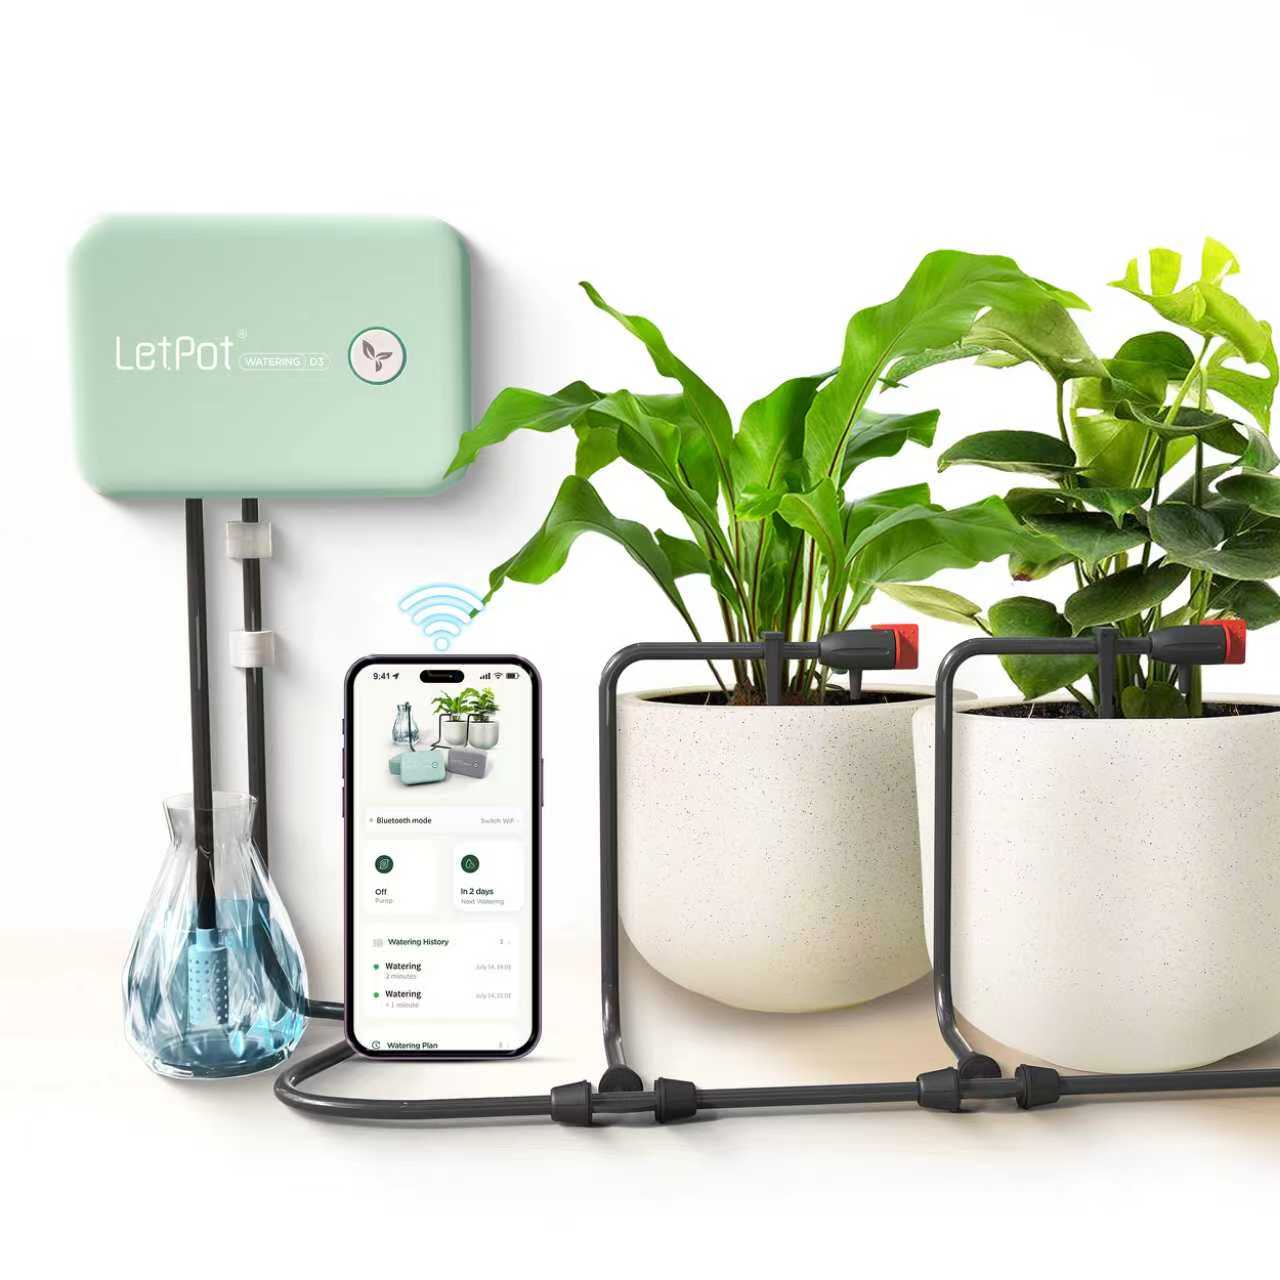
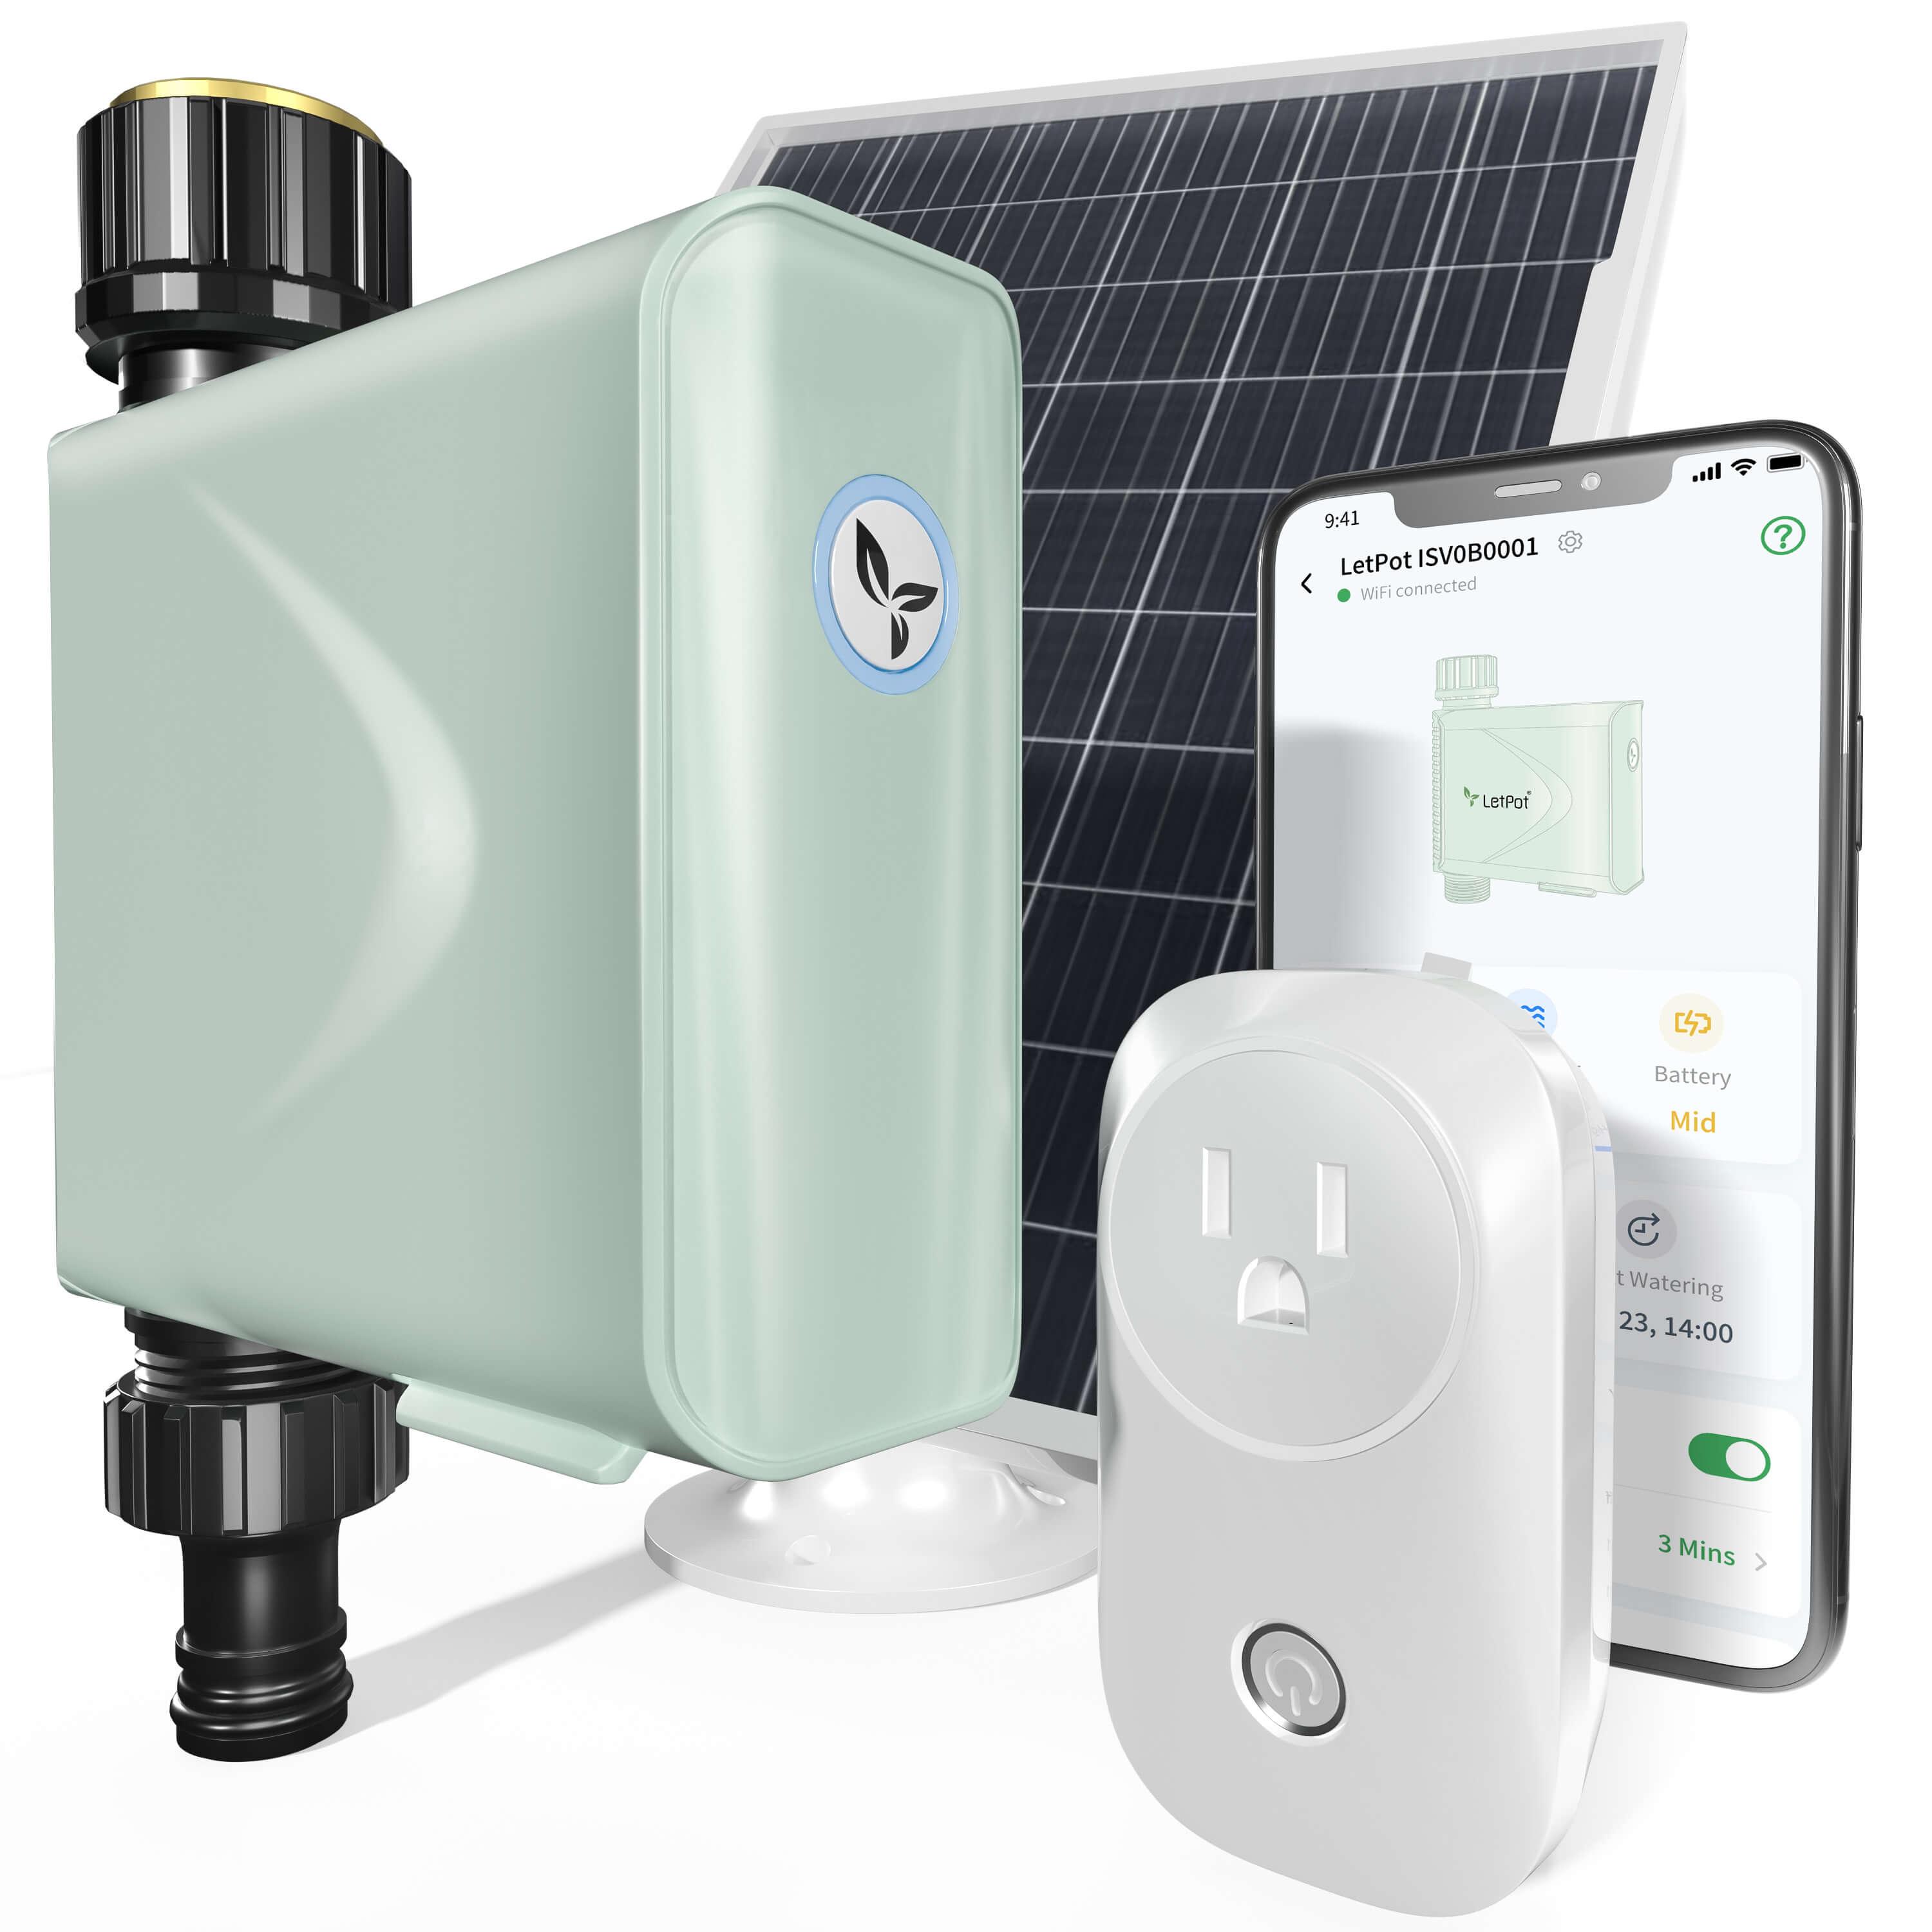
Tip: If this whole process feels a bit intimidating and makes you second-guess, you will greatly benefit from a seed starting system. These systems automate the entire process and maintain balanced conditions for your plants. In other words, you don’t need to worry about constantly adjusting everything – all the grunt work will be practically done for you!
Best Plants To Start In A Hydroponic Germination System
Here comes the fun part – choosing which plants to grow! If this is your first time with seed growing, we recommend you start with easy, low-maintenance plants. As you progress, you can take up more challenging ones and expand on your progress.
For your convenience, we’ve separated the best plants to start in a hydroponic germination system into three categories based on their difficulty of care. This way, you’ll find it easier to choose which plants to grow.
Easy – Leafy Greens & Herbs
Lettuce
Spinach
Kale
Argula
Basil
Mint
Cilantro
Chives
Parsley
Oregano
Medium – Fruiting & Root Vegetables
Cherry tomatoes
Bell peppers
Hot peppers
Cucumbers
Strawberries
Radishes
Celery
Advanced – Large Root Vegetables & Complex Plants
Carrots
Potatoes
Beets
Onions
Garlic
Lemongrass
Watermelon
Cantaloupe
How To Start Seeds In A Hydroponic Germination System – Step-by-Step

It’s time to roll up our sleeves and get our hands dirty – well, not exactly! You’ve learned the basics of seed starting; now it’s time to put your knowledge into action.
Below, you’ll find a simple process you can follow to begin with seed germination.
1. Choose Your Seeds
As previously mentioned, your seed starting journey begins by getting all the necessary tools and materials, starting with the seeds. If you’re a complete beginner, we recommend growing leafy greens and herbs. They’re not as needy compared to different plants, and your efforts will most likely be successful.
Plus, with an automated seed starting system, you won’t even have to worry about keeping an eye on the seed’s conditions all the time!
2. Prepare The Seeds
After choosing your seeds, the next step is to prepare them for the germination system. You should begin with the growing medium – soak rockwool cubes or peat pellets in water adjusted to a pH of around 6.0. If you don’t know which medium to go for, we recommend pellets as they are much easier to handle.
3. Set Up The Germination System
When your seeds are ready, place them in the germination tray. This is when you’ll start paying attention to your conditions.
For one, set the temperature for the germination system around 70-80°F. Again, this may need to be adjusted further as the seeds grow, so it’s best to go for a heated germination tray. They ensure consistent temperature, so you don’t have to go back and forth with adjustments.
Next, take care of the moisture. The growth medium should be moist, but not waterlogged.
Finally, adjust the lighting conditions. These vary from plant to plant – for instance, lettuce needs a lot of light, while tomatoes and peppers thrive in darkness. If you’re growing different seed varieties, it’s best to group those that have similar needs.
4. Keep A Close Eye On The Seeds
This may be the most uneventful part of the whole process, but it’s the most important one! After completing all of the previous steps, you have to monitor your seeds’ progress.
If multiple seeds sprout in one pellet or cube, thin them down to the strongest seedling to prevent overcrowding.
5. Prepare For Transplant
Once you see little sprouts popping out, this is your sign that the seeds are ready to be transported into your hydroponic system.
Usually, the seeds will be ready for transplant 2-3 weeks after germination, but this varies on the plant variety. In any case, you need to be careful when you’re moving them since this transition can be a little shocking.
To minimize some of that shock and harden the seedlings, you should gradually expose them to the conditions of your hydroponic system. This way, you’re ensuring their ideal growth.
Gently transfer the seedlings directly into the net pot of your hydroponic system, and you’re all set! The only thing left is to wait for your seedlings to turn into thriving and healthy plants!
Common Problems

As with most gardening challenges, don’t get discouraged if you aren’t successful with seed starting from your first try. Instead, take notes of your mistakes and go back to the drawing board! With some practice, we’re sure those seeds will turn into strong plants!
Still, to give you some clarity, we’ve listed some of the most common problems you may encounter with seed germination, along with fixes.
1. Seeds Not Sprouting
If you don’t see any growth spurts from your seedlings, that may be happening for a few reasons.
For one, you should see whether the temperature is adjusted to the plant's needs. If it’s too cold, your seeds aren’t likely to germinate. This also goes for water. No spurts may be because you’ve overwatered the growth medium.
However, in some cases, you may nail the growing conditions but you still don’t see any spurts. This is not your fault, but the actual seeds. After all, not all seeds are the same, meaning some of them may lack quality.
2. Mold or Fungus
Dark spots around your seedling may mean you’ve gone a bit overboard with watering. In this case, try to improve the airflow and take it easy with moisture.
3. Leggy Seedlings
Are the seedlings looking lumpy? That’s because they’re not getting enough warmth and/or light!
Move the seedlings closer to the light and check whether they’re improving.
Hydroponic Seed Starting Tips

Before we wrap things up, we want to give you a few tips that will take your seed starting journey to the next level. Remember, this process includes a lot of trial-and-error, so make sure you take notes to know which areas have room for improvement.
- Use Heated Germination Trays & Humidity Domes: Some seeds are a bit needy and need a lot more caring than other varieties. For these seeds, you should consider using heated germination trays and humidity domes. This ensures their conditions are balanced at all times, meaning you’ll have more chances of success.
- Combine Smart Systems: Want to automate the process even further? Amp up your germination system with an automated watering system. Another thing you don’t need to worry about.
- Experiment With More Difficult Seeds: When you’ve mastered the basics, don’t be afraid to try growing more difficult varieties. There’s nothing better than seeing your hydroponic garden become as diverse as possible!
With this, you’re now ready to start your seed germination journey. If you’re a beginner, we recommend you go for easy-to-care-for varieties and go from there. In the end, you’ll take pride in knowing that all of your plants are grown from scratch!
Want to know even more tips and guides on all things hydroponics? Check out the rest of our blogs!


Leave a comment
All comments are moderated before being published.
This site is protected by hCaptcha and the hCaptcha Privacy Policy and Terms of Service apply.