
Spring is the perfect time to kick off your gardening journey, whether you’re looking to grow fresh veggies, fragrant herbs, or vibrant flowering plants. Starting seeds indoors lets you get a head start on the growing season, choose from hundreds of unique varieties, and nurture healthier, more adaptable seedlings. This step-by-step guide walks you through the entire process—from pre-sowing prep to outdoor transplanting—and covers two seed-starting methods: using the LetPot Smart Seed Starter and traditional seed trays.
Why Start Seeds in Spring?
Spring brings mild temperatures and increasing sunlight, ideal conditions for seed germination. Start your seeds indoors 4–8 weeks before your area’s last frost date (check the USDA Hardiness Zone Map for your local timeline) to protect seedlings from late frosts and extend your harvest window. What’s more, plants grown from your own seeds are typically hardier than nursery-bought seedlings and better acclimated to your garden’s growing conditions. Of course, it's even cheaper; a seedling at a garden center costs $3-5, but you could buy several packets of seeds instead.
Pre-Seed Starting Prep
Successful seed starting begins with careful planning. Gather the right seed starting supplies before you begin.
1. Confirm Your Last Frost Date
Your last frost date—the average day when temperatures stay consistently above 50°F (10°C)—dictates your seed-starting timeline. If you want to sow seeds early, use a heated seed-starting system like the LetPot SS-Pro or a heat mat to mimic early spring temperatures. Follow these seed-sowing timing recommendations:
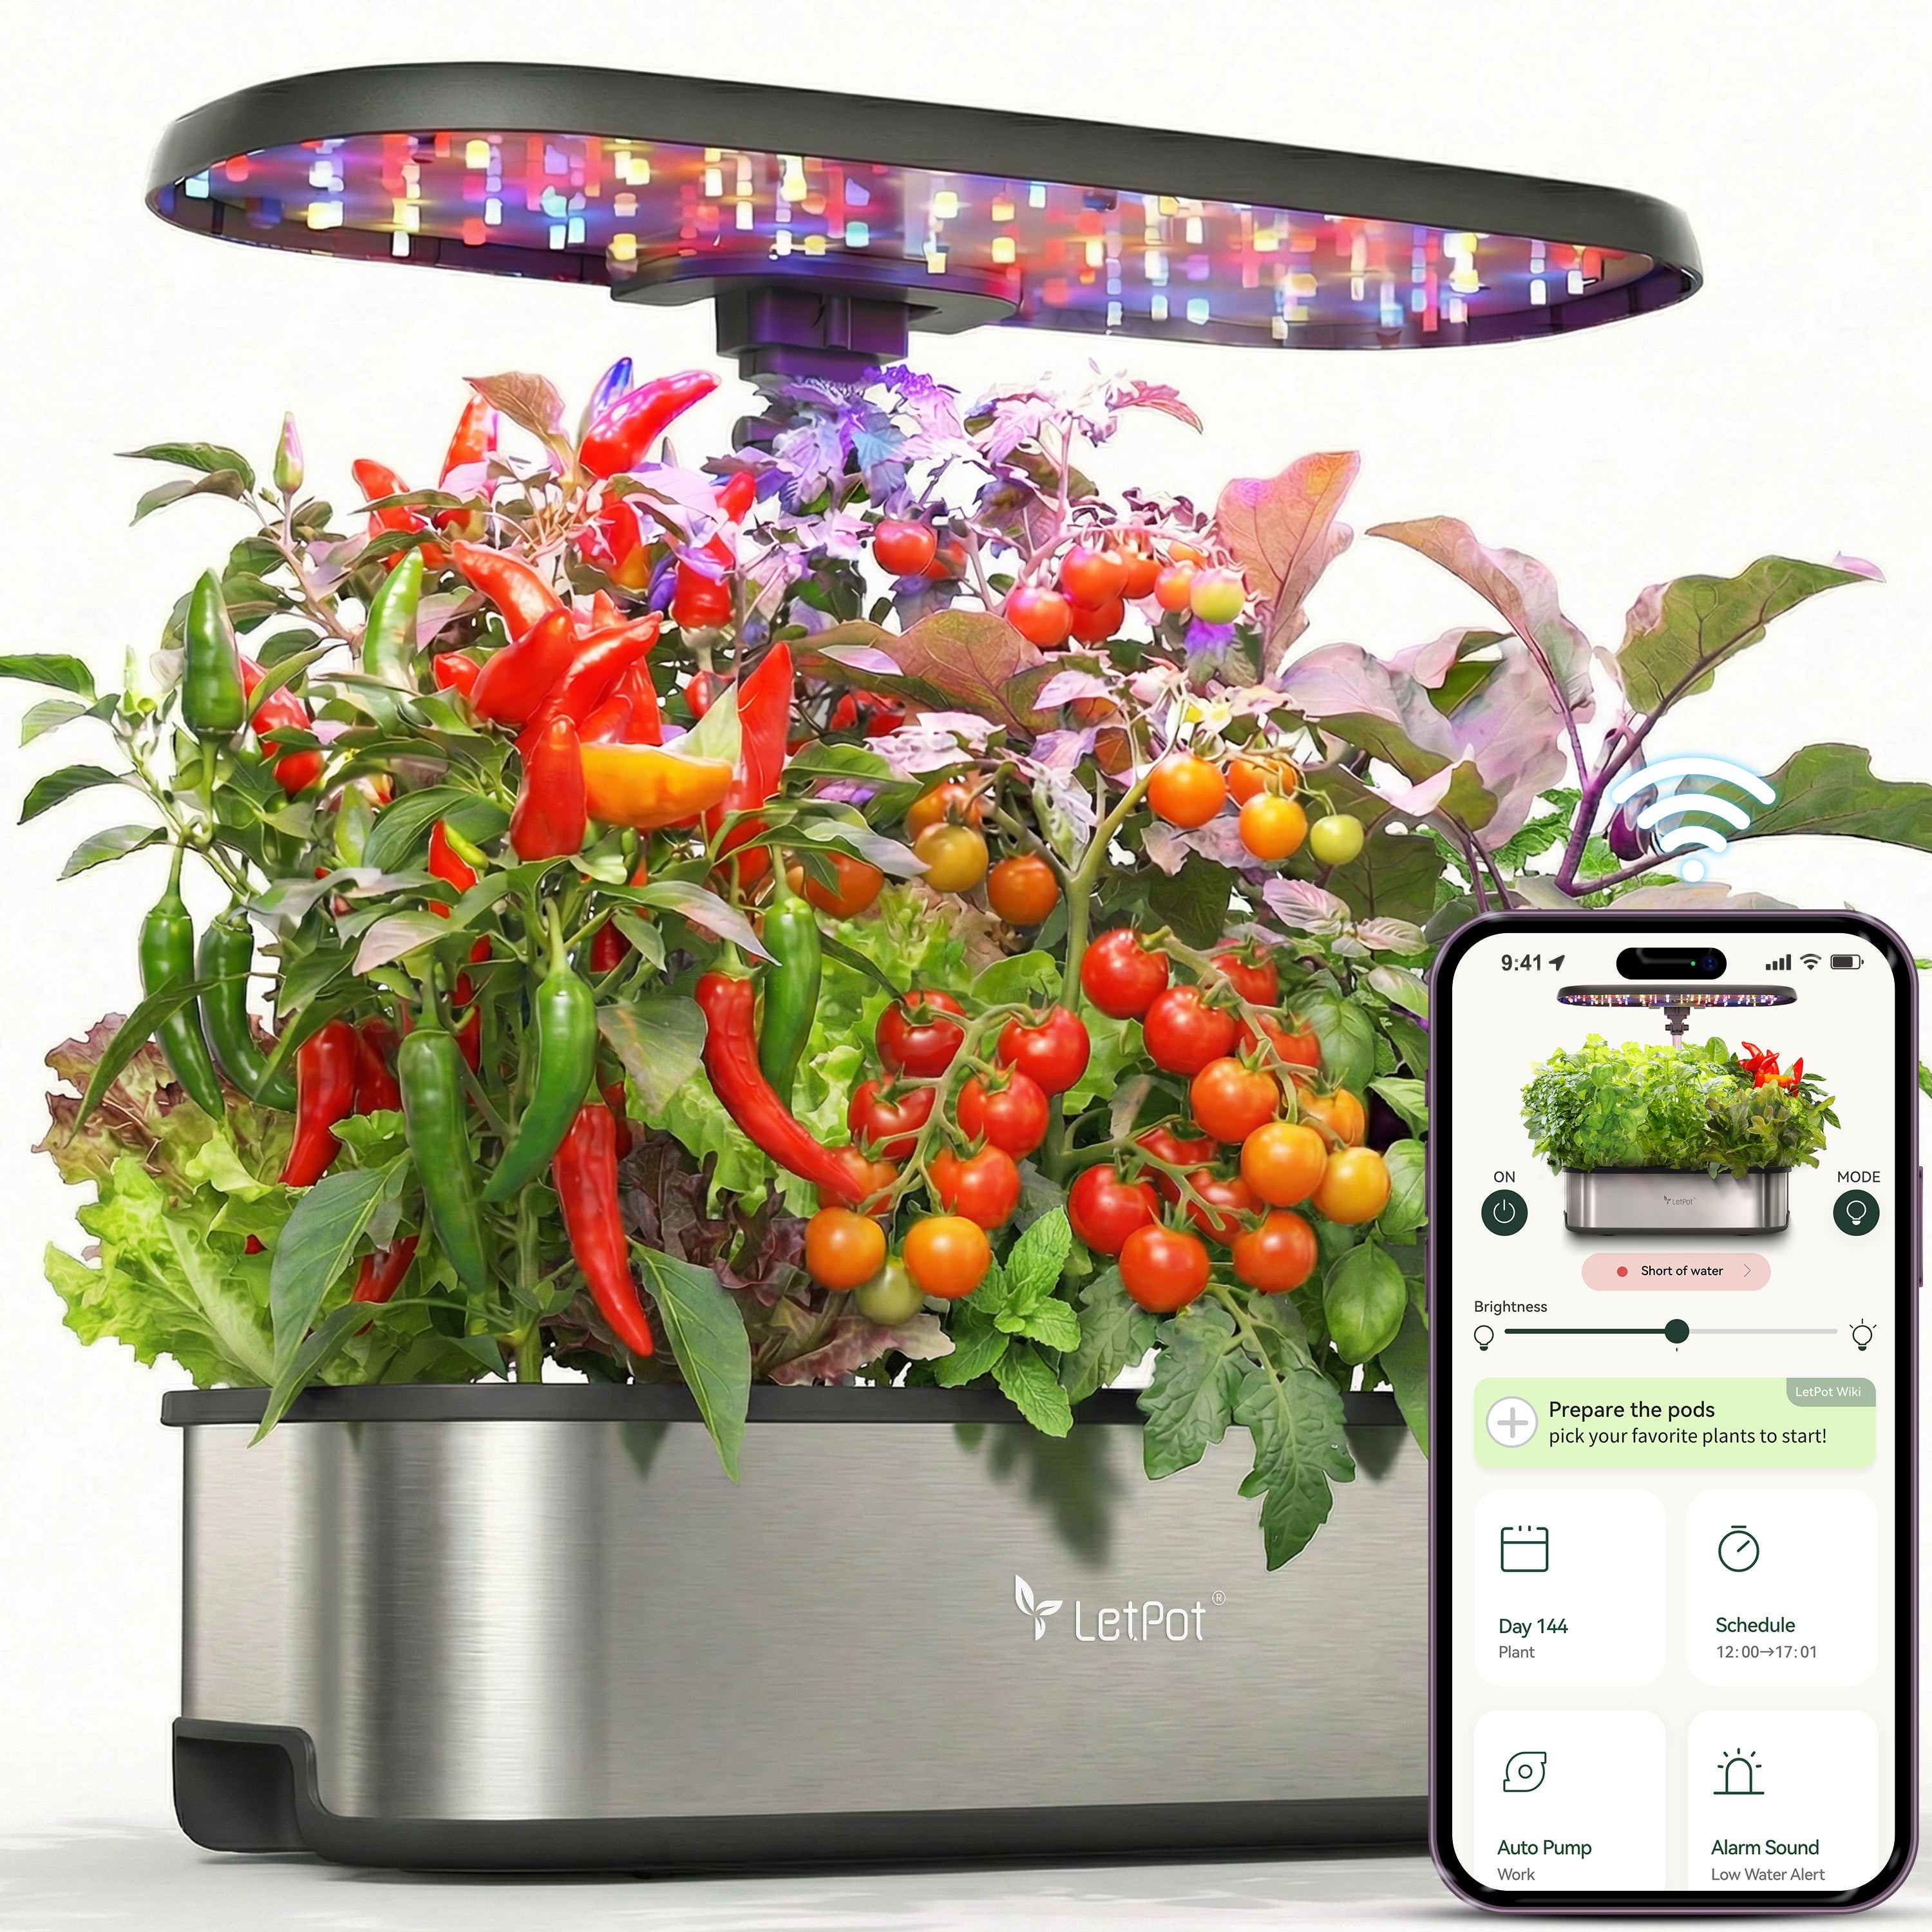
• Warm-season crops (tomatoes, bell peppers, basil): Sow 6–8 weeks before the last frost
• Cool-season crops (lettuce, kale, radishes): Sow 2–4 weeks before the last frost
• Flowers (sunflowers, zinnia): Sow 5–7 weeks before the last frost
2. Gather Tools & Supplies
|
Category |
LetPot Smart Seed Starting Kit |
Traditional Seed Starting Kit |
|
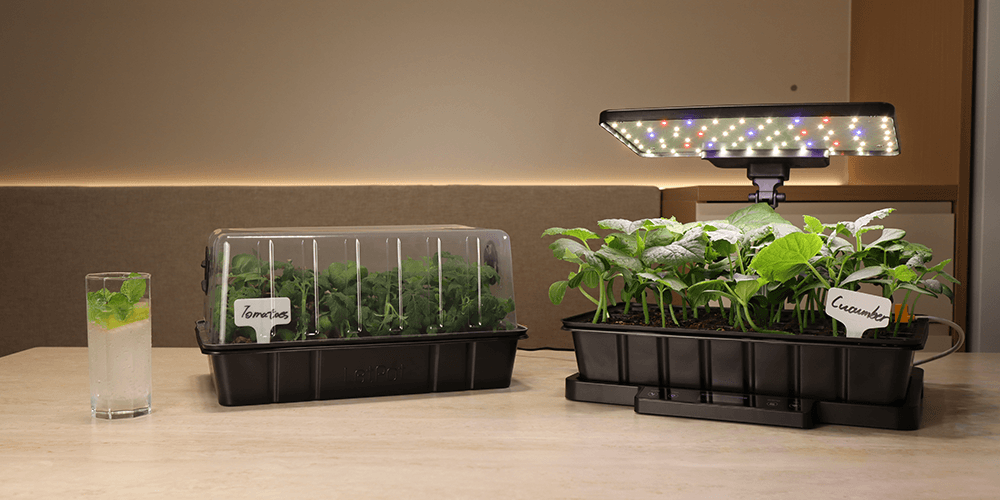
Seed-Starting Containers |
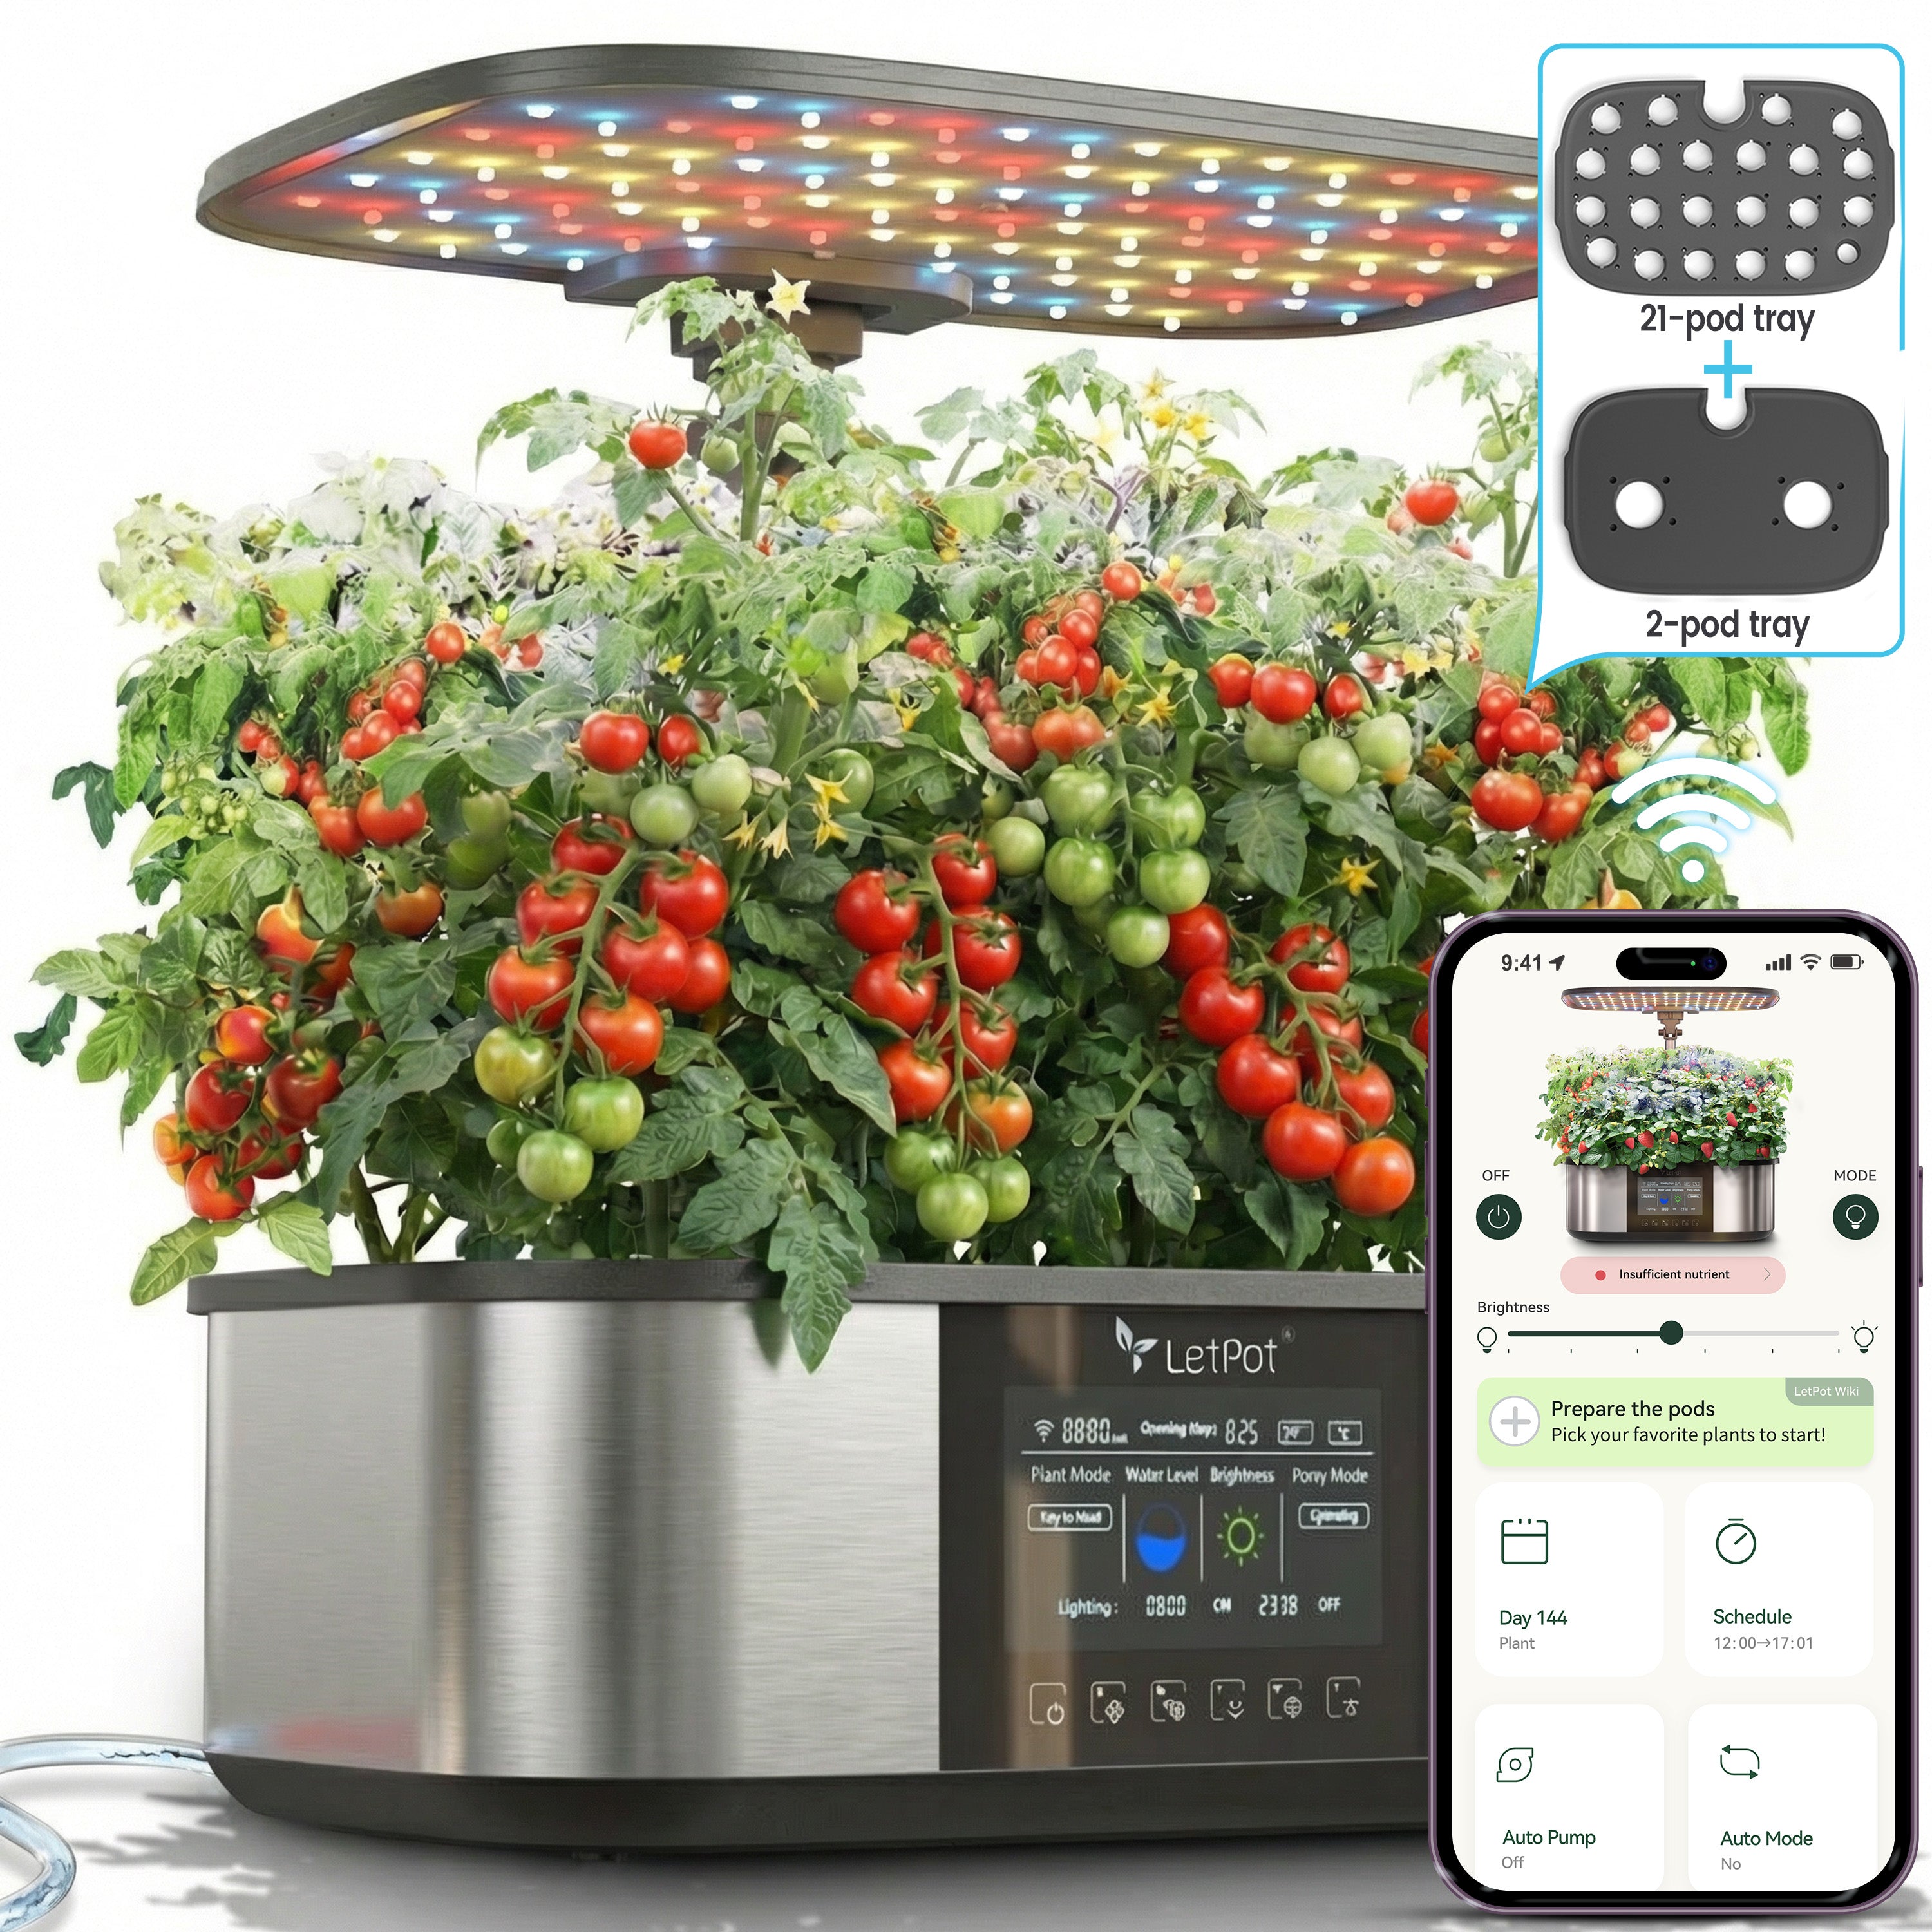
LetPot SS-Pro Smart Seed Starter (built-in LED grow light, water reservoir, seed tray) |
Cell seed trays (2–3 inches deep), peat pots, or DIY paper cups with drainage holes |
|
Growing Medium |
Sterile seed-starting mix (never use garden soil—it’s too dense) or seed-starting sponges |
Lightweight sterile seed-starting mix (loose, well-draining, pathogen-free) |
|
Watering Method |
Add water directly to the reservoir; moisture wicks up to the medium automatically |
Water with a spray bottle or bottom-water by setting trays in a basin of water |
|
Lighting |
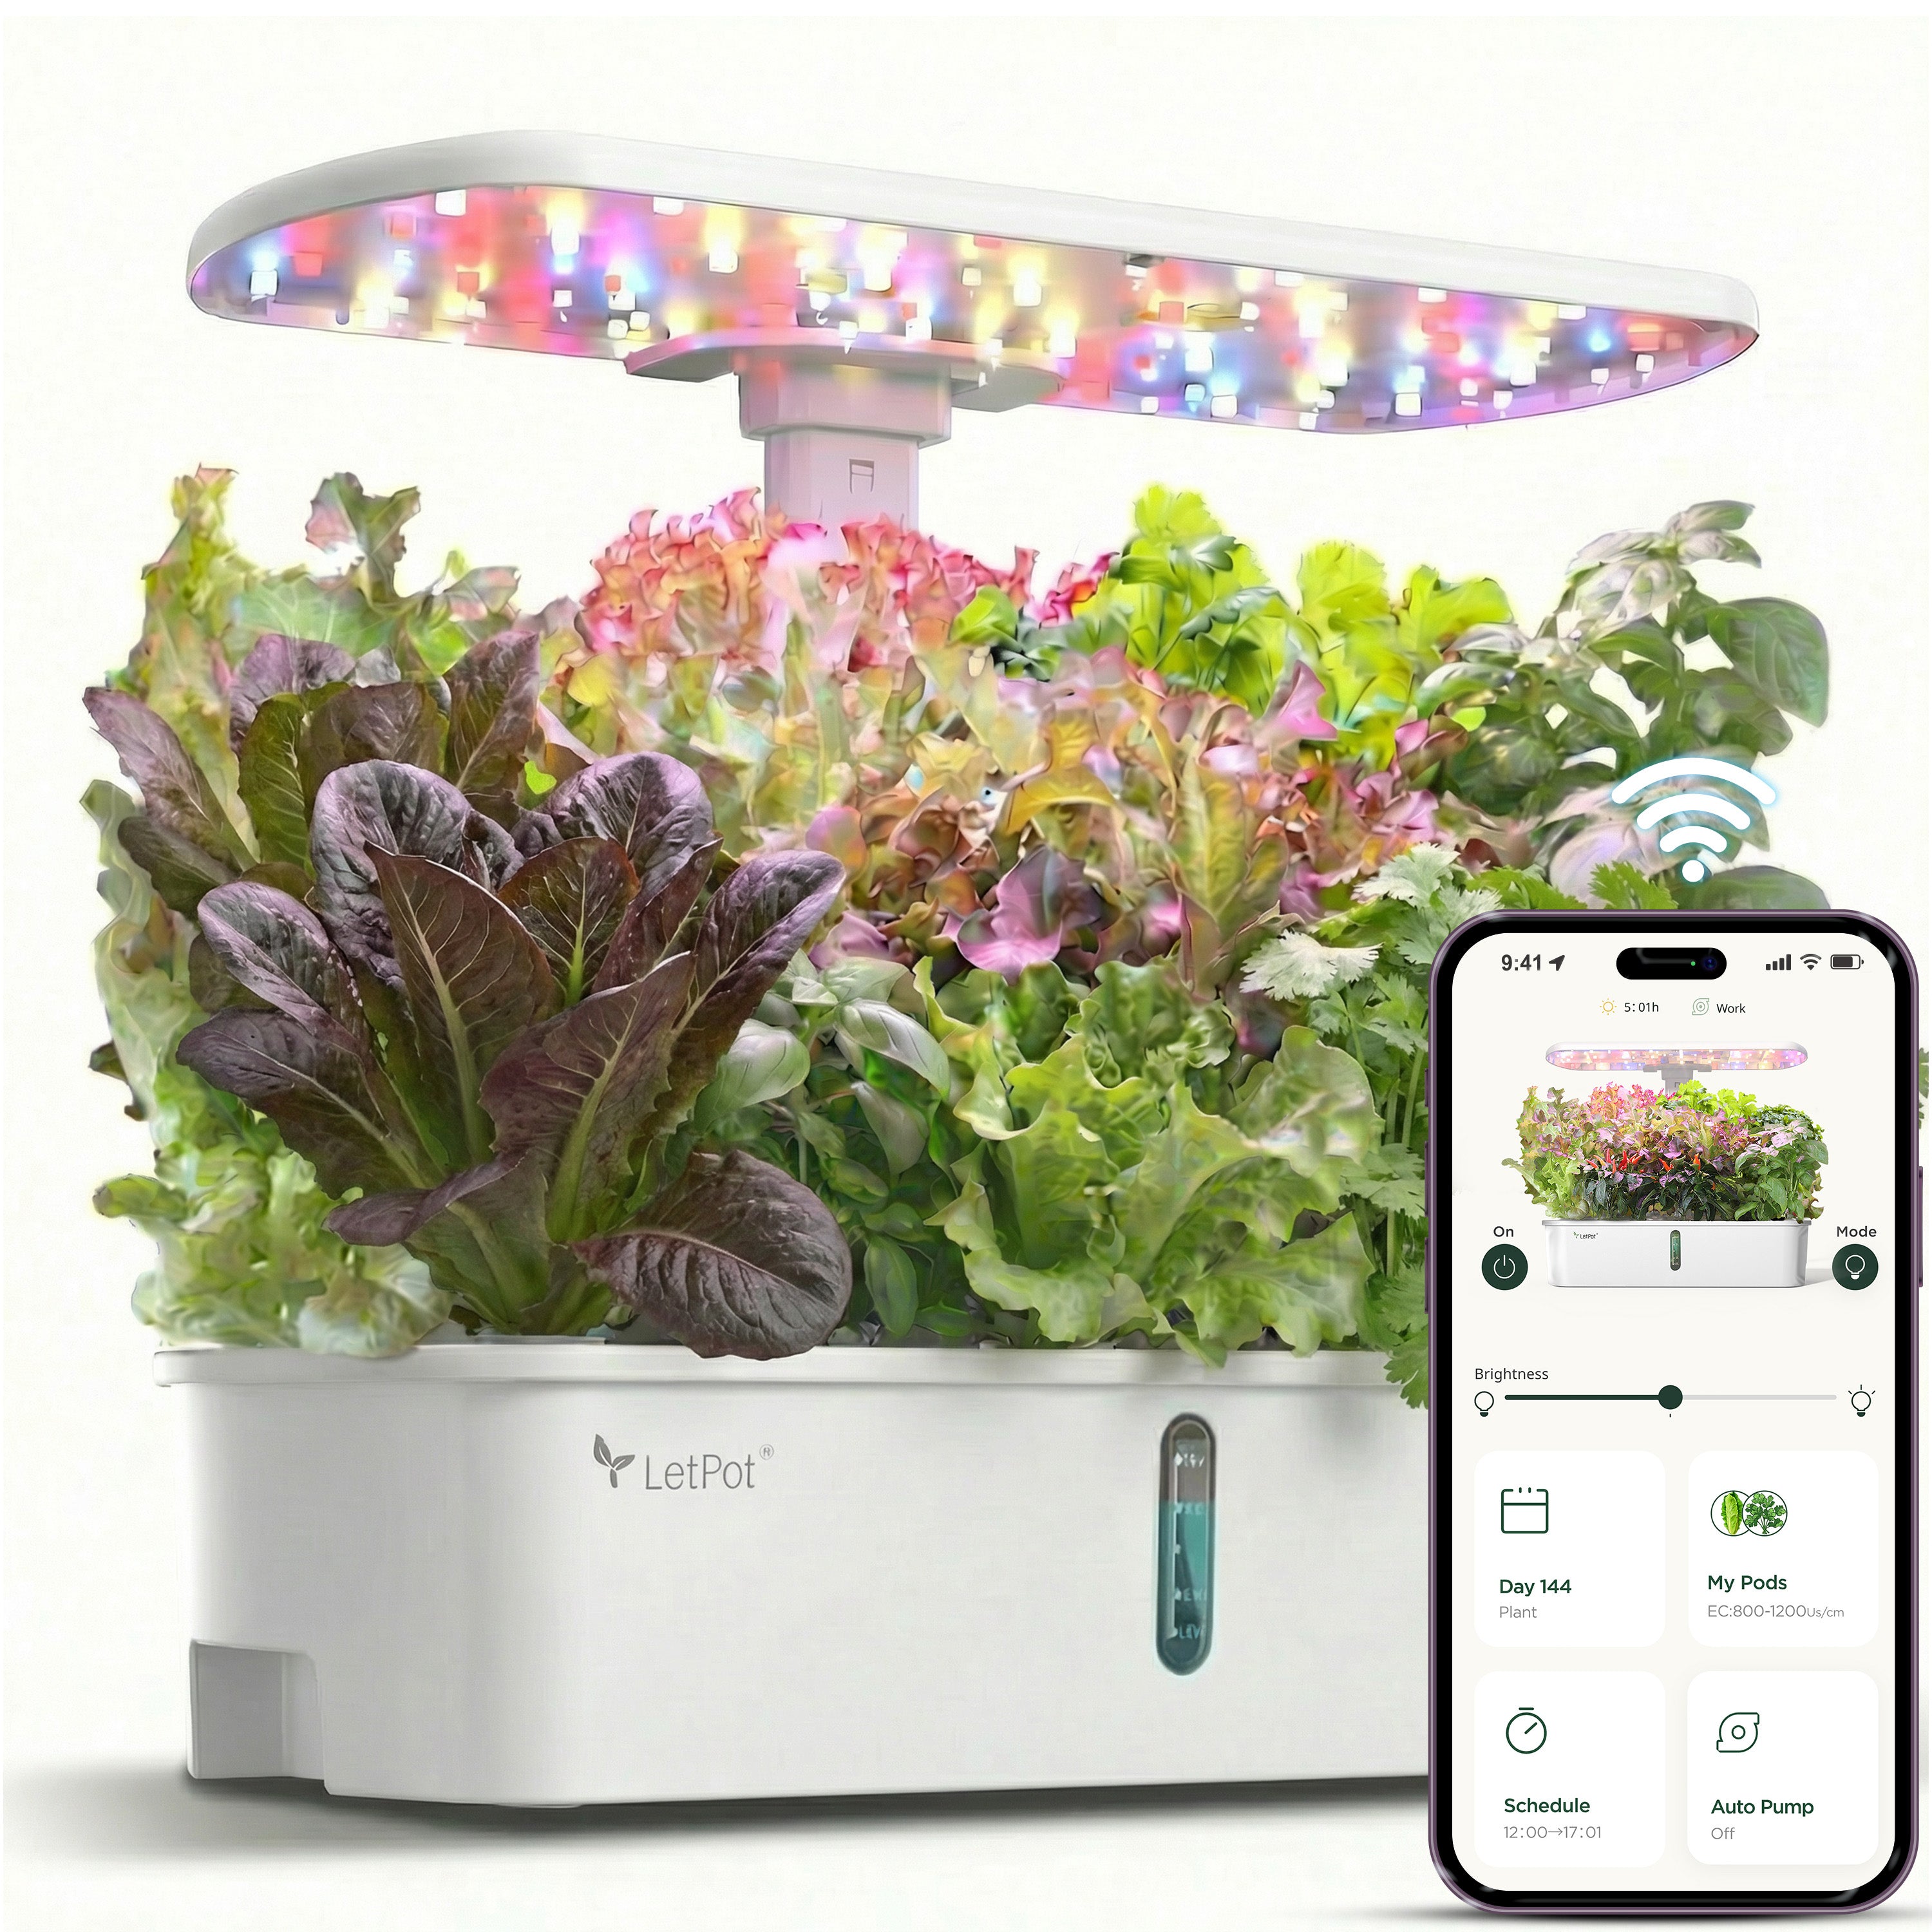
Adjustable built-in LED grow light |
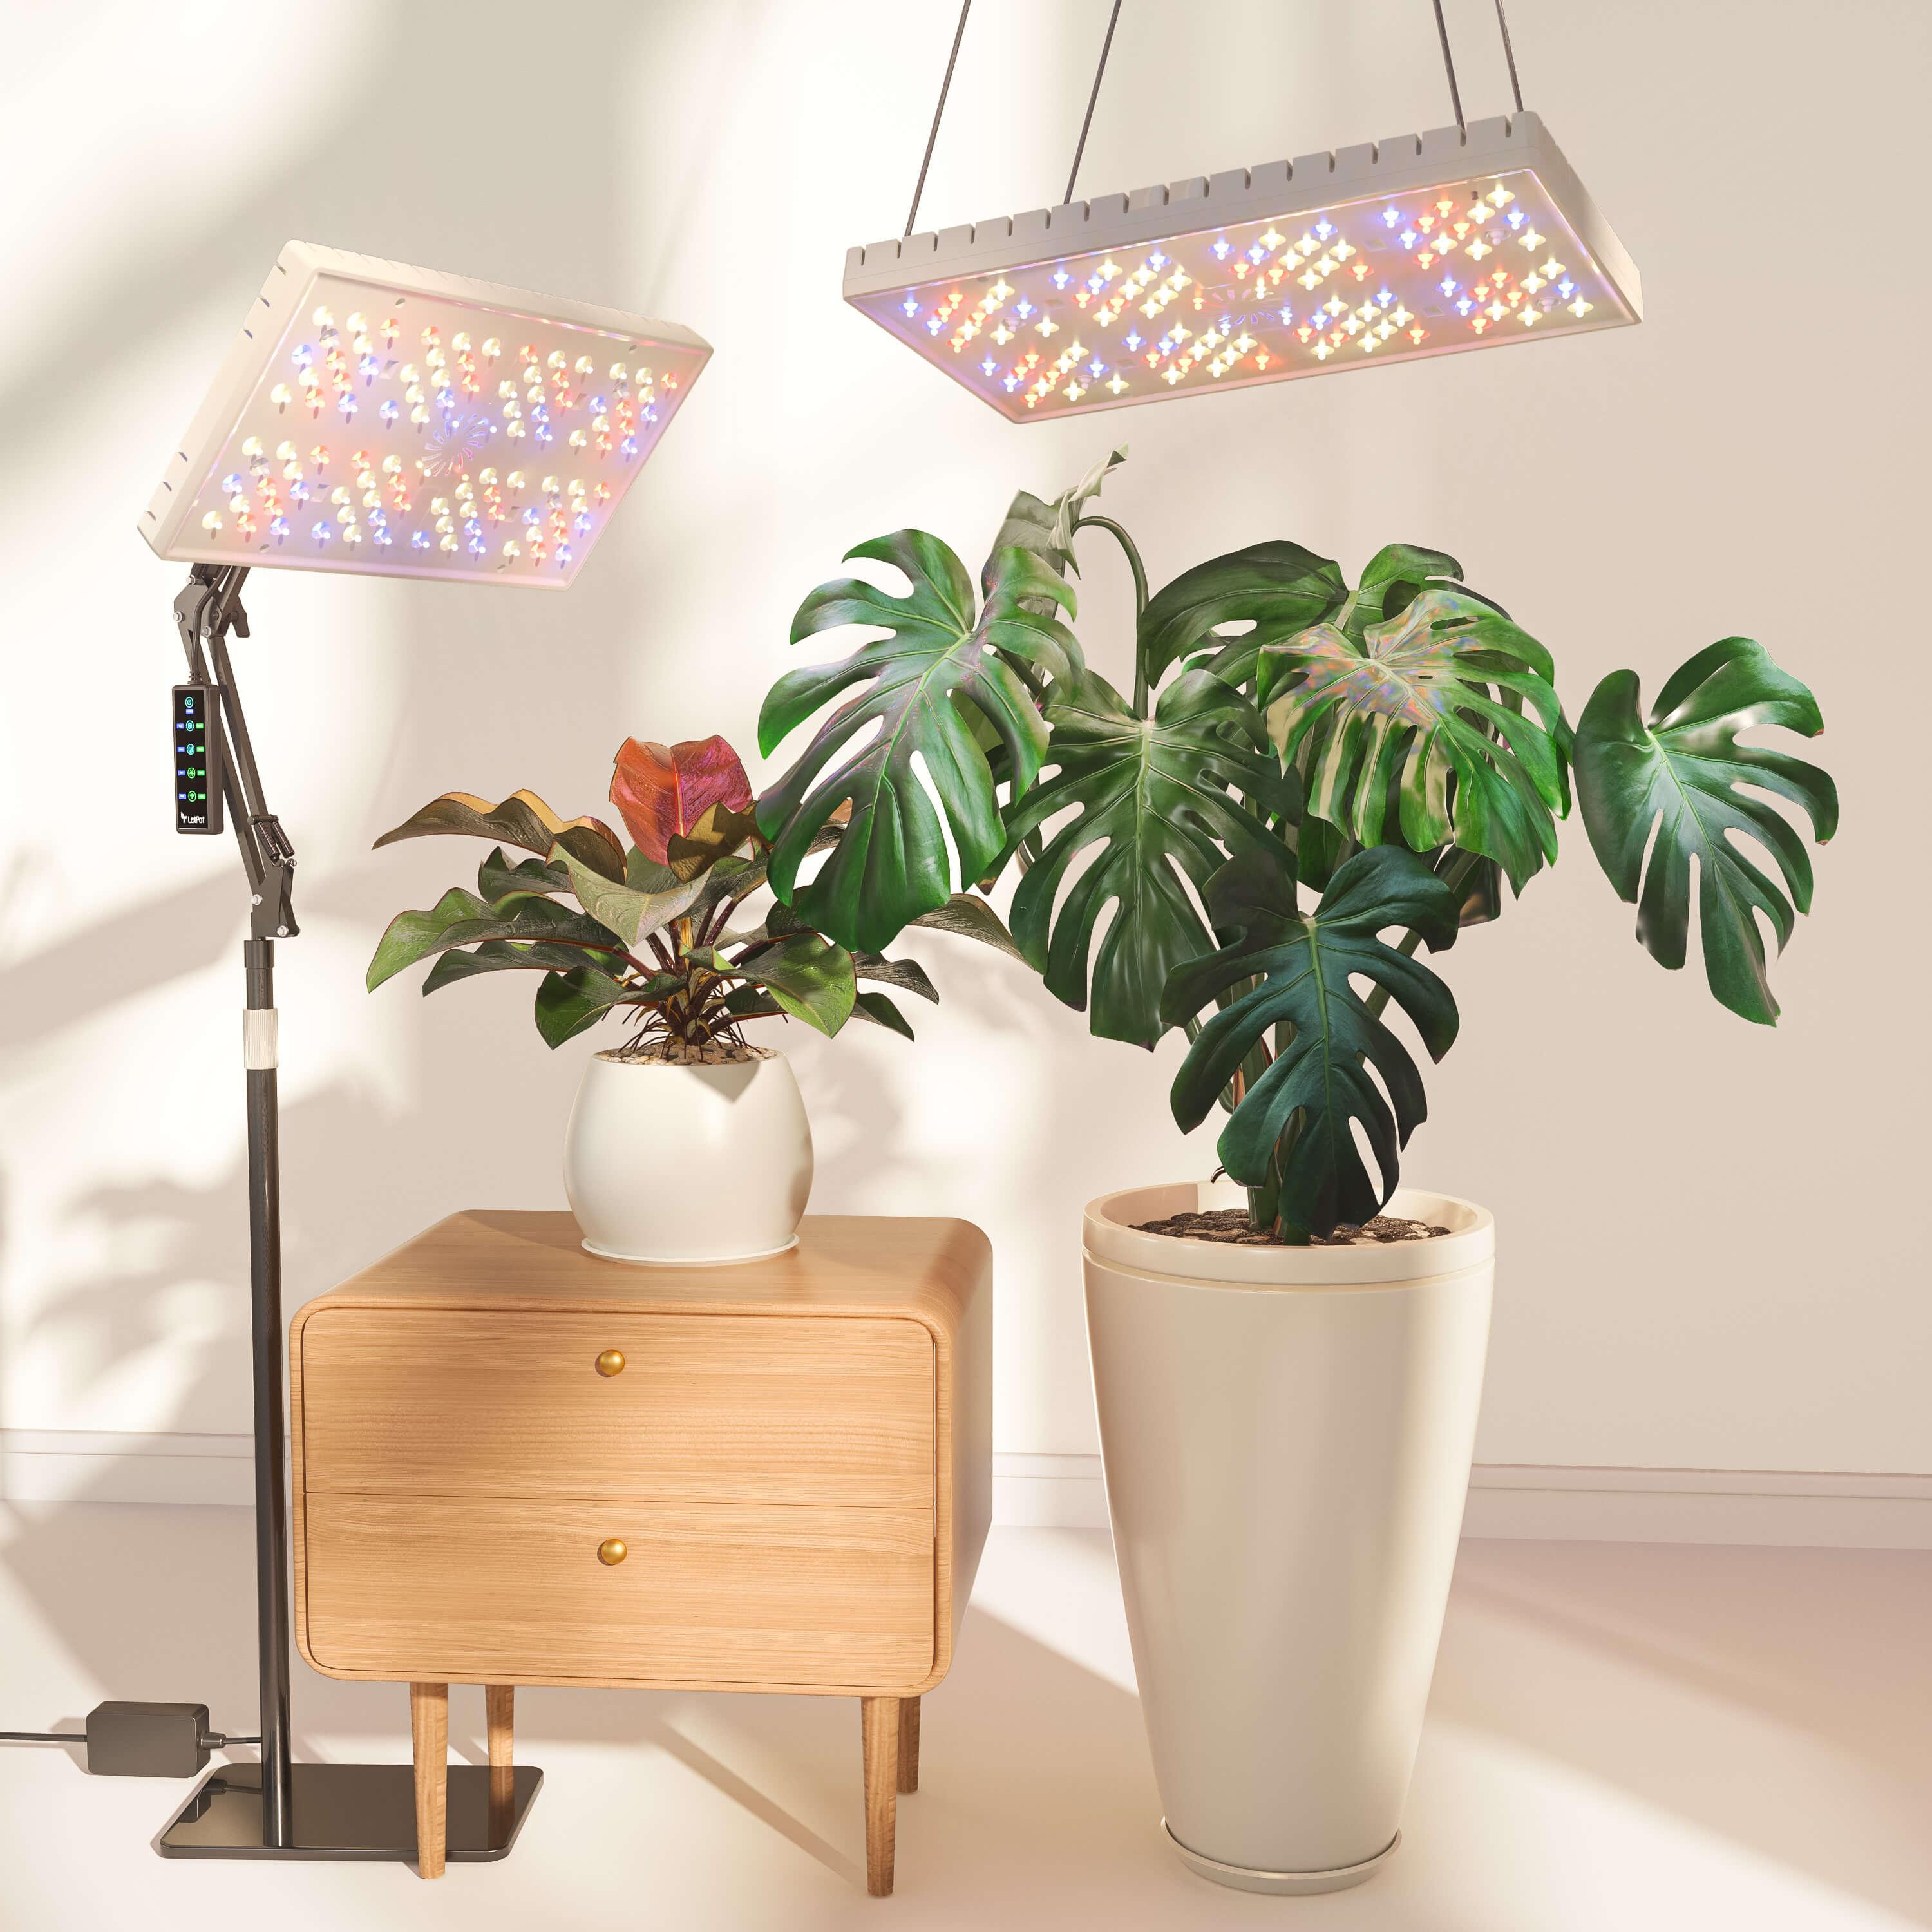
LED plant grow light (12–16 hours daily, 6–12 inches from seedlings) or south-facing windowsill (rotate trays daily) |
|
Humidity Covers |
Included clear humidity dome |
Plastic humidity dome or loosely wrapped plastic wrap |
3. Choose Easy-to-Grow Varieties
For beginners, prioritize fast-germinating, low-maintenance varieties. Many work well as indoor plant seeds:
• Vegetables: Radishes (3–5 days to germinate), lettuce, kale, sugar snap peas
• Flowers: Sunflowers, zinnia, cosmos, marigolds
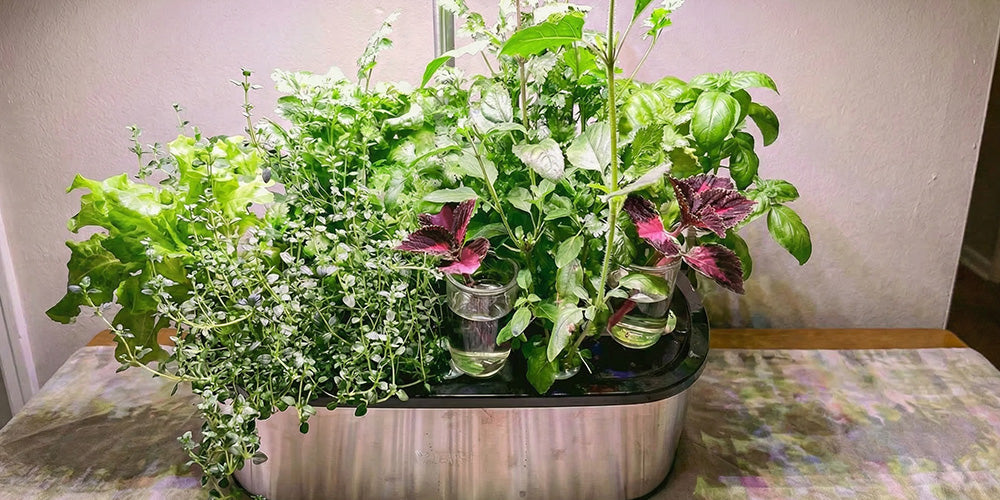
• Herbs: Basil, mint, chives (thrive in the controlled environment of the LetPot Smart Seed Starter)
Pro Tip: Opt for non-GMO or heirloom seeds—they boast unique flavors and are far more forgiving for new gardeners.

Step-by-Step Seed Sowing Instructions
1. Setup: Fill the seed tray cells with sterile seed-starting mix or sponges, and smooth the surface gently. A seed starter kit can simplify this setup.
2. Sowing Seeds:
• Large seeds (peas, beans, sunflowers): Poke a ½-inch deep hole with your finger, place 1–2 seeds per cell, cover with mix, and press down lightly.
• Small seeds (lettuce, basil, petunias): Sprinkle seeds on the surface (they need light to germinate—no covering) and press gently to ensure good seed-to-soil contact.
3. Watering: Add half the recommended water to the reservoir and bottom-water until the medium is evenly moist (do not overwater). Soggy conditions will drown seeds and lower germination rates.
4. Humidity & Temperature Control: Place the humidity dome on top—this creates the perfect germination environment. Remove the dome once seeds sprout.
5. Lighting: Place the setup in a bright spot or use a full-spectrum LED plant grow light, ensuring 12–16 hours of light daily. This supports growing seeds indoors with steady light.
Seedling Care After Germination

Most seeds germinate in 5–14 days. Once seedlings emerge, adjust your care routine immediately with these steps:
1. Remove the Humidity Dome
Take off the dome right after sprouting to prevent mold growth and damping-off disease. Boost air circulation by running a small fan on low speed near the seedlings.
2. Optimize Lighting
• LetPot: Adjust the built-in LED light as seedlings grow to keep it 4–6 inches from the top of the plants.
• Traditional Method: If using a windowsill, rotate seed trays daily to prevent leggy growth. Keep grow lights on for 16 hours a day and turn them off at night for a natural light cycle.
3. Water Wisely
Water only when the top ½ inch of the medium is dry. Stick to bottom-watering to avoid getting leaves wet, and never let water pool in the trays—this causes root rot.
4. Fertilize at the Right Time
Once seedlings develop 2–3 true leaves (not the initial cotyledons/seed leaves), feed them with a half-strength liquid fertilizer. Always follow the fertilizer’s mixing instructions—over-fertilizing burns delicate roots. If you’re unsure about nutrient levels, use an EC meter (included with select LetPot models) to test the medium and apply fertilizer accordingly.
5. Thin Seedlings
If you sowed multiple seeds per cell, snip off the weaker seedlings at soil level—leave only the strongest one per cell. Never pull seedlings out—this damages the main root of the remaining plant.
Outdoor Transplanting: The Final Step

Transplant seedlings outdoors when they reach 3–4 inches tall, have 4–5 true leaves, and all risk of frost has passed.
1. Harden Off Seedlings (Critical Step)
Acclimate seedlings to outdoor conditions over 7–10 days to avoid shock:
• Days 1–3: Place seedlings in a shaded spot for 2–3 hours; avoid direct sunlight and strong winds.
• Days 4–6: Extend outdoor time to 6 hours, and add gentle morning sunlight.
• Days 7–10: Leave seedlings outside all day. Cover them if frost is forecasted.
2. Prepare the Planting Bed
• Till the soil to a depth of 8–10 inches and mix in organic compost to boost fertility.
• Space plants according to seed packet instructions (e.g., 24 inches apart for tomatoes, 6 inches apart for lettuce).
3. Transplant Gently
1. Water seedlings thoroughly 1 hour before transplanting to reduce transplant shock.
2. Dig a hole slightly larger than the seedling’s root ball—peat pots can be planted directly in the ground (they decompose naturally).
3. Plant seedlings at the same depth they were growing in the tray; tomatoes can be planted a bit deeper to encourage side root growth.
4. Fill the hole with soil, press gently around the roots, water deeply to settle the soil, and mulch with straw or fallen leaves to retain moisture and suppress weeds.
Pro Spring Seed Starting Tip
1. Label Everything: Use plant labels to note the variety and sowing date—no more mixed-up seedlings!
2. Fertilize Lightly & Often: Seedlings are sensitive to strong fertilizer; use half-strength feedings until transplanting.
3. Adjust Light Intensity: Modify grow light brightness based on your plants’ light requirements (full sun vs. partial shade).
4. Sow in Succession: Plant lettuce, radishes, and other fast-growing crops every 2 weeks for a continuous harvest.
5. Monitor Soil Temperature: Keep soil at 65–75°F (18–24°C). Cool soil slows germination, while overly warm soil stunts growth. Use a heat mat or heated seed-starting system if your space is too cold. A seed germination kit can help maintain stable conditions.
Wrapping Up
Spring seed starting is an incredibly rewarding gardening experience—and watching a tiny seed grow into a fruit- or flower-bearing plant is one of gardening’s greatest joys. Whether you choose the convenient LetPot Smart Seed Starter or budget-friendly traditional seed trays, patience and consistent care are the keys to success. Start small, learn as you grow, and skip the expensive nursery seedlings—with a little effort, you’ll have an endless supply of fresh veggies, herbs, and flowers all growing season long.


Leave a comment
All comments are moderated before being published.
This site is protected by hCaptcha and the hCaptcha Privacy Policy and Terms of Service apply.