
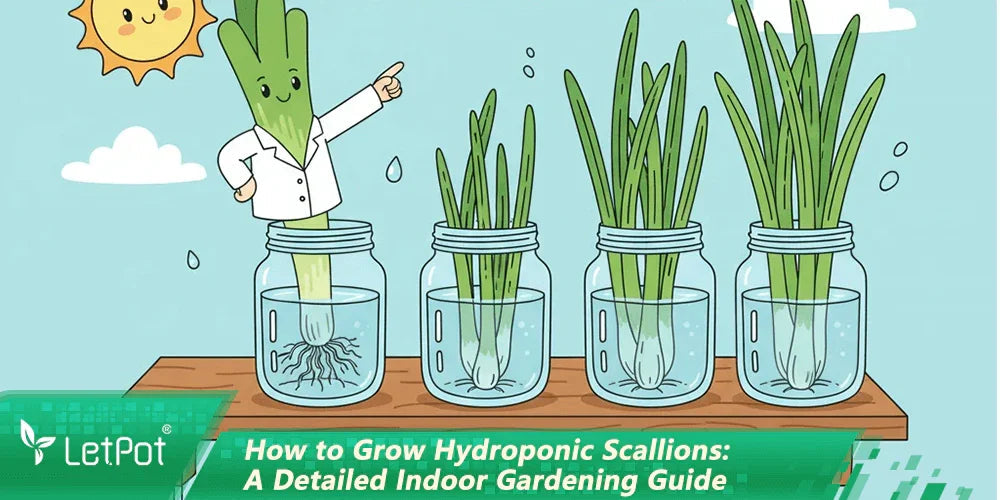
Scallions are the slender fragrant greens that you toss over noodles, stir-fries, or soups. They are far more than a garnish and are considered a fast-growing, endlessly useful herb. And when grown in a hydroponics growing system, they thrive beyond expectation.
Let’s go through every phase of cultivating hydroponic scallions indoors, from seed to harvest. We'll cover pH, lighting, nutrient balance, and even shed light on how to prune without damaging those delicate stems. Let’s dig in.
What Are Hydroponic Scallions and Why Grow Them Indoors?
 Scallions. Some folks call them green onions, others say spring onions. But names don’t matter much to the plant. What matters is that they’re among the easiest little miracles you can grow in a hydroponic world. They ask for no pollination, complain little, and almost never fall to pests. Give them sixty to ninety days, and they’ll reward your patience with tall, fragrant greens that whisper of fresh earth, even though no soil ever touched their roots.
But the real benefit here is control. Growing them indoors means you decide the environment: temperature, light duration, humidity, and nutrient strength. No unpredictable weather. No soil-borne diseases.
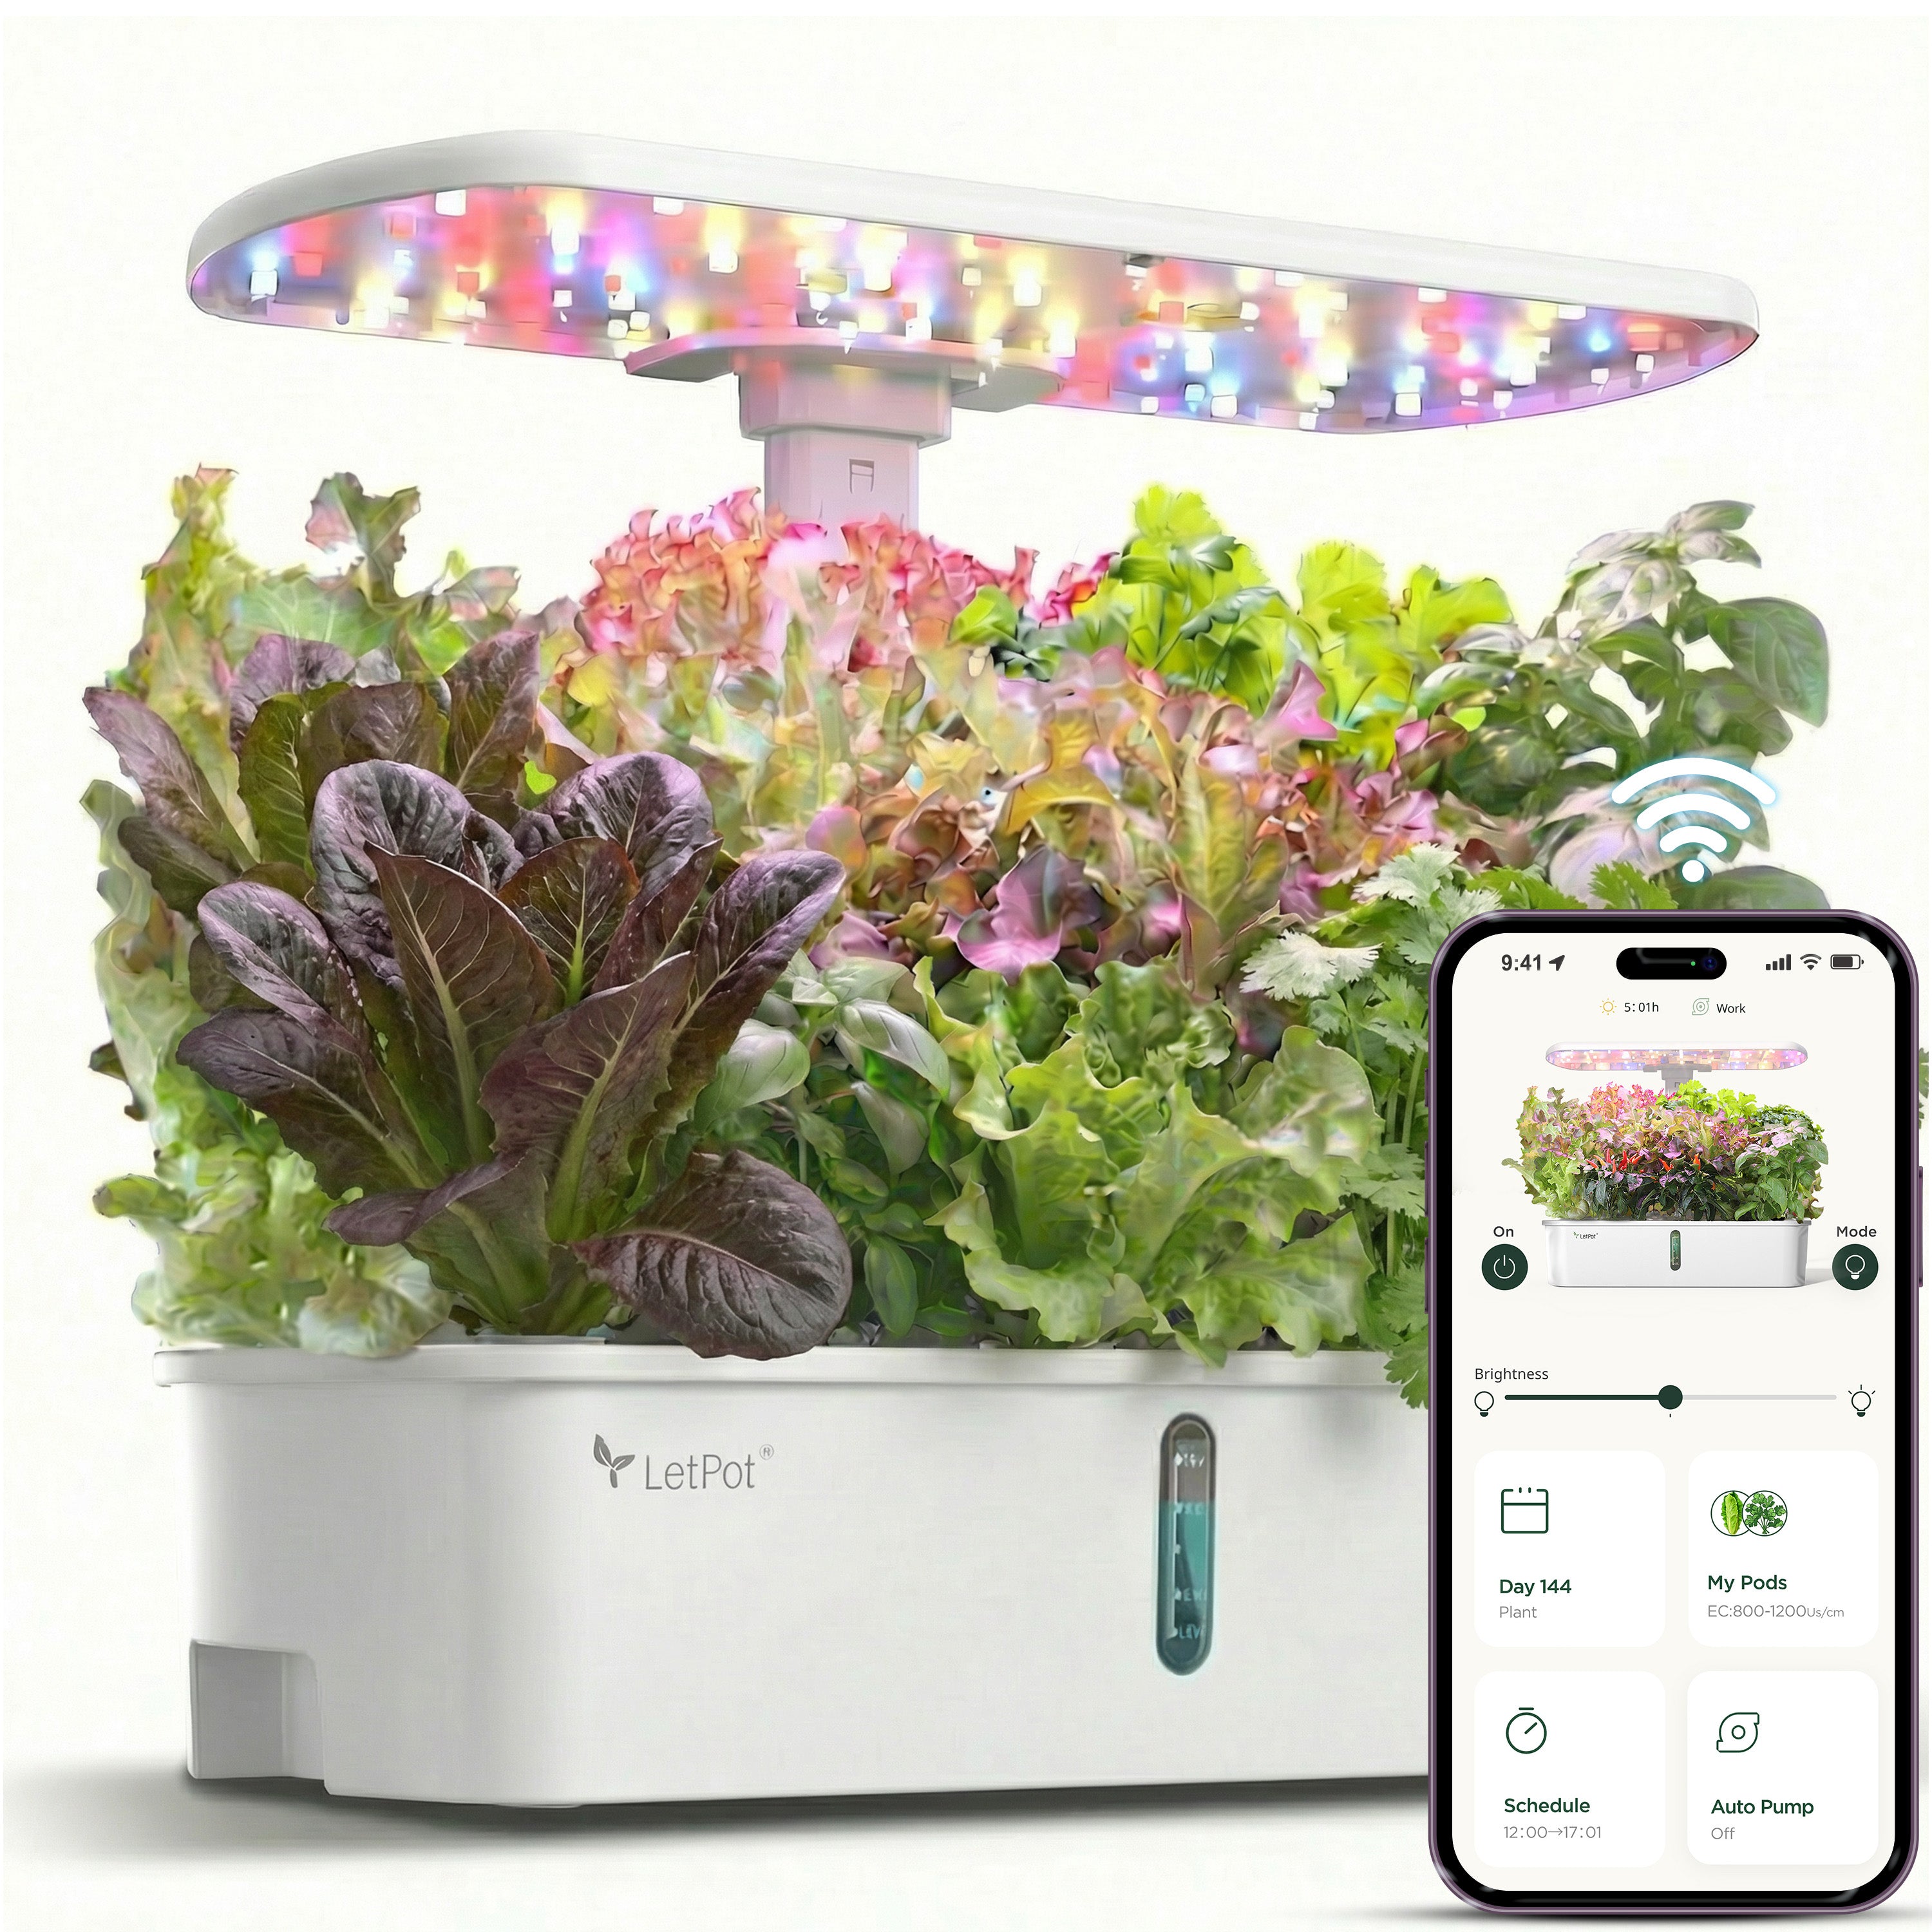
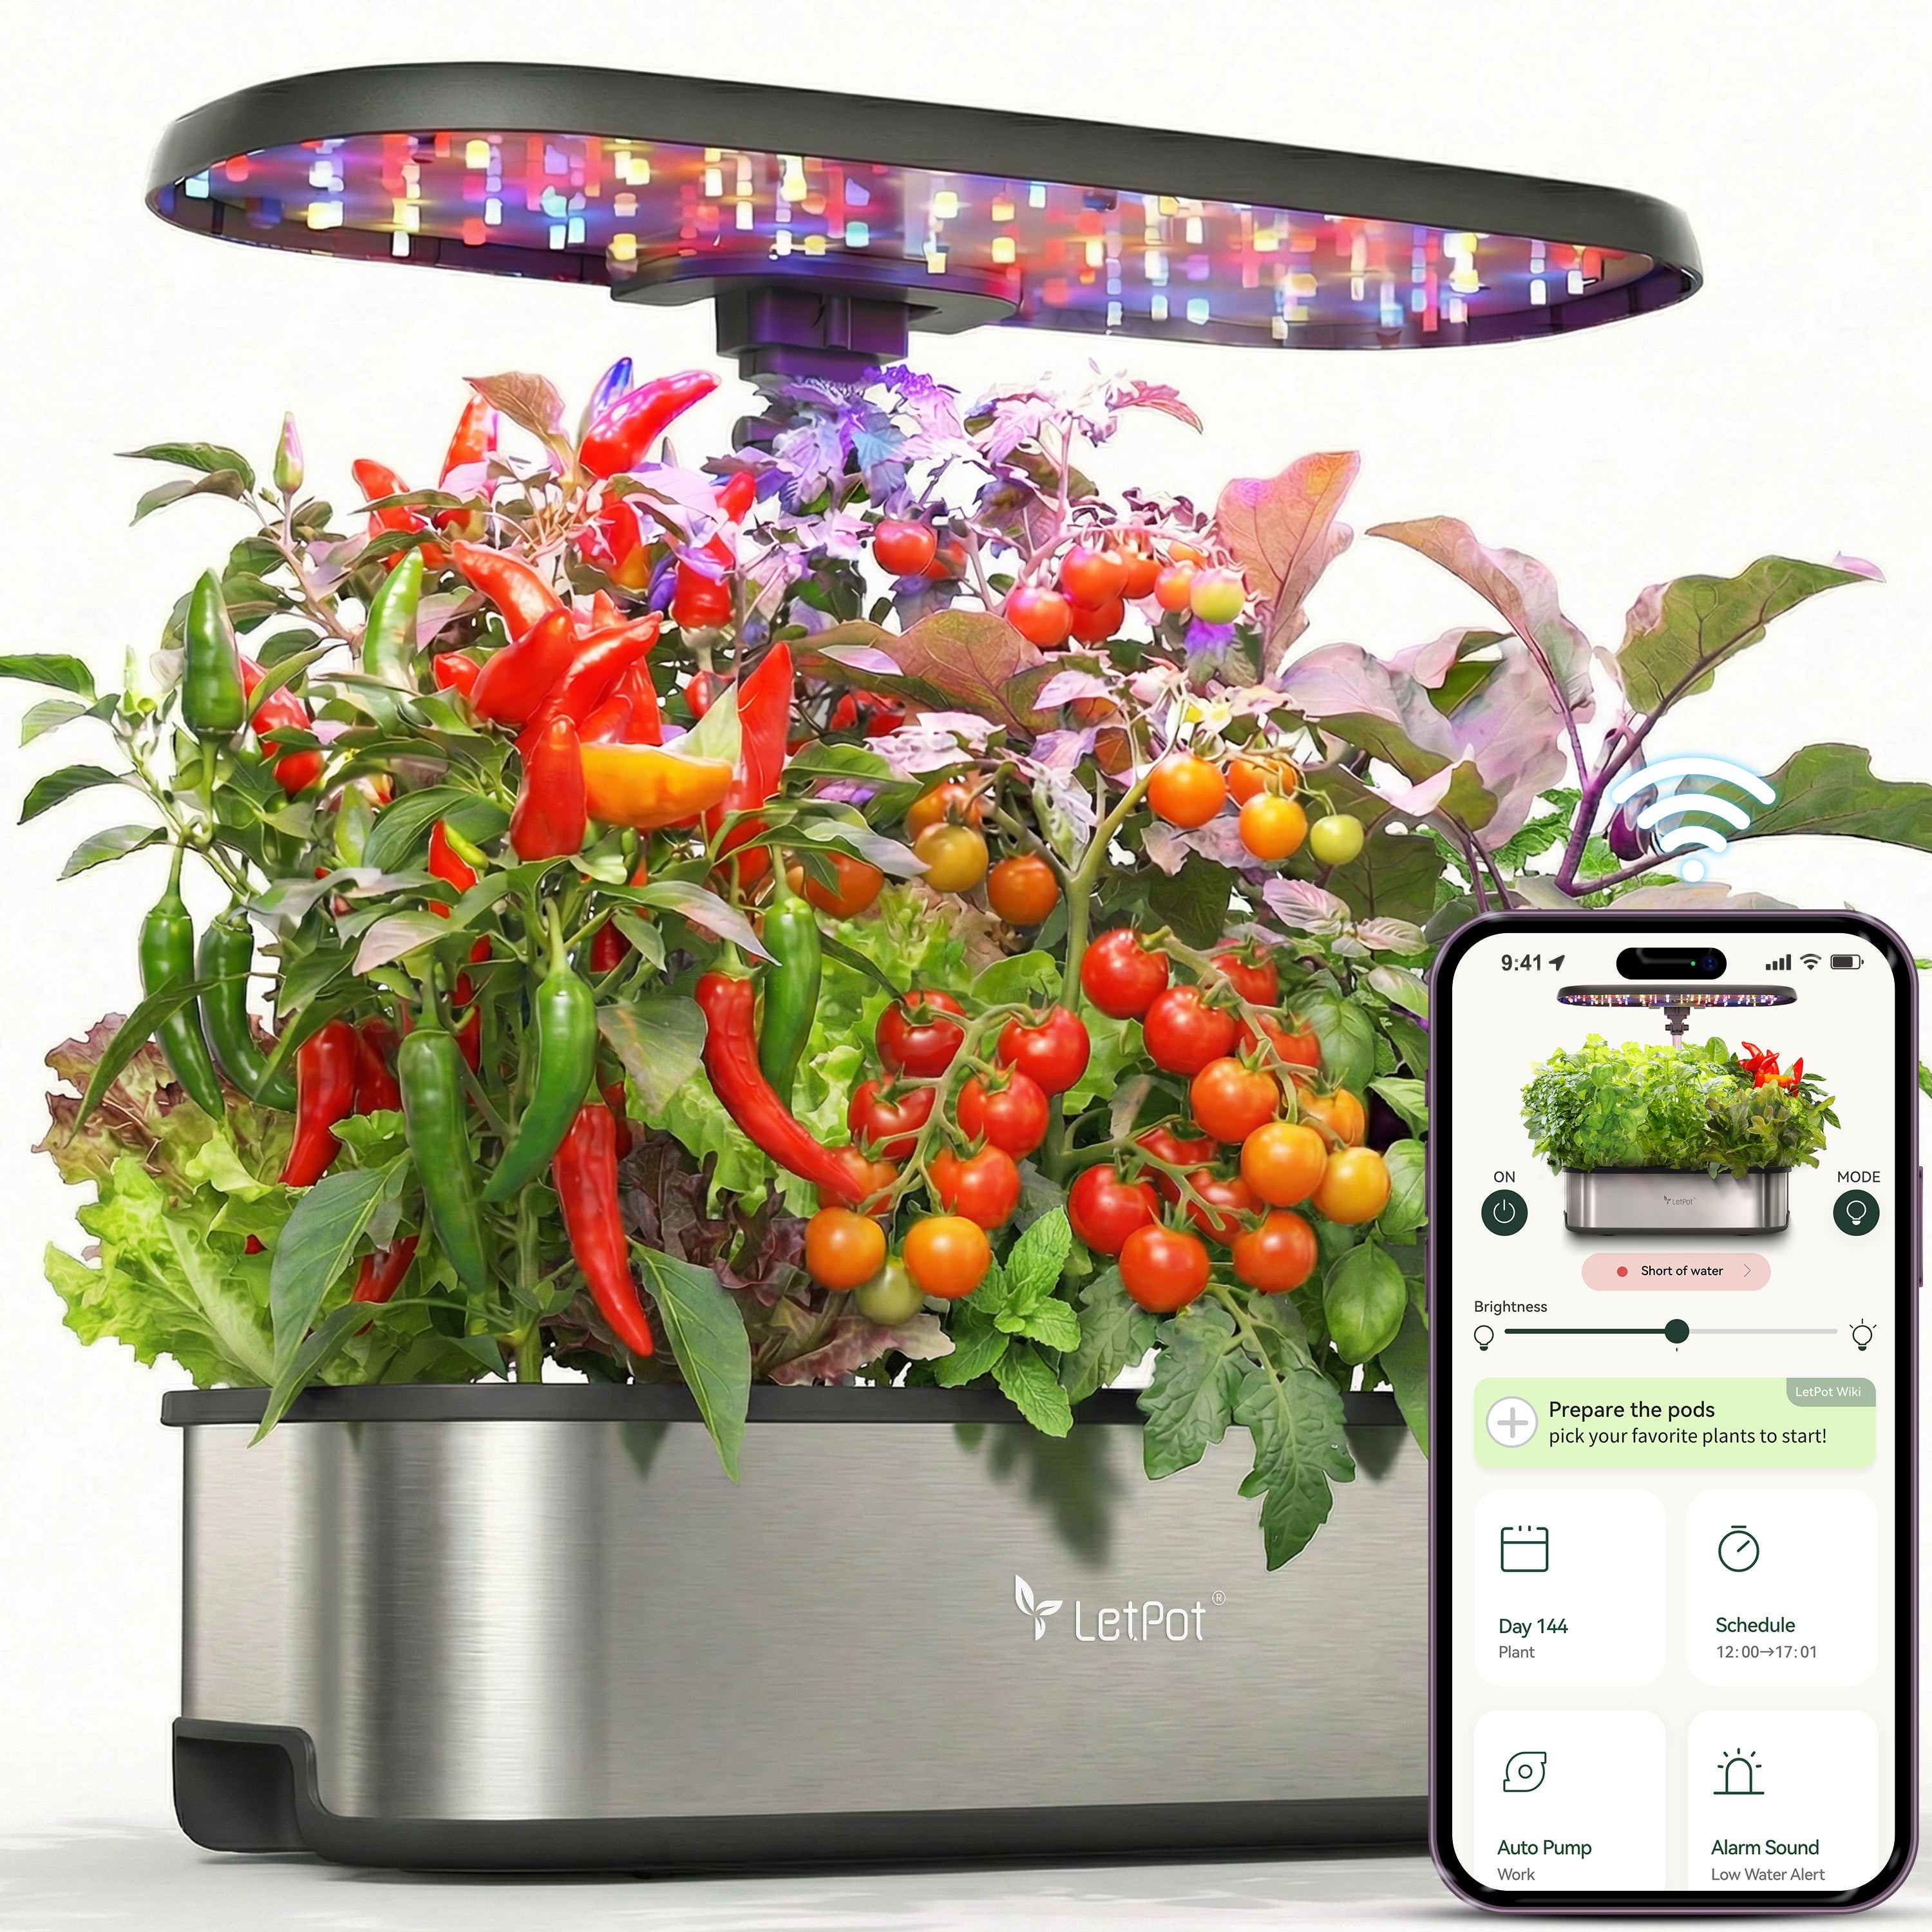
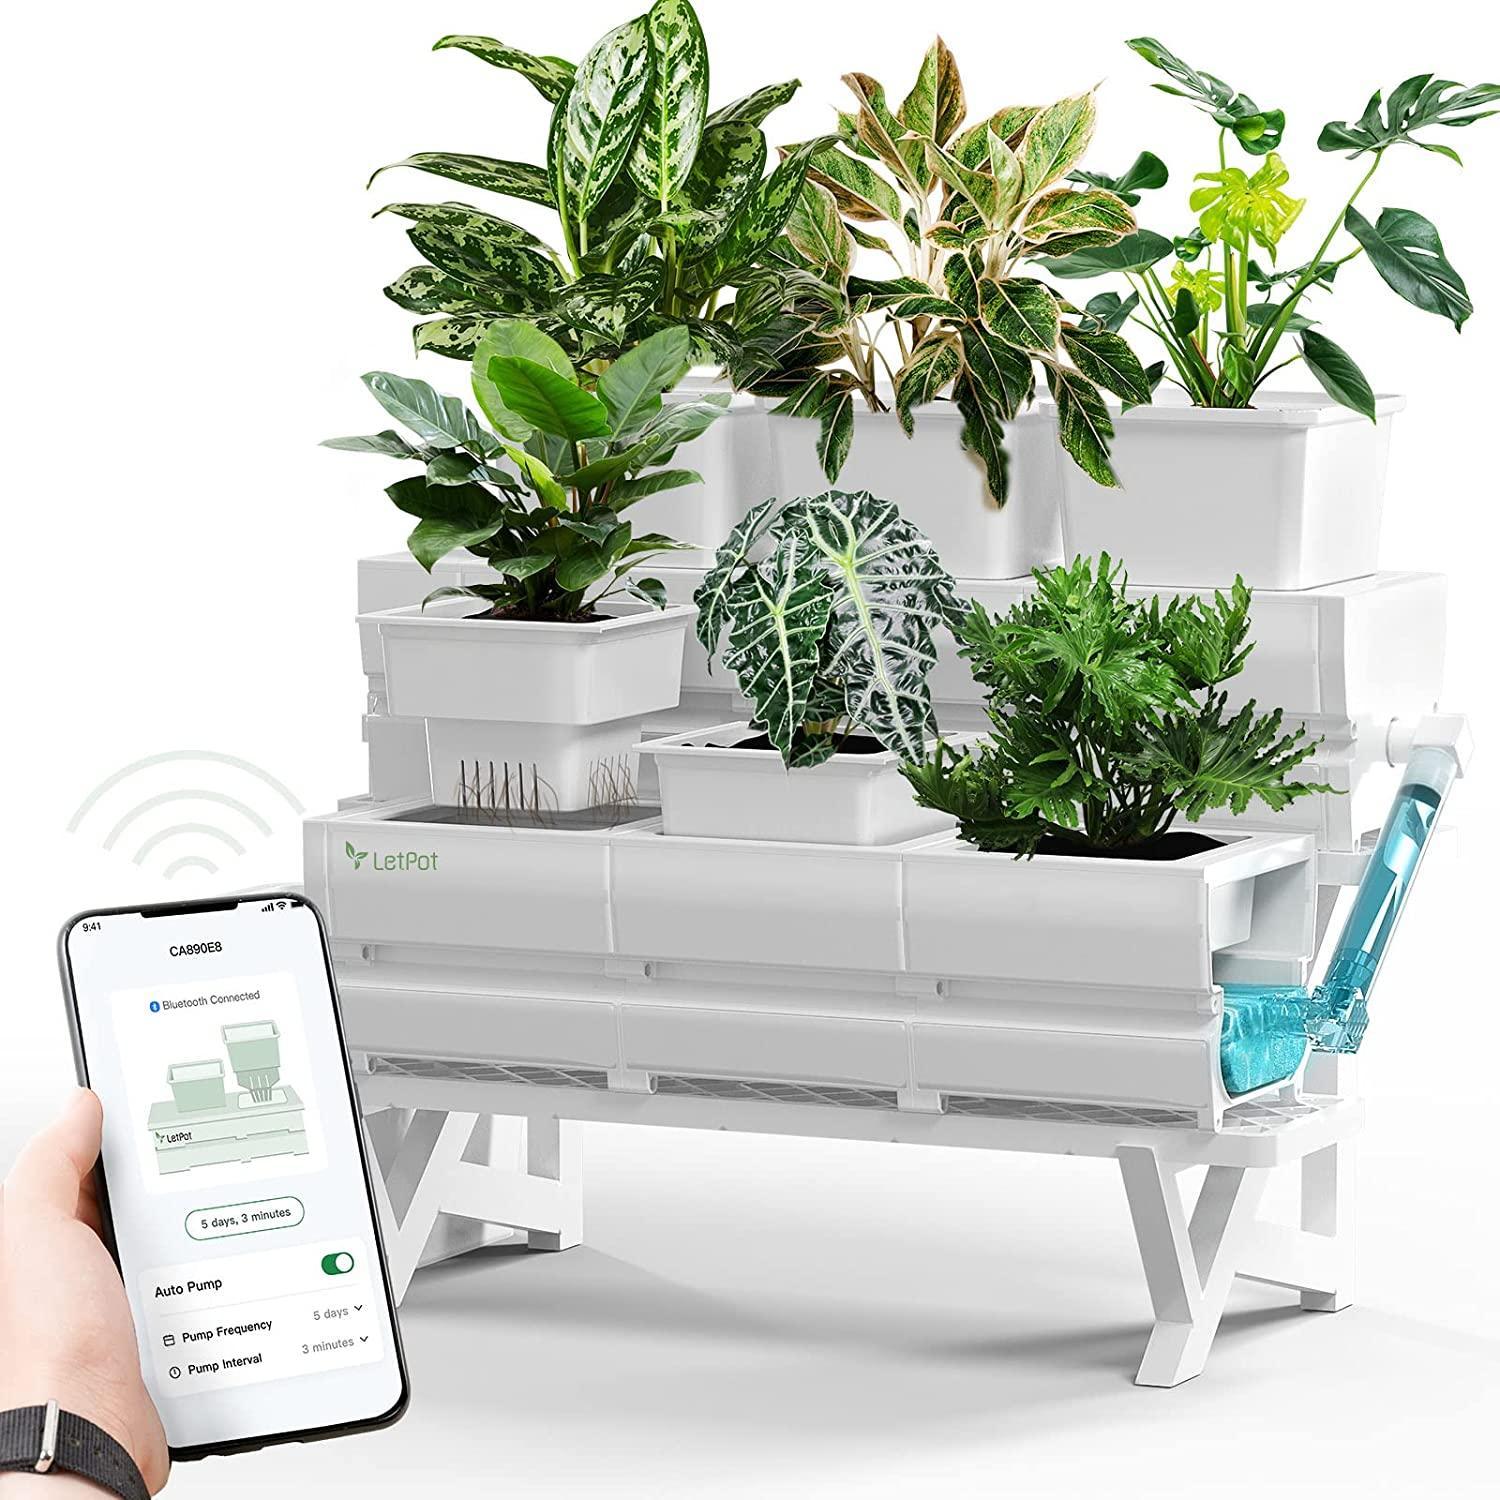
And with a compact smart hydroponic planter, even a kitchen corner can transform into a thriving mini-farm. Scallions reward your attention fast. In less than three months, you’ll have a never-ending supply of crisp greens.
Materials You’ll Need for Growing Hydroponic Scallions
 Before you start, assemble your toolkit.
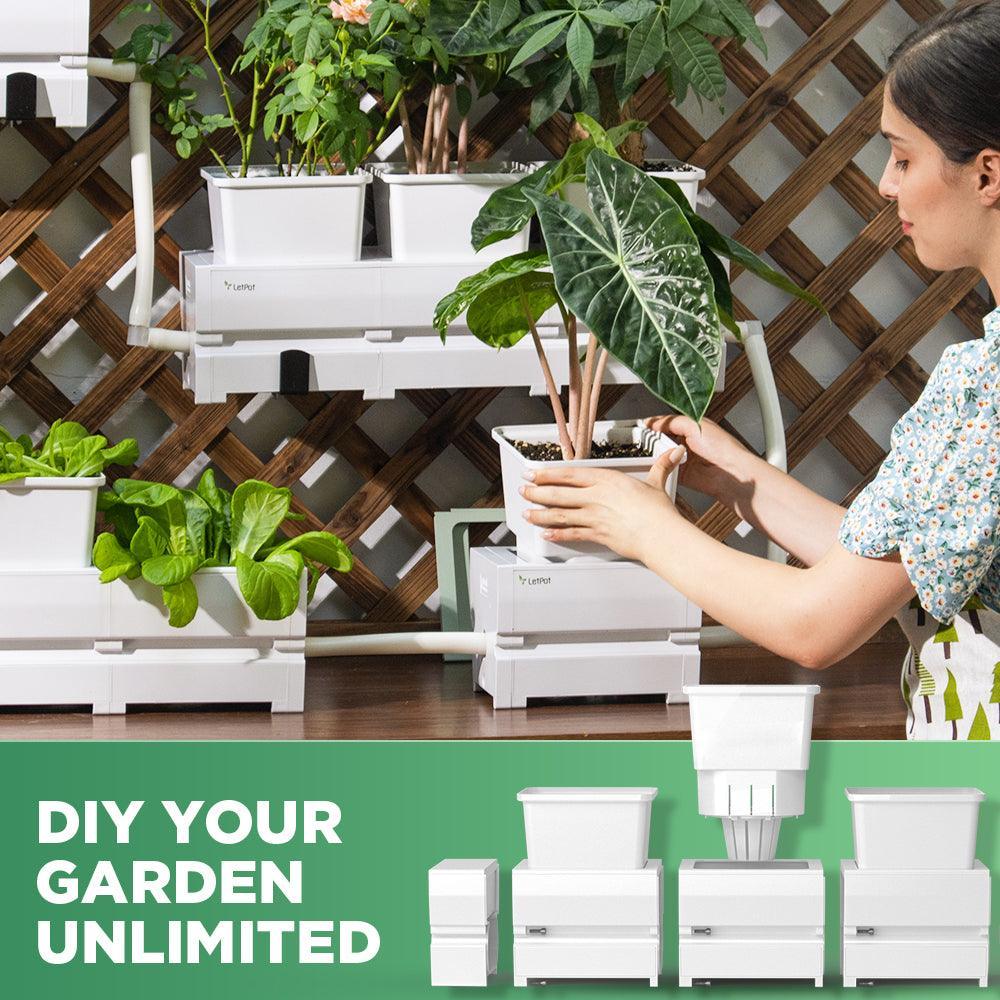
- An indoor hydroponic garden kit, or maybe something you’ve built yourself, pieced together from curiosity and care.
-
Scallion seeds, preferably the bunching kind, the ones that grow close, like family.
-
A growing medium: rockwool, coco coir, or perlite, each holding water like a promise.
-
A nutrient solution, tailored for leafy greens.
-
Tools to measure life’s unseen balance - your pH meter and EC meter.
-
Grow lights, steady and full-spectrum, your sun beneath the ceiling.
-
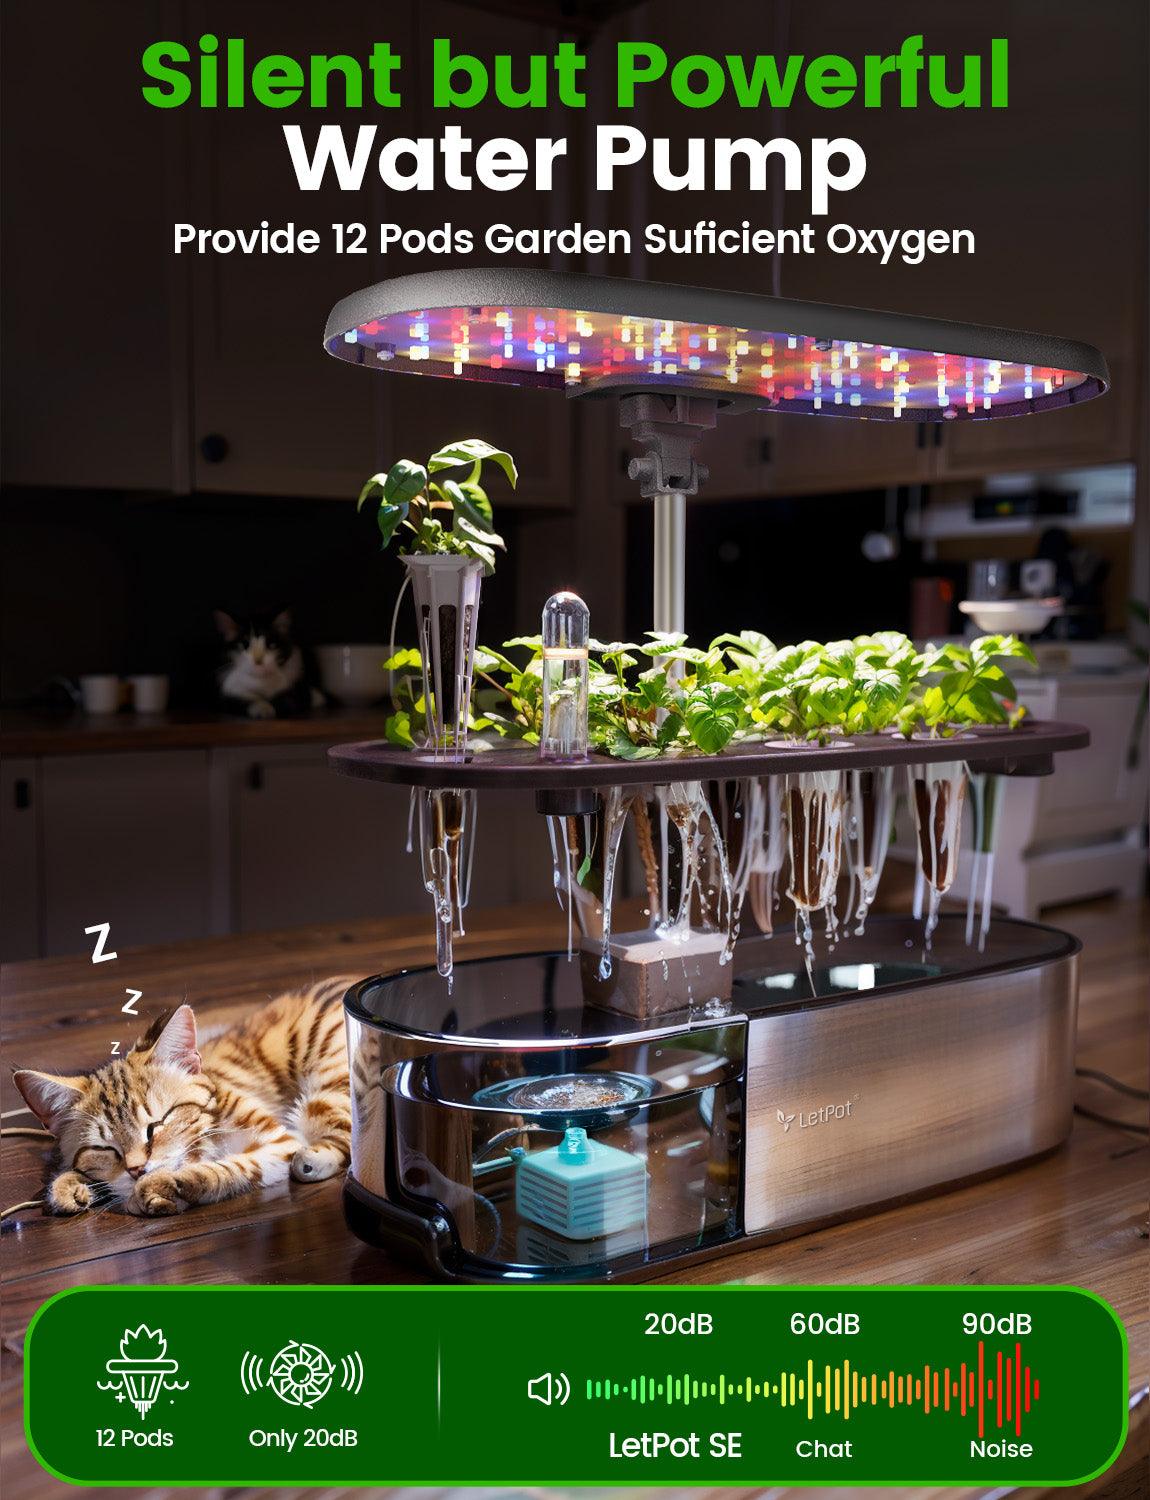
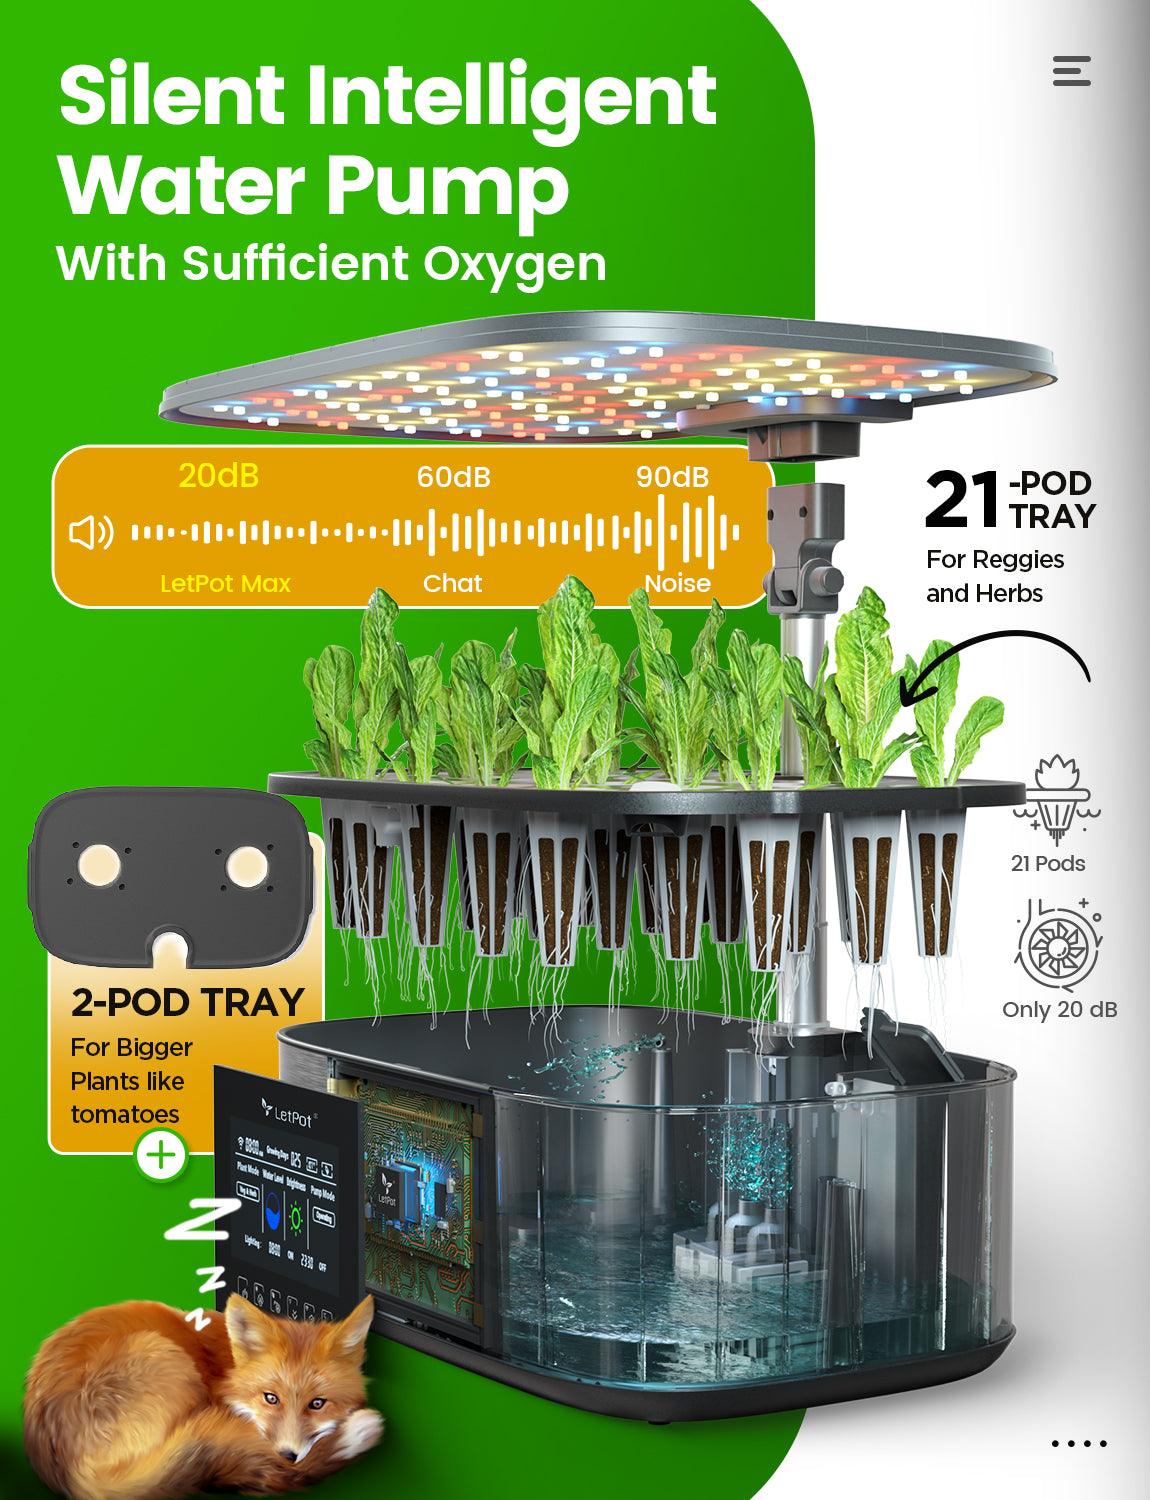
An air pump or water pump, keeping oxygen dancing through your reservoir.
-
Net pots and a container to hold it all together.
- And of course, a timer, because even plants find comfort in rhythm.
If you’re just beginning, start small. A modest countertop system will do, six to ten scallions is enough to learn the patience of their growth, to feel that quiet joy when green shoots rise.
Essential Supplies And Setup List

Let’s break down the must-haves and why they matter.
1. The System Itself:
Any type of hydroponics growing system can be used: Deep Water Culture (DWC), Nutrient Film Technique (NFT) or Ebb and Flow. In the case of scallions, DWC is sometimes the easiest: roots are placed in nutrient water that is constantly aerated.
2. The Reservoir
A 5 to 10 litre container would be suitable in small setups. Material used should be opaque to avoid the growth of algae.
3. Net Pots & Medium
Choose 2-inch net pots. Stuff them with rockwool cubes or coco coir; they do not absorb moisture or suffocating roots.
4. Lighting
Now let’s talk about light; the heartbeat of life itself.
Scallions, though humble, are children of the sun. Indoors, you must become their sunrise and their sunset.
- Fourteen to sixteen hours of steady light each day, that’s what keeps them strong.
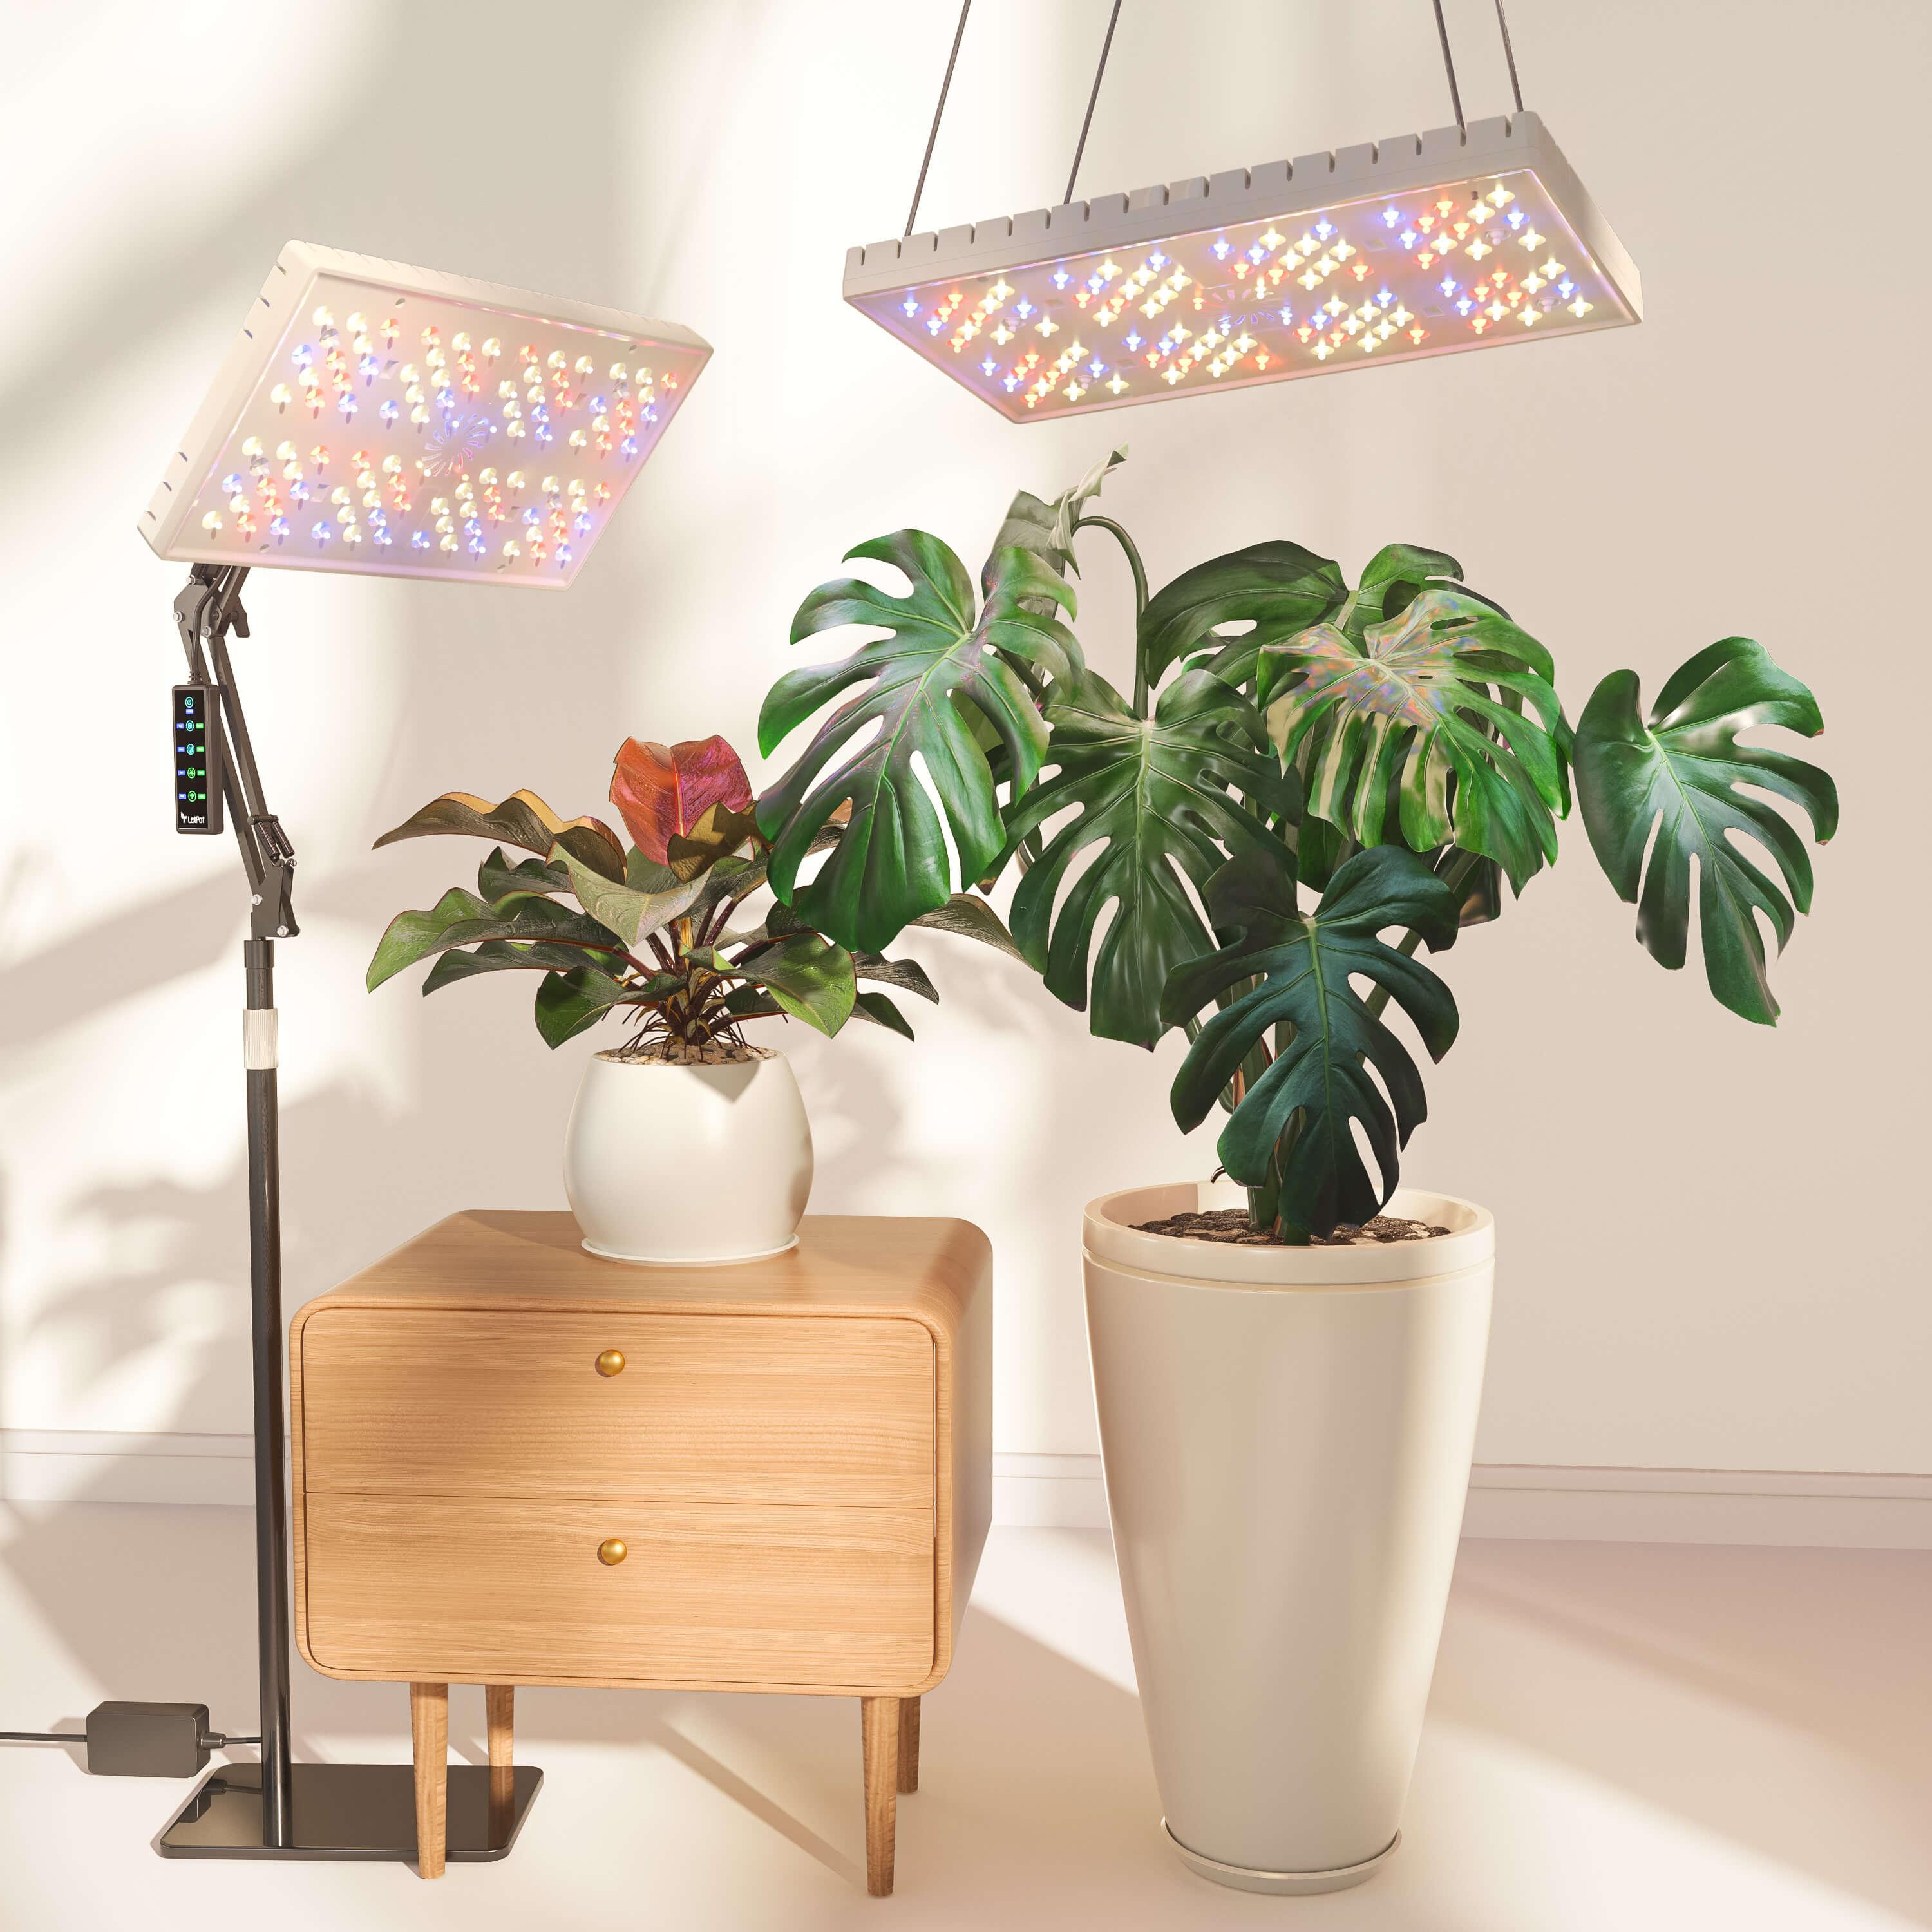
- Hang full-spectrum LED lamps about six to twelve inches above their green crowns. Not too close, or you’ll singe the tips. Not too far, or they’ll grow long and weary, chasing what they cannot reach.
Find that middle ground, and hold it. Because consistency is the quiet magic that turns good plants into great ones.
5. Monitoring Tools
Buy good quality pH and EC meters. You will be revisiting them a lot, particularly at the beginning.
So, how do you go from seed packet to crunchy greens? Let’s walk through it.
Step-by-Step Guide to Growing Hydroponic Scallions

1. Choosing the Right Scallion Seeds
Now, every journey begins with a seed.
And when it comes to scallions, not all seeds are born for the same path.
You’ll want the bunching kind; the ones that don’t form bulbs, but keep on giving. Cut them down, and they rise again. Quietly. Persistently. The way nature always finds a way back.
Names like Evergreen Hardy White and Tokyo Long White, they’ve earned their place in the gardener’s memory. Dependable, resilient, and perfect for the steady rhythm of an indoor garden.
Before you sow them, give them a little kindness. Soak the seeds in water for eight to twelve hours. Let them wake up slowly. That soak tells them it’s time to live again.
And soon enough, sometimes in just a single day, sometimes ten - you’ll see it: the first spark of germination. Tiny green threads pushing toward the light.
2. Selecting the Best Growing Medium for Scallions
Roots are funny things. They crave air as much as they crave water. And scallions, well, they like a balance, not too wet, not too dry.
That’s where the right growing medium comes in.
-
Rockwool cubes: They hold moisture like a memory, yet let the roots breathe easy. Start your seeds there. Watch for the first roots to break free, white and delicate, reaching for more. That’s your cue to transplant. And whatever you do, steer clear of heavy, dense materials. They may look sturdy, but to a root, they feel like a prison. Give your scallions space to stretch and grow. They’ll repay you in abundance.
-
Coco coir: sustainably better, well draining.
- Perlite or clay pebbles: best suited in NFT or Ebb and Flow systems.
Start seeds in rockwool cubes, then transplant once roots poke through. Avoid dense media, they suffocate scallion roots quickly.
3. Maintaining Proper Water Quality and pH Levels
Hydroponics lives and dies by water quality.
- Keep your pH between 6.0 and 6.5. That’s the sweet spot for nutrient uptake.
- Too acidic (<5.8)? Calcium and magnesium absorption drops. Too alkaline (>7)? Iron becomes unavailable, and leaves yellow.
As for EC (electrical conductivity), follow the scallion’s life cycle stages:
- Germination: 750–1000 µS/cm.
- Seedling: 800–1200 µS/cm.
-
Growth: 1000–1300 µS/cm.
Check values every two days. Adjust using diluted nutrient solution or fresh water. pH drift is natural, don’t panic. Just correct gradually.
4. Preparing and Using Nutrient Solutions
Here is the trickiest part; to have your nutrient solution right.
Scallions are intensive nitrogen feeders, in particular, in the vegetative growth. Select a hydroponic combination that is targeted at leafy greens. It should contain:
- N (Nitrogen): Favors shining green leaves.
- K (Potassium): Hardens cell walls, improves taste.
- Ca, Mg, Fe, Mn: For the general health of the plants.
Mix natrients according to the manufacturer’s directions, then test EC and pH before adding to your system.
Now, this is crucial: change your solution every 10–14 days. Stagnant water promotes bacterial development and nutrient imbalance. Have your reservoir oxygenated either by air stone or circulation pump.
5. Providing the Right Lighting Conditions
Light, like time, must be steady. Scallions don’t crave the harsh brilliance of fruiting crops, they thrive on rhythm, not intensity.
- Give them their 14 to 16 hours of light every single day. Keep it full-spectrum, somewhere between 4000 and 6500 Kelvin.
- Suspend the lamps 6 to 12 inches above the tallest leaves. Watch them closely. If the tips begin to brown, raise the light. If they stretch too thin, lower it a touch.
- Use timers. Machines don’t forget what humans often do. Let your lights rise and rest on schedule, and your scallions will grow with quiet confidence - day after day, green as spring itself.
6. Perfect Climate and Temperature
- Keep your growing space between 18–22°C (64–72°F).
- Below 16°C, scallions slow dramatically. Above 25°C, they get leggy and stressed.
- Humidity should hover around 60–70%. Too dry and leaf tips brown; too damp and you’ll risk fungal issues.
- If you’re using an enclosed indoor hydroponic garden kit, check for built-in fans. Air circulation keeps disease at bay.
7. Daily Care and Maintenance for Hydroponic Scallions
Routine is your best defense against problems.
- Keep tabs on the water level. Roots should stay submerged but not drowned.
- humidity and temperature needs to be checked often
- Ensure the leaf color remains green .
- Top off evaporated water with pH-balanced water.
After a week or two, give the reservoir a good clean, to prevent salt buildup. Wipe algae from surfaces. Sanitation keeps your hydroponics growing system efficient.
8. How to Prune Scallions Properly
Scallions don’t need heavy pruning. Still, trimming dead or yellow leaves helps air circulation and directs nutrients toward active growth.
Cut at an angle with sterilized scissors, clean cuts heal faster. Don’t overdo it. Leave healthy green shoots untouched unless harvesting.
9. Managing Plant Spacing and Growth
Scallions are polite little neighbors. They don’t fight, they don’t compete, but even the kindest of neighbors need their space.
Give them room to breathe. Two to three inches between each plant, that’s enough. Crowding them too close, and you’ll see it - thin stalks, weak leaves, struggling to find their place in the crowd.
In smaller systems, you can plant in stages. Stagger them. Let one batch mature while another begins its climb. That way, you’ll always have fresh greens ready for the table; a quiet, endless rhythm of growth and renewal.
And if you’re working with a Deep Water Culture setup, watch the roots. They’re explorers by nature - always searching, always intertwining. If they tangle too much, trim them gently when you refresh the nutrient tank. Roots, after all, need freedom too.
10. Pest Prevention and Control
Here’s some good news: scallions grown in water rarely draw the wrong kind of attention. Pests are few and far between. But “rarely” isn’t “never.”
Keep your eyes open. Watch for aphids, thrips, and fungus gnats. The smallest signs.. Such as a speck, a wilted edge, often whisper the first warning.
Now, here’s what helps:
- Keep your humidity moderate. Not too wet, not too dry.
- Remove old leaves or debris before decay invites trouble.
- Hang a few sticky traps around your setup — silent sentinels that catch the intruders.
-
And if you see pests beginning to stir, wipe the leaves with a gentle neem oil solution. Nature’s own shield.
Whatever you do, avoid harsh chemicals. Your hydroponic system recycles its water, and poisons, once in, are hard to chase out. Remember - in hydroponics, what you give to one plant, you give to them all.
11. Disease Prevention and Treatment
Hydroponic gardens are cleaner by design. But no system, however perfect, is beyond the reach of time and neglect.
If you ever face trouble, it’ll likely come in the form of root rot or mildew. Root rot; that quiet thief, slips in when the water grows stale, when oxygen runs low. Keep your pumps humming. Keep your water fresh and alive. That’s how you keep rot at bay.
Powdery mildew, on the other hand, loves still air and heavy moisture. It creeps in slowly, painting leaves in a pale dust. Turn up your fans. Let the air move. Keep your space dry between mistings.
And if sickness does take hold, act fast. Trim away the wounded parts, sterilize your tools, and separate the plant if you can. In a hydroponic garden, one infection can travel fast.
Think of your setup not as a patch of dirt, but as a laboratory of life. Clean. Precise. Balanced. That’s how you keep nature in harmony indoors.
12. When and How to Harvest Scallions
There comes a moment.. sixty, maybe ninety days after you begin - when your patience pays off.
The stalks stand tall, green and proud. Some thin and tender, others thick and sharp with flavor. That’s when you know it’s time.
If you like them mild, harvest early. Young shoots bring a soft, onion-sweet taste. But if you crave a bit more bite, let them grow thick. Give them time to find their full voice.
When you’re ready, you’ve got two choices.You can pull the whole plant - roots, leaves, the works, and start anew.
Or, you can cut the greens, leaving just an inch of base behind. Do that, and nature will surprise you. Within weeks, the scallions will rise again, green and alive as before.
That’s the beauty of it; a hydroponics growing system that gives and gives again, as long as you keep its balance steady.
When you’ve gathered your harvest, rinse them gently in cool water. Feel their crispness between your fingers. Pat them dry and wrap them loosely in a damp paper towel.
Place them in your refrigerator, and they’ll keep for days, maybe longer. Each time you open that fridge door, you’ll be reminded of something simple, something ancient: with just light, water, and patience, life always finds a way.
Extra Tips For Maximizing Growth
- Rotate light direction weekly to encourage even growth.
- Trim overgrown roots if they clog your system.
- Clean with fresh water after every few weeks so that no mineral builds up.
-
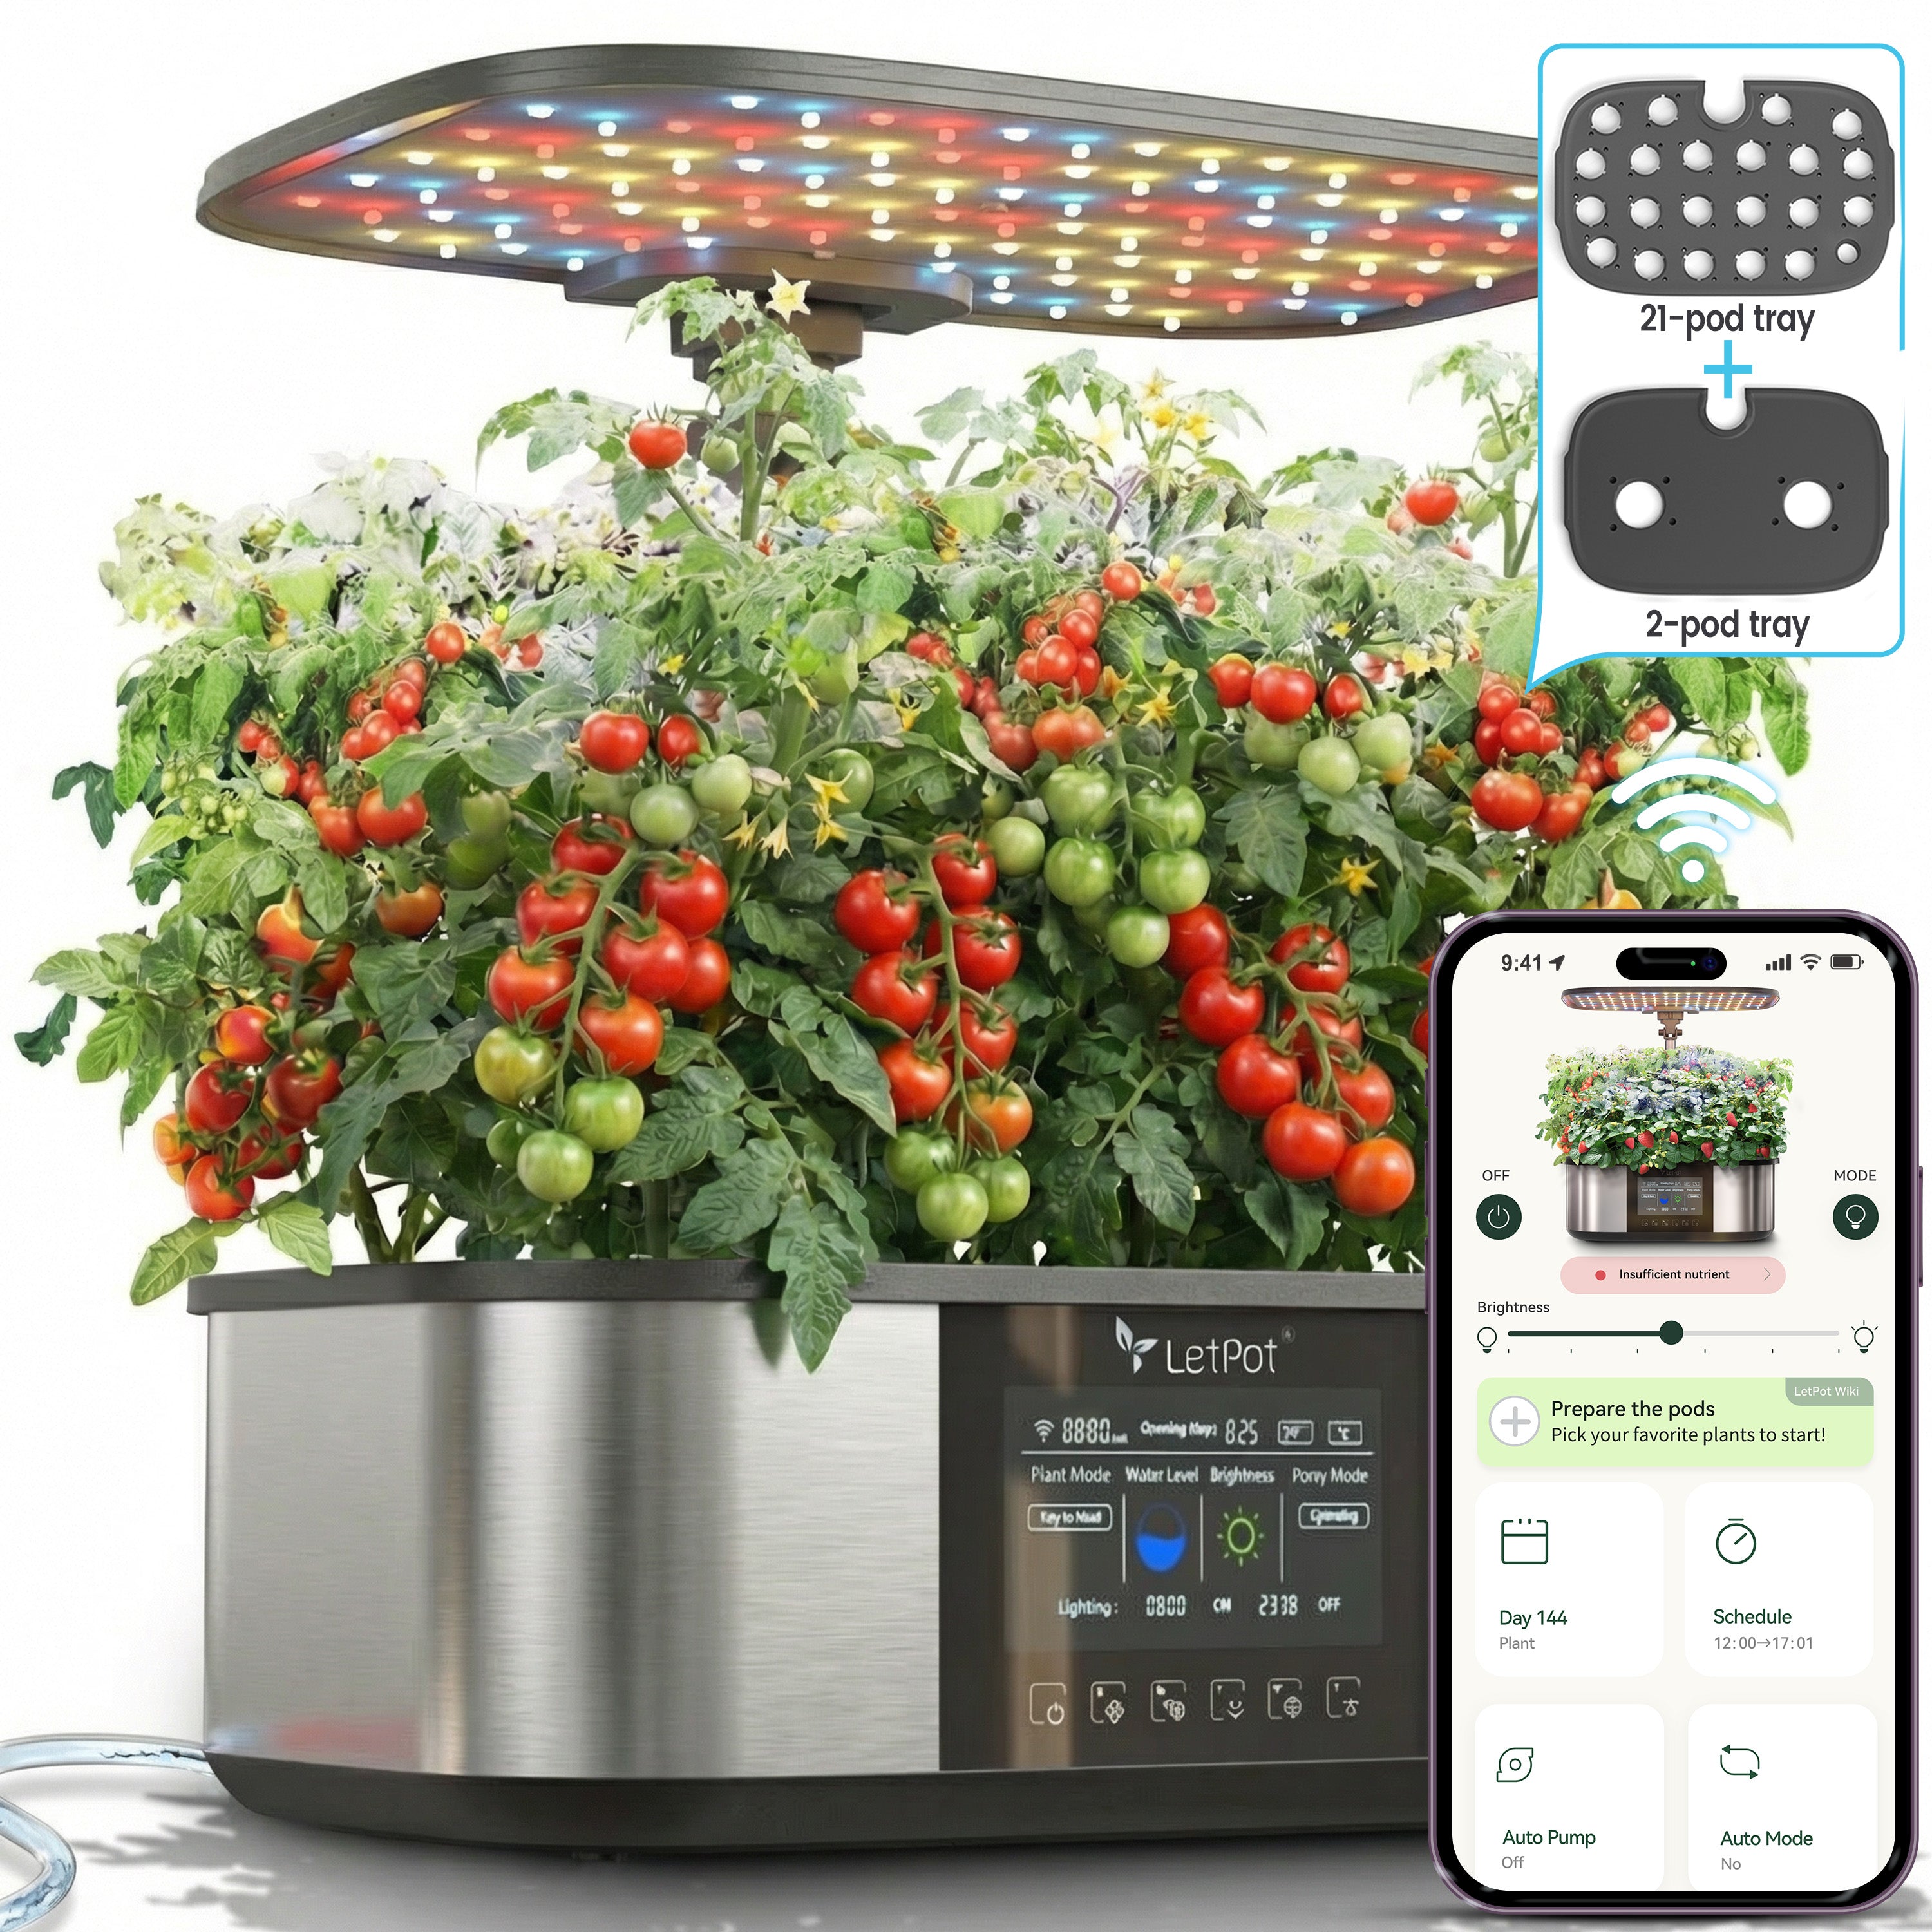
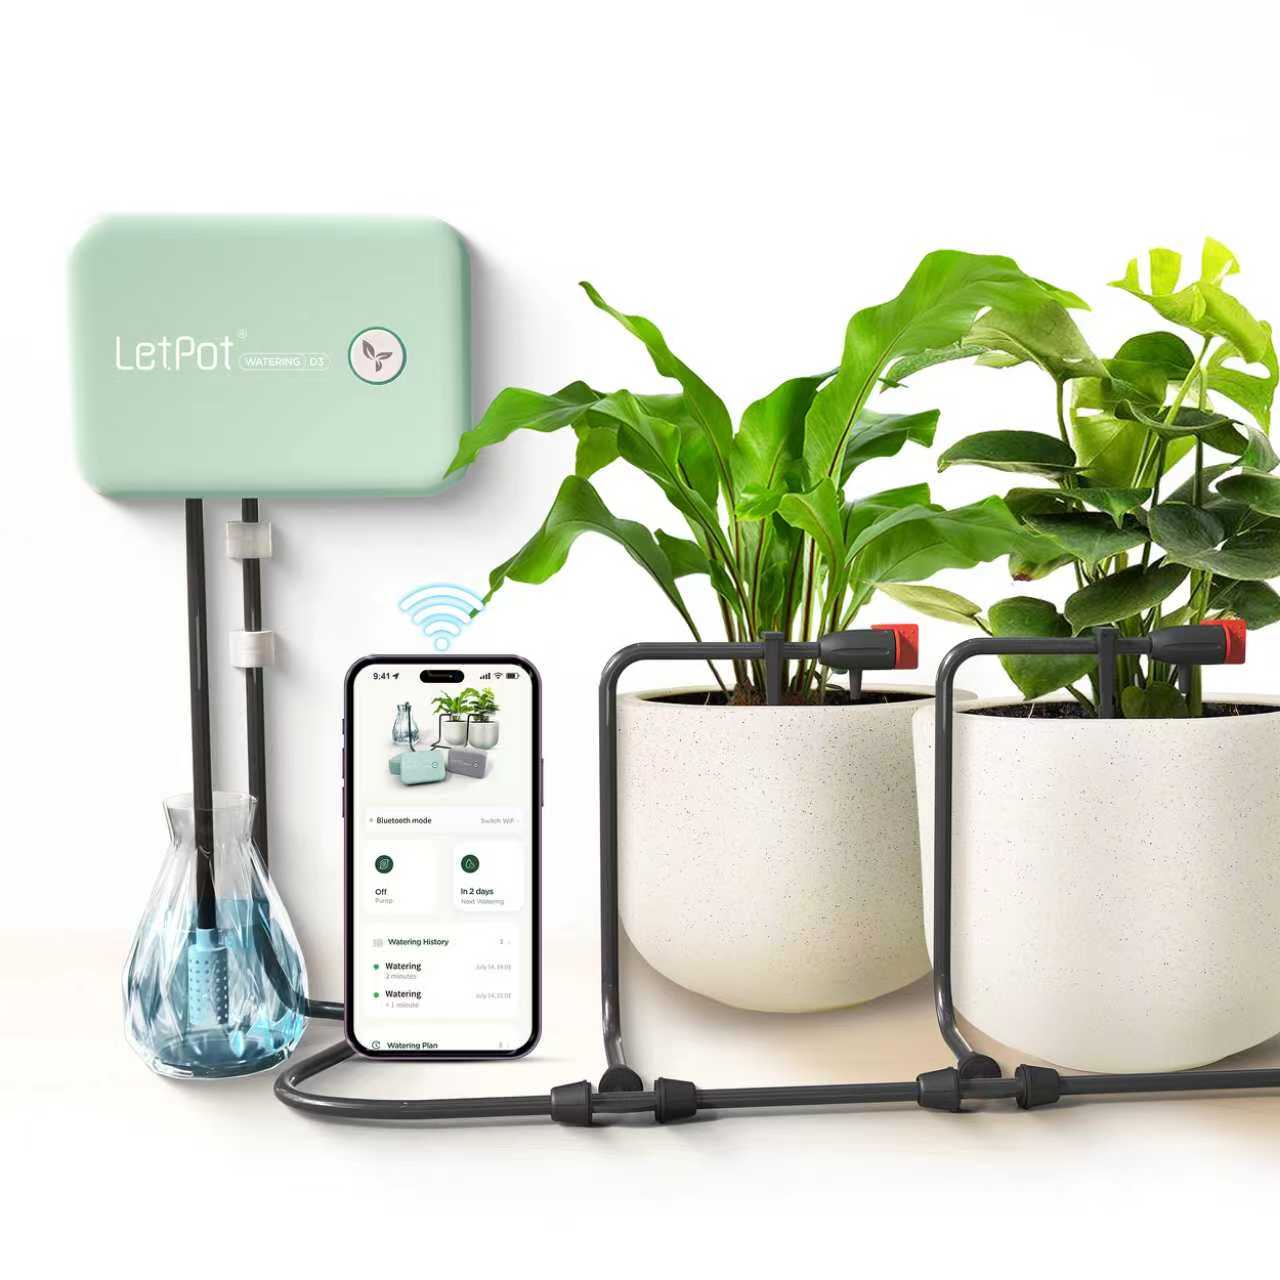
If using a smart hydroponic planter, use app notifications for nutrient and water reminders - automation helps maintain consistency.
Now this is the thing about scallions, they are forgivers. Even when you do get it wrong: poor PH, missed lunch, they will be up within hours when you get things back on track.
Final Thoughts
Raising scallions under a hydroponic growing system is a combination of both science and pure delight. You control all the characteristics: the temperature, the light, the pH, and the nutrients. Maintain a constant: temperature between 18 to 22 C, pH between 6-6.5, light between 14-16 hours in the day and EC not exceeding 1300 uS/cm.
Do it and you will be rewarded by nature with green shoots - fresh, green, and crisp, fragrant, and ready to top your morning eggs or a bowl of ramen.


Leave a comment
All comments are moderated before being published.
This site is protected by hCaptcha and the hCaptcha Privacy Policy and Terms of Service apply.