
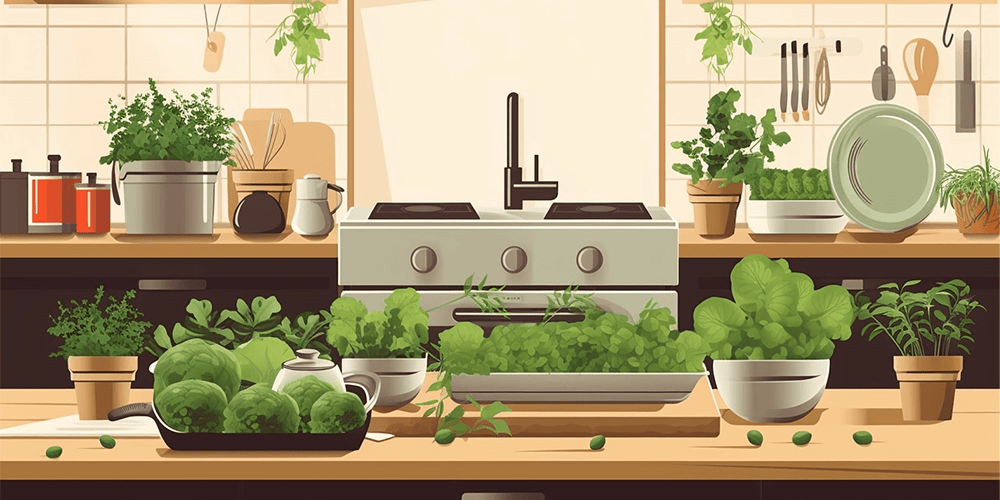
Hydroponics is a unique method of gardening that involves growing plants in a soilless medium, typically water. The benefits of a hydroponic garden include a faster growth rate (30-50% faster) and a larger yield compared to traditional soil gardening. Hydroponic gardens also tend to have fewer problems with pests, bugs, and diseases. Here's a step-by-step guide on how to create your own hydroponic garden:
The materials that need to be prepared by yourself are (the experiment used white, but it is not enough to prevent green algae)
1x hydroponic box (try to choose opaque, corrosion-resistant,)
1x plastic version
1x Water pump circulator/oxygenator
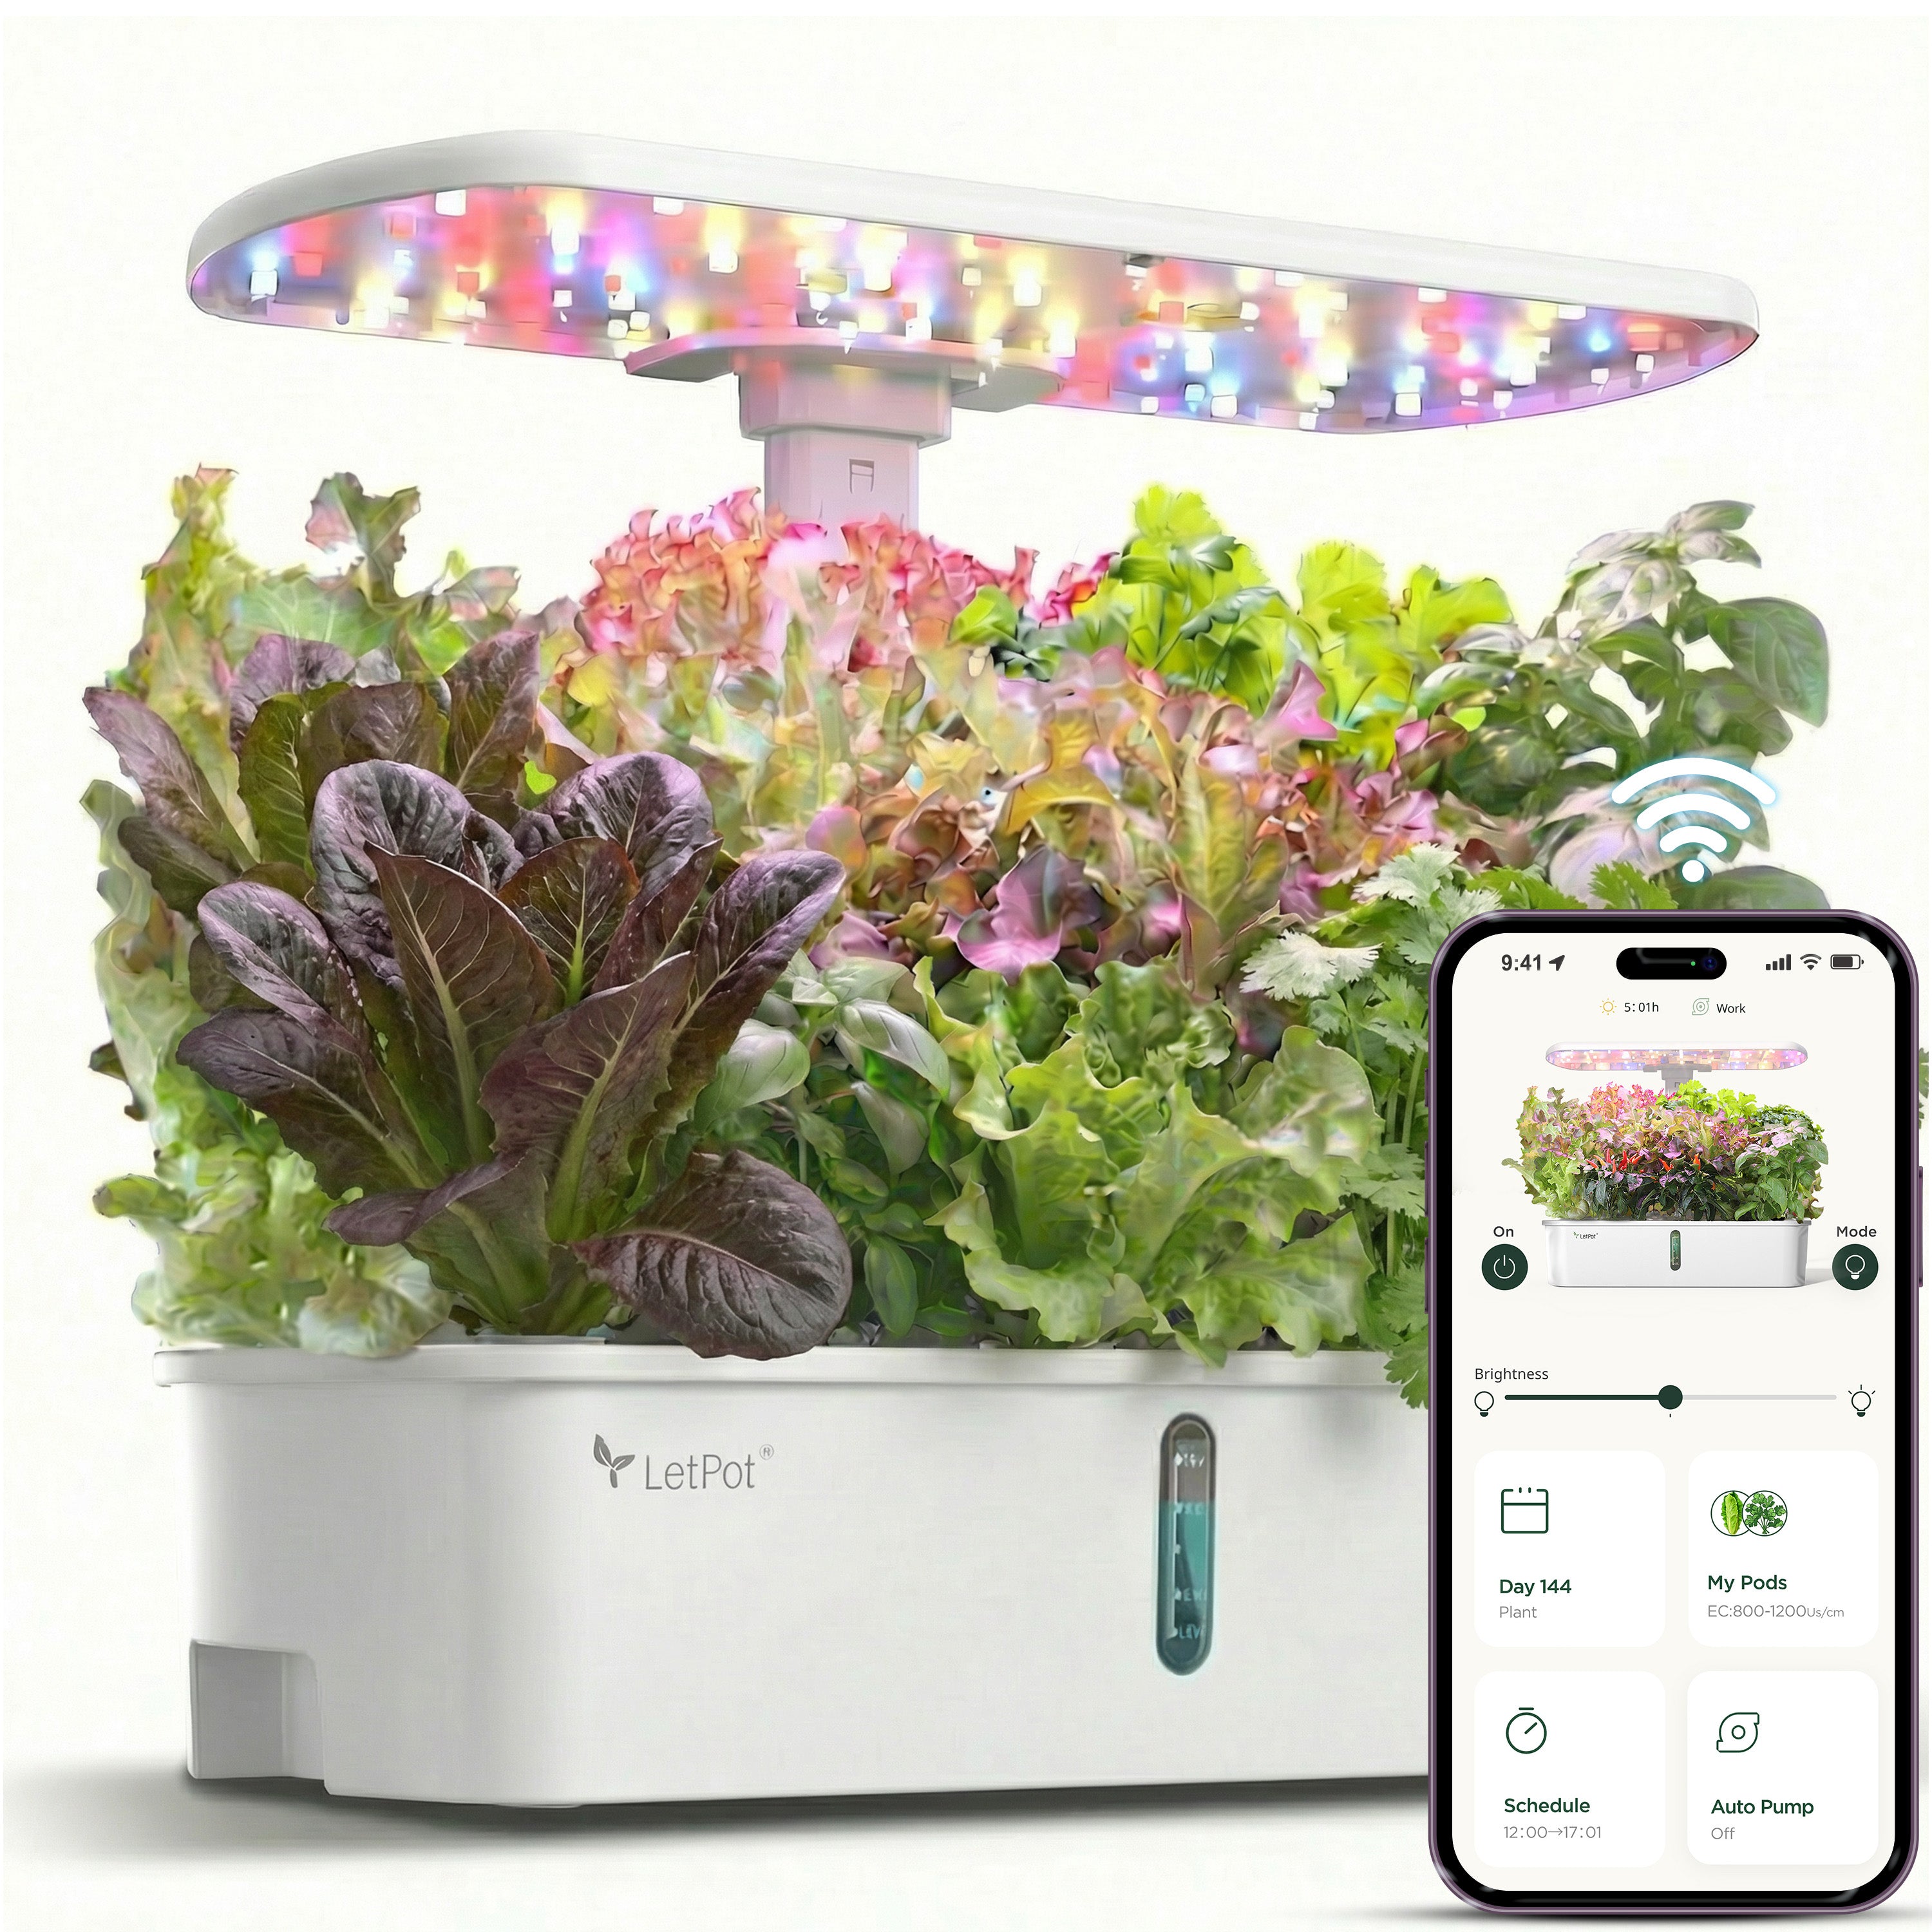
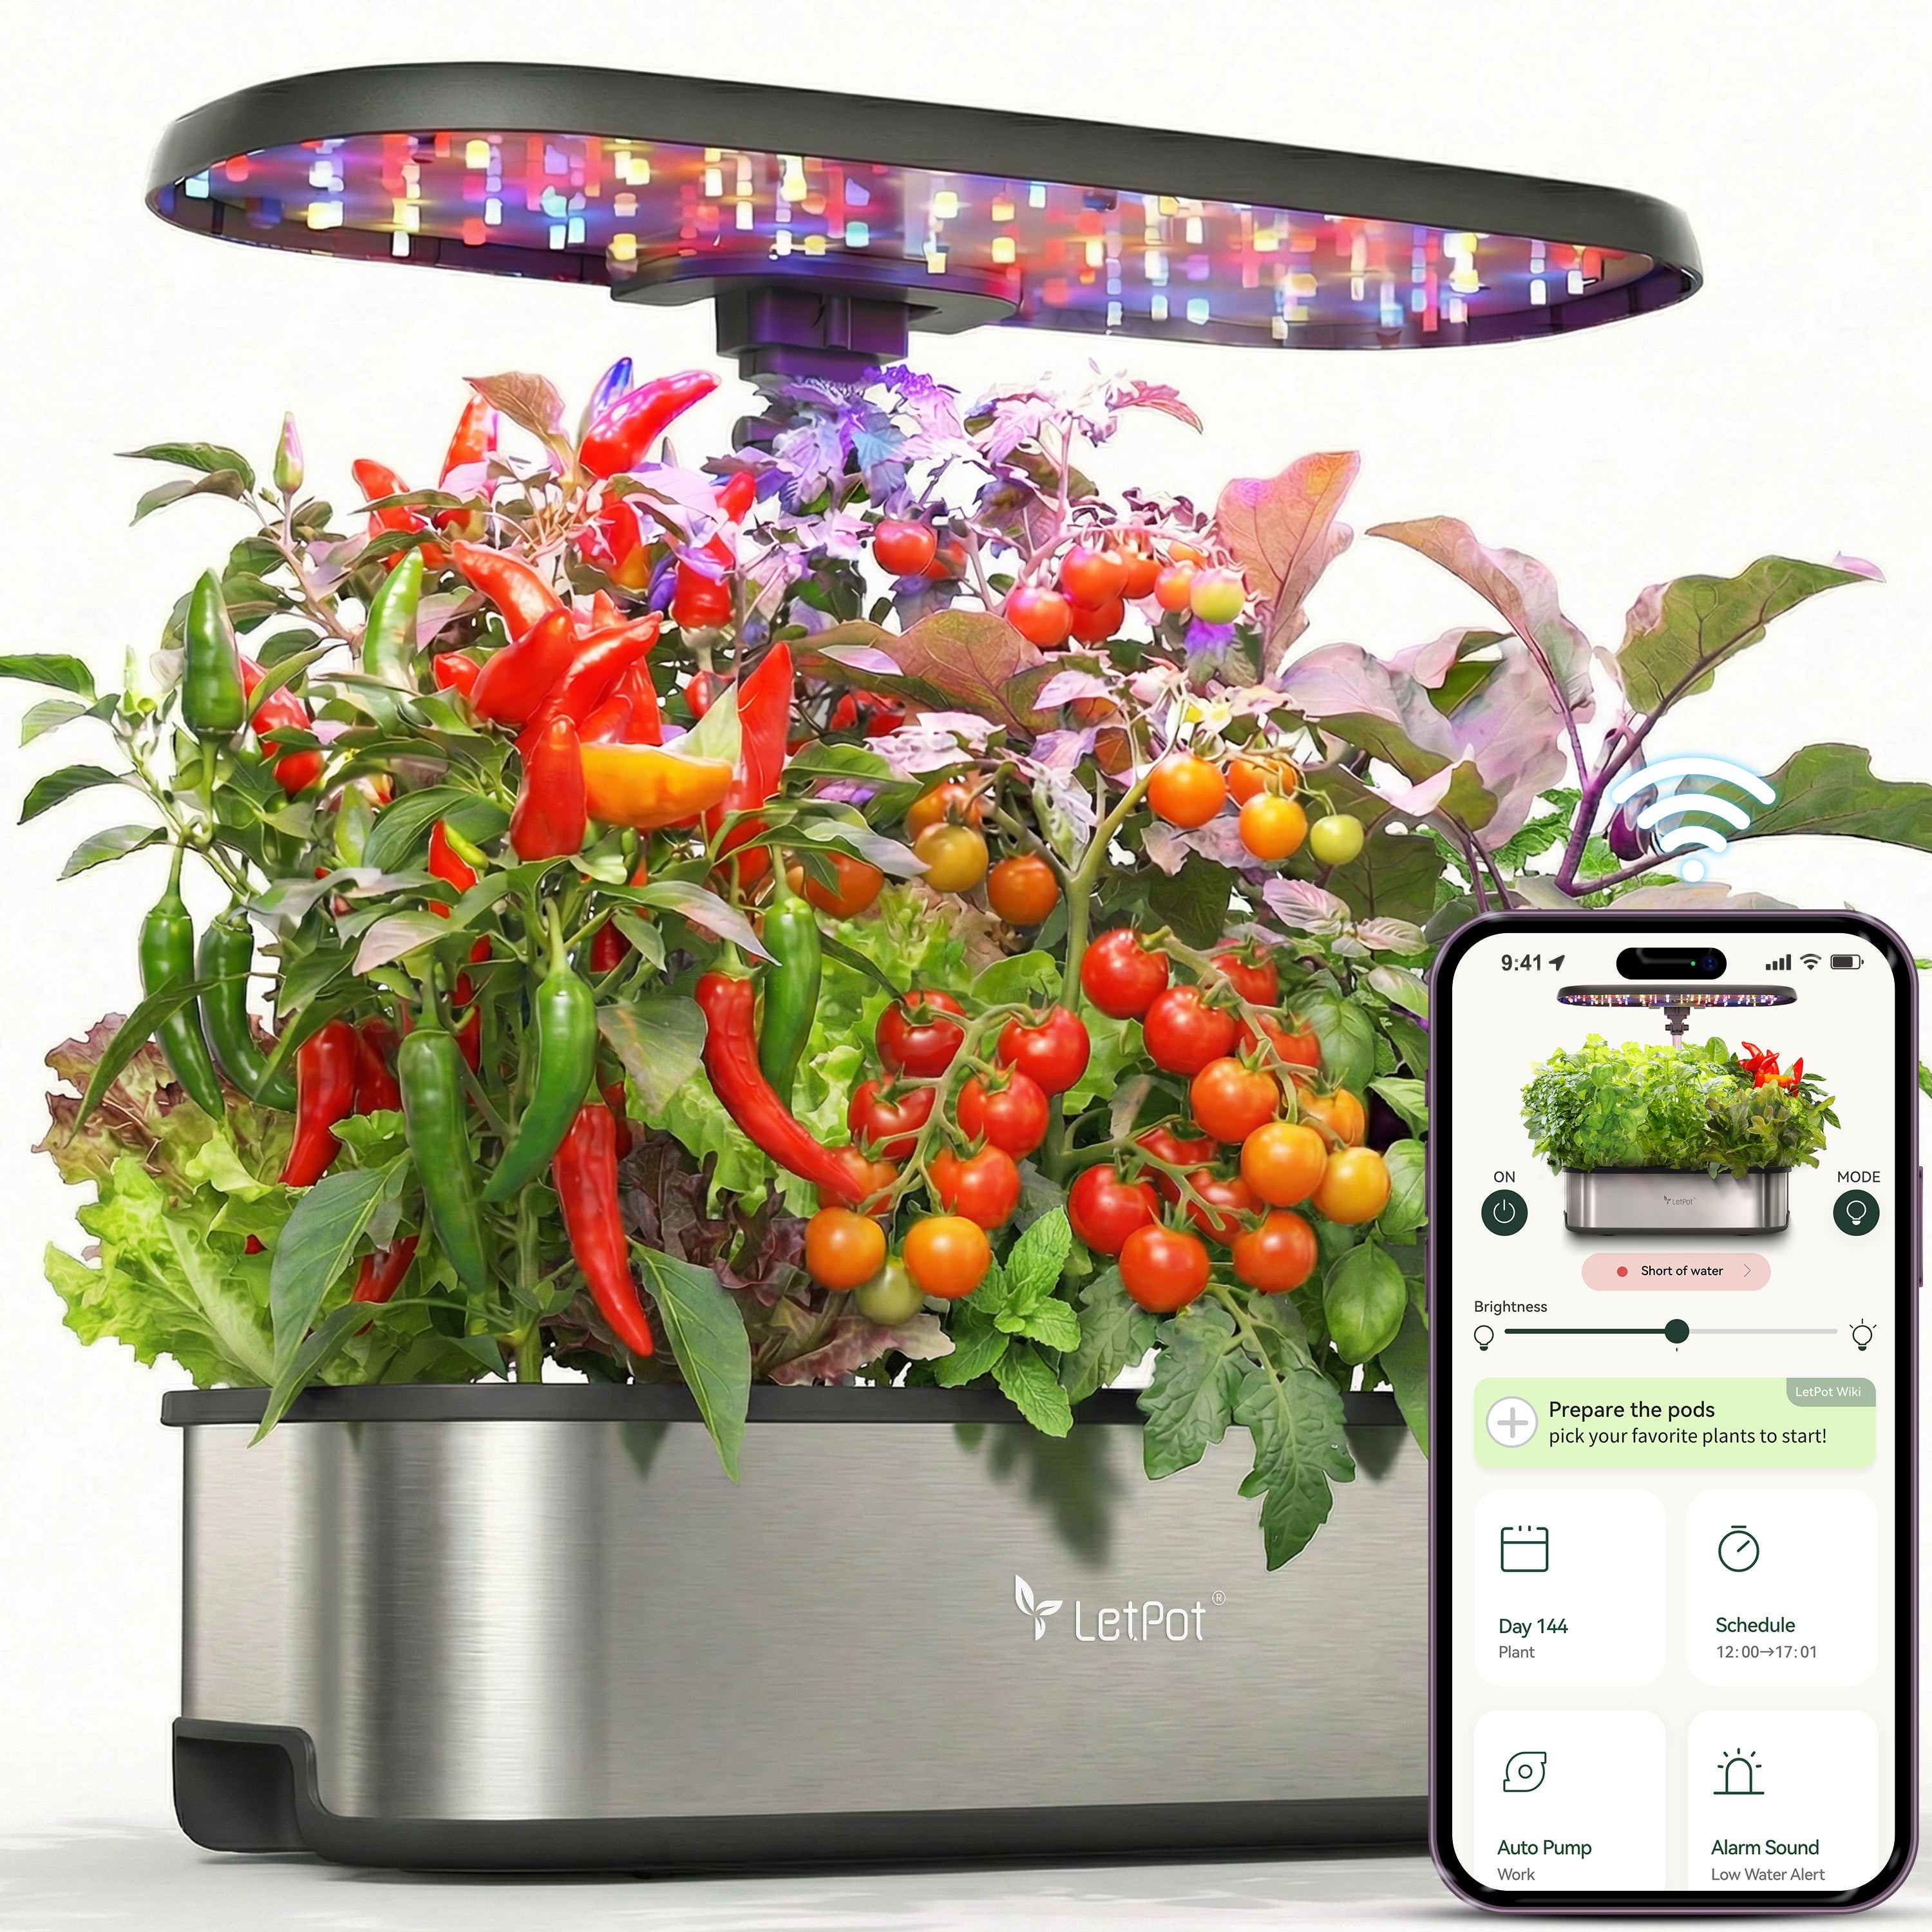
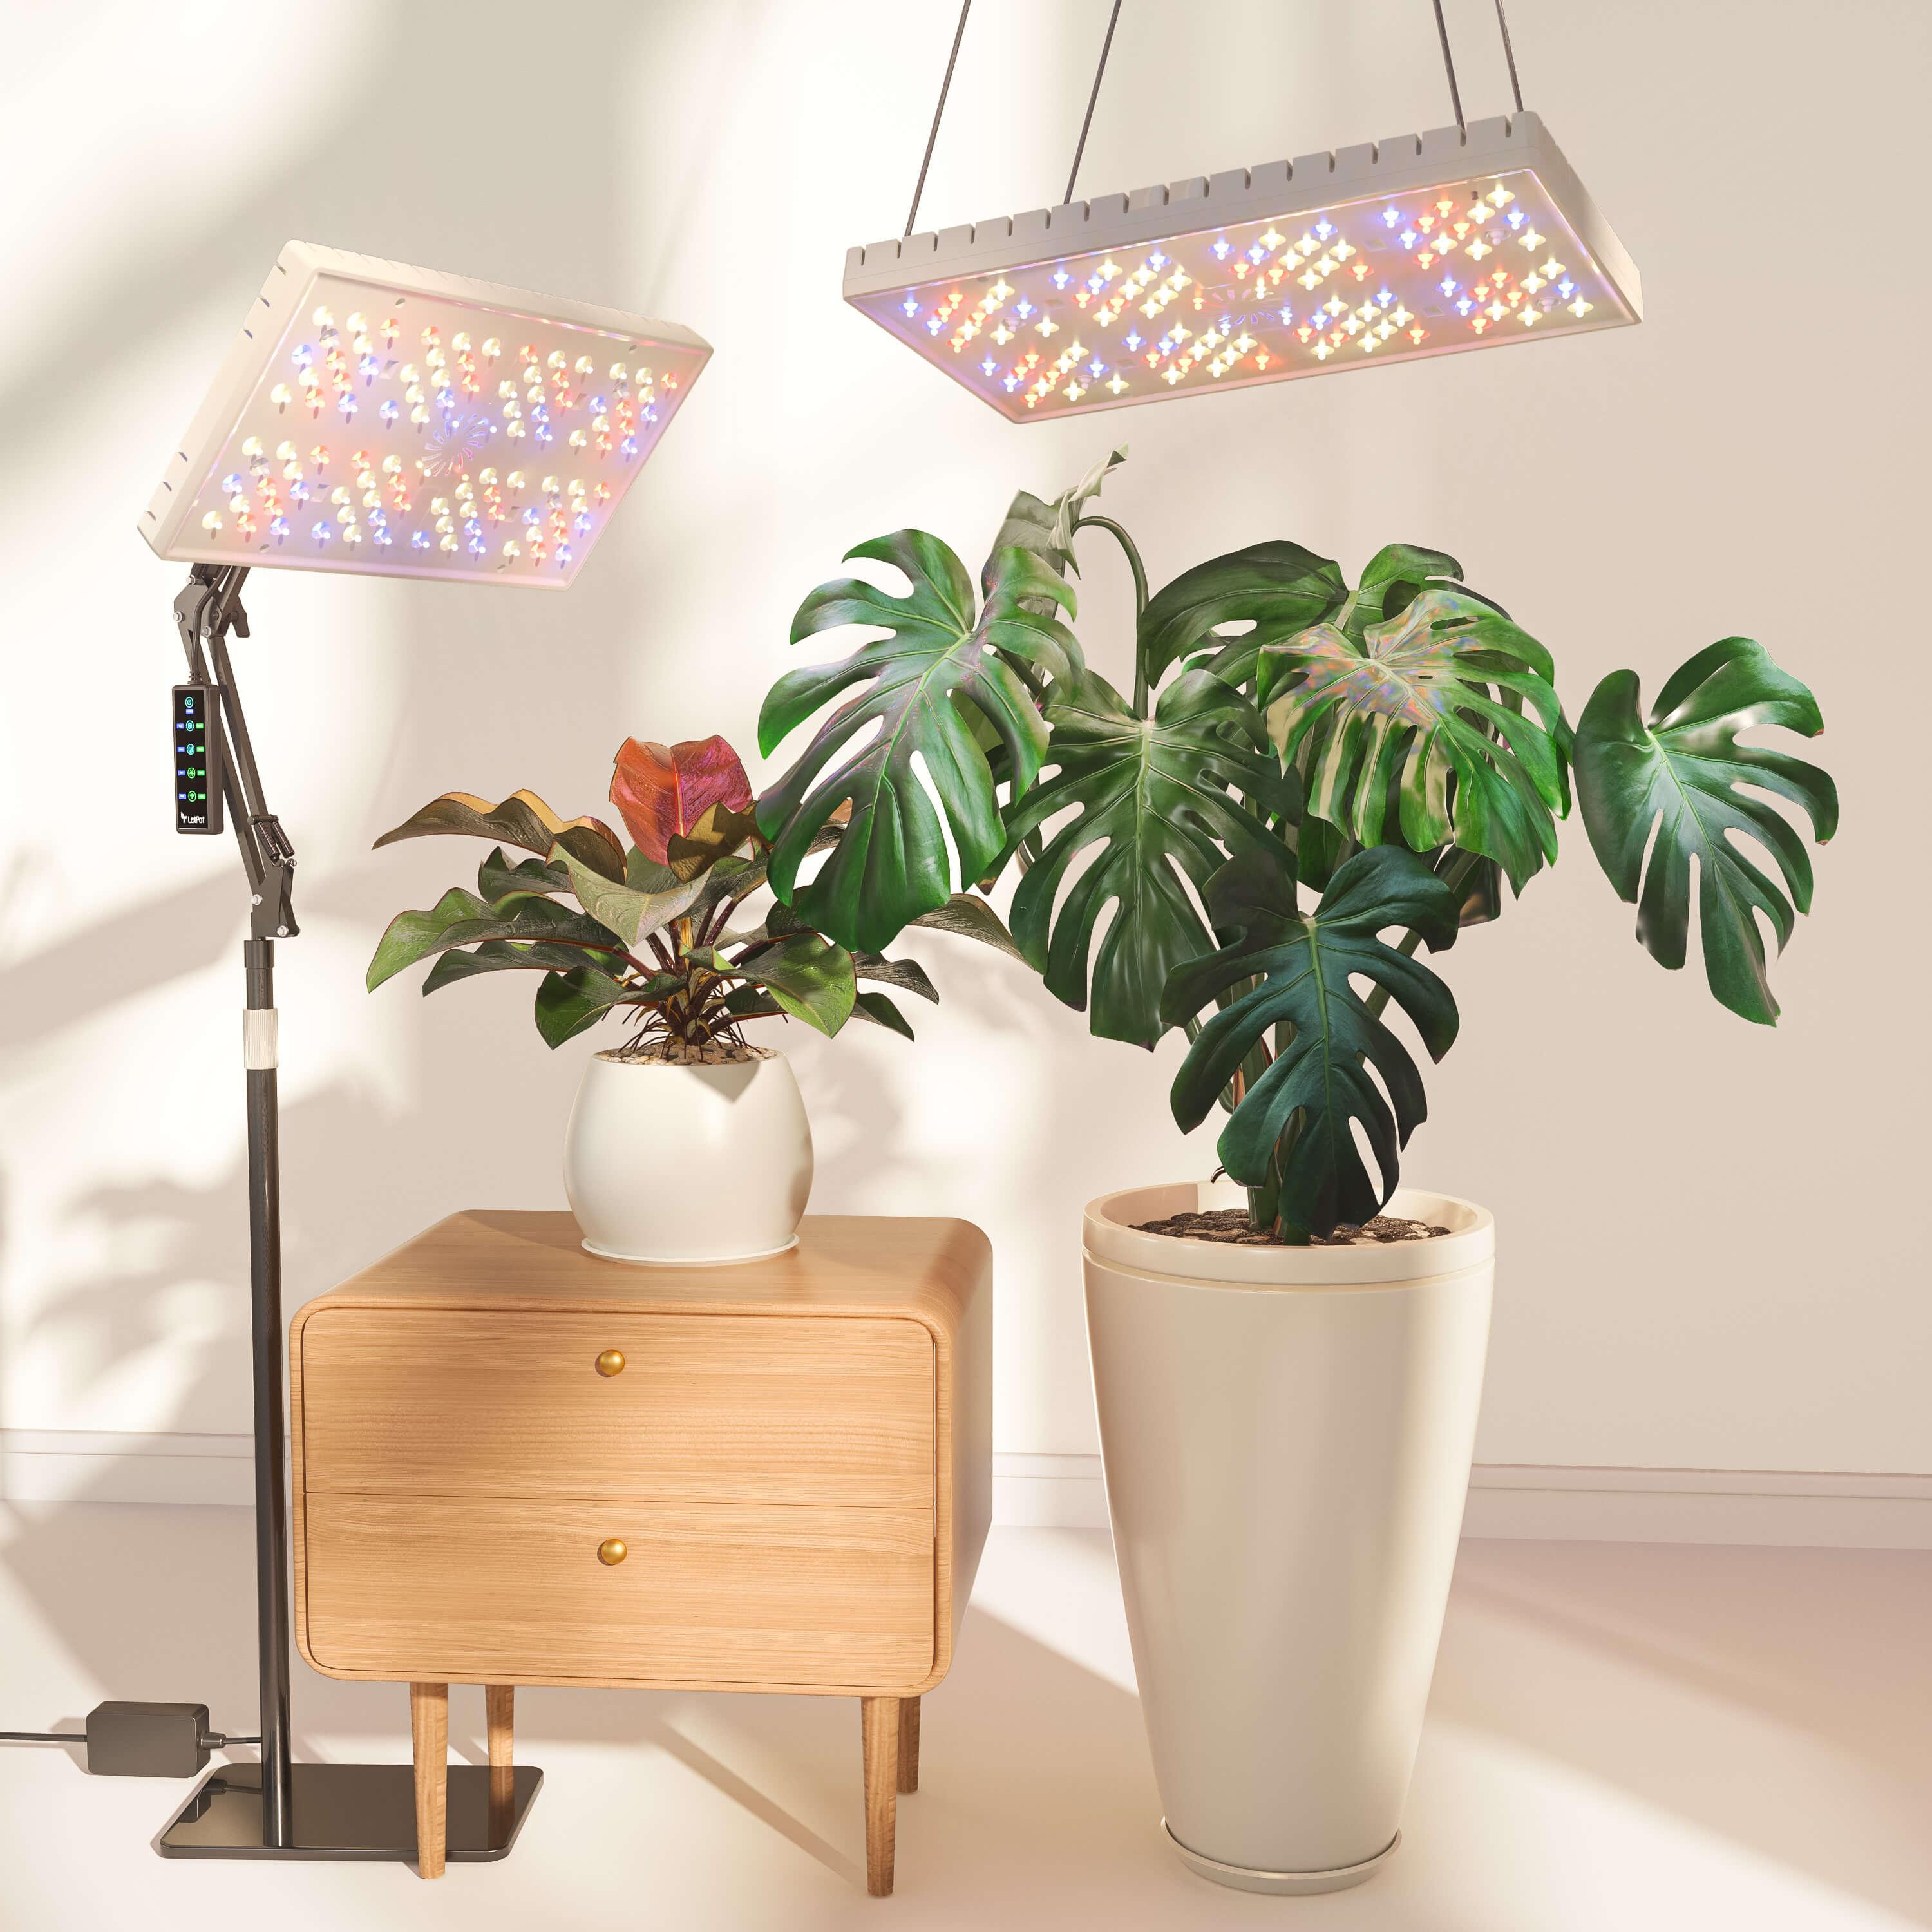
1x hydroponic grow light (can be retrofitted/indoor use, or near a window for natural light)
1 electric rotary + hole drill bit
some Hydroponic fence and corresponding hydroponic sponges
Constructing the Hydroponic System
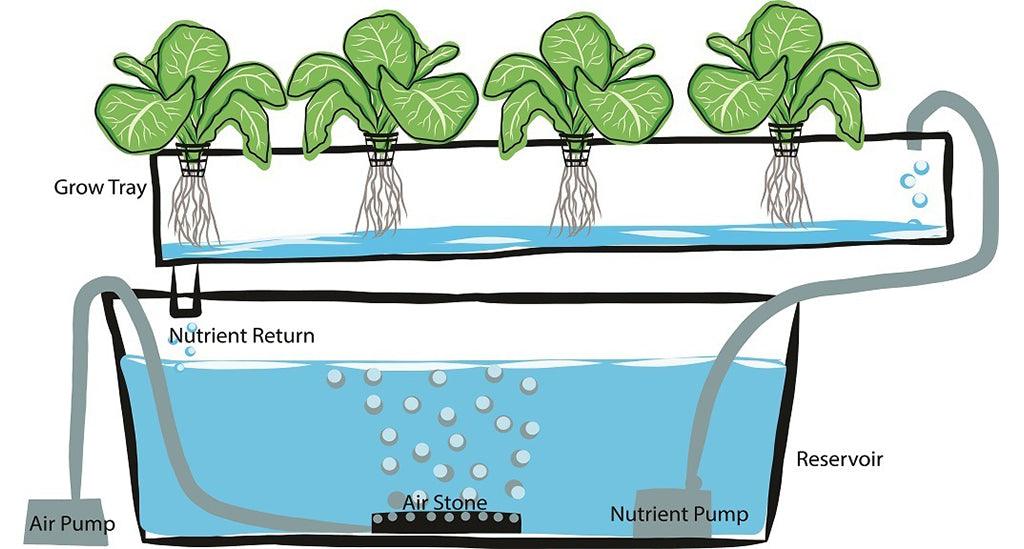
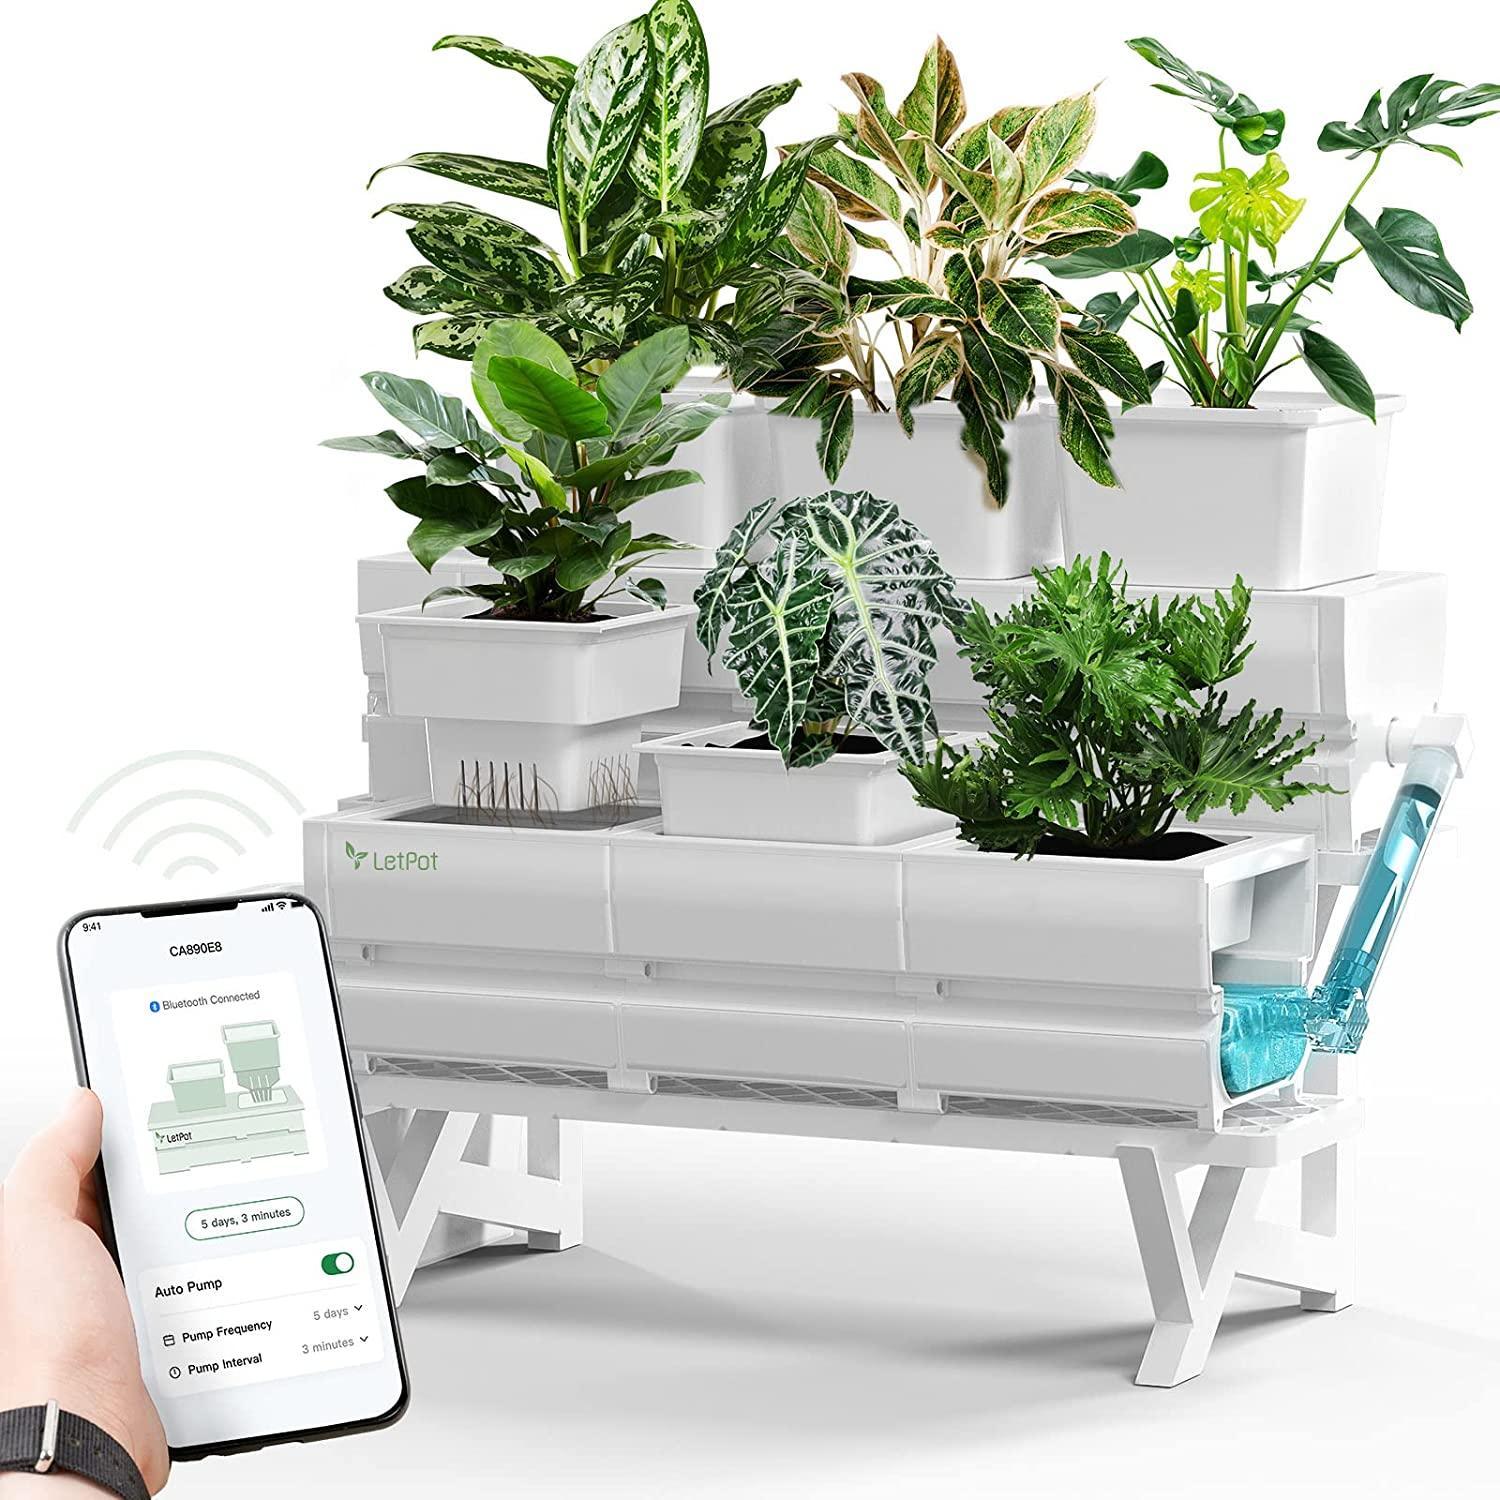
Create the Water Tank: The water tank is the container that holds the water and nutrients for the garden. You can construct a simple tank using non-stainless or use a wide, deep plastic container. The size of the water tank will depend on the size of your garden and the amount of water you plan to use.
Design a Floating Platform:To prevent the plant roots and soil from rotting, create a floating platform from styrofoam. This platform should be able to move up and down, allowing the plants to float in the water.
Cut Holes in the Platform: Use a plant pot as a guide to cut 2 to 3-inch wide holes in the platform. These holes should be large enough to fit all the plants you plan to grow.
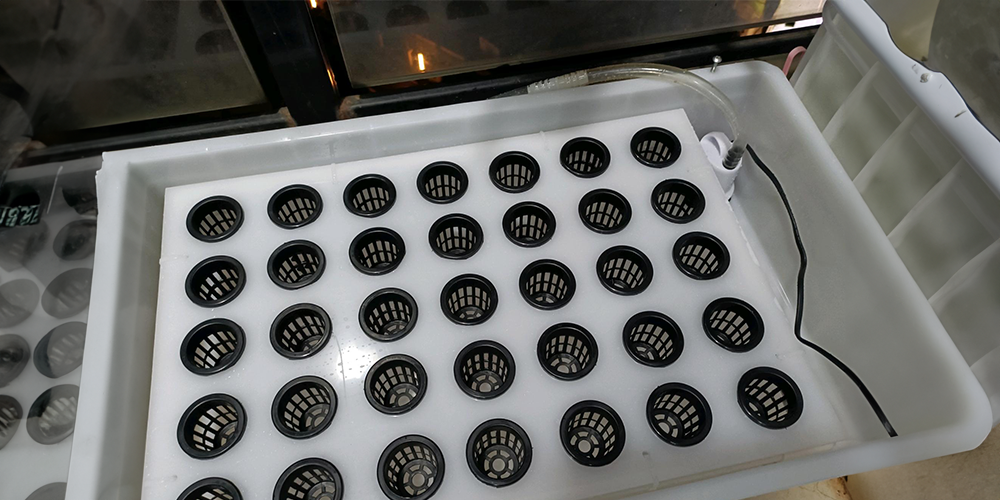
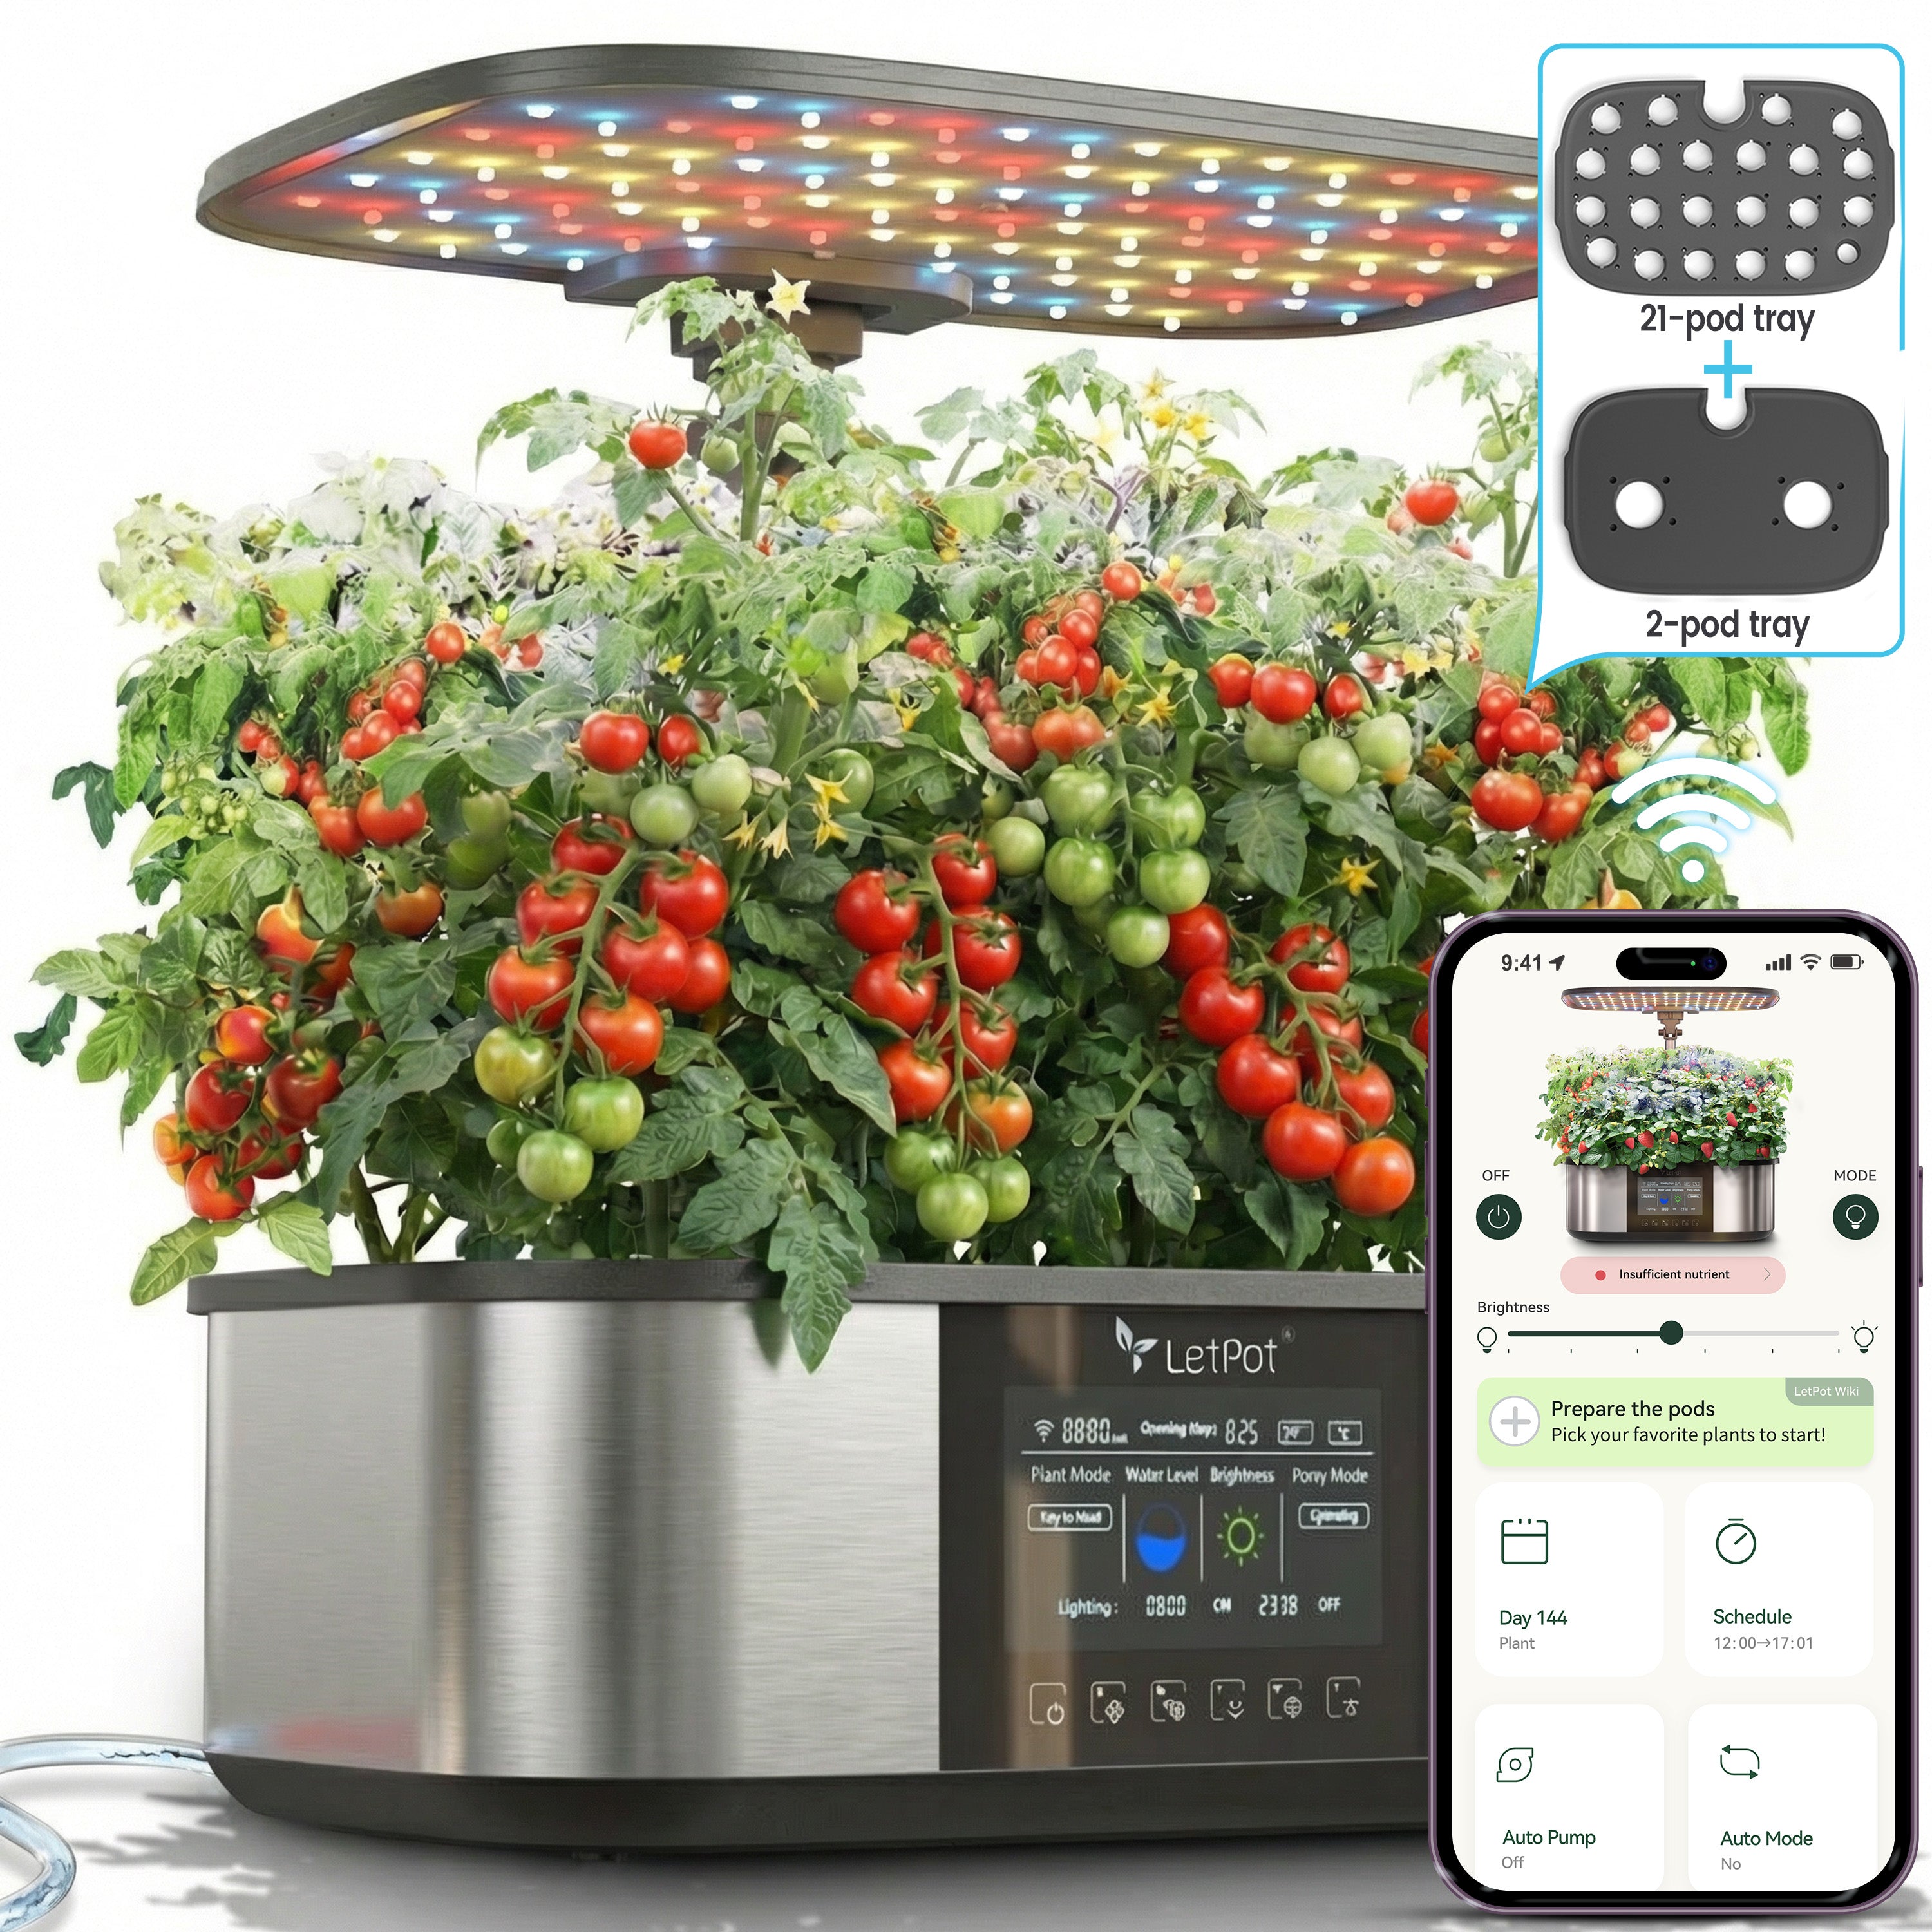
Install hydroponic net pot: hydroponic net pots are essential for ensuring the water doesn't stagnate in the water tank. You can find them in the seed pod supplies of your local gardening store or just buy on LetPot.
Building a Wick System
A wick system is one of the simplest types of hydroponic systems to build. It involves using a wick to draw nutrient-rich water up into the growing medium. Here's how to build one:
Prepare the Wick:
Cut a piece of twine with a pair of scissors so it’s about 12 inches long. Feed the end of the twine through the top of the bottle cap until you have about 6 inches on each side. Once the twine is through the cap, screw it back onto the bottle.
Fill the System with Nutrient Solution:
Visit your local gardening store to find a nutrient mix meant for hydroponic gardening. You can use the same solution regardless of what you plant in your system. Fill the bottom of your bottle with about 4 cups of tap water. Follow the directions on your nutrient solution to find the amount you need to stir into your water. Once you add the right amount, mix the water with a stir stick.
Ensuring Adequate Lighting
Choose the Right Lights: Hydroponic gardening requires specific types of lights to mimic the sun's rays. Fluorescent lights, especially those high in blue spectrum light, are great for leafy greens and herbs. High-Intensity Discharge (HID) lights are more suitable for fruiting plants like tomatoes or peppers. LED grow lights are also a good option as they are energy-efficient and emit less heat.
Position Your Lights Correctly: The lights should be positioned close to the plants to ensure they receive enough light, but not so close that they burn the plants. The optimal distance will depend on the type of light you're using.
Set a Light Timer: Plants need a period of darkness to rest, so set a timer to turn the lights on and off at specific times. Most plants need about 14 to 16 hours of light per day, but this can vary depending on the type of plant.
Building a Deep Water Culture System
A deep water culture system is another type of hydroponic system that involves suspending the plant roots in a nutrient-rich water solution. Here's how to build one:
Prepare the Container:Cut a hole in the lid of a plastic coffee container the same size as a net pot. Net pots have slots so water can easily flow through them. Trace the bottom of your net pot onto the coffee container lid with a pencil or marker. Use a craft knife or a utility knife to cut the hole to size so the pot fits tightly inside the cutout section.
Install the Air Tube:Feed 6 inches of air tubing through the X-shape you cut until you’ve fed in 6 inches or until the tube reaches the bottom of the container. Leave enough tubing on top to reach a bubbler machine, or about 1 1/2 feet.
Fill the System with Nutrient Solution:Fill the coffee container three-quarters full with tap water. Follow the directions on the label carefully to mix the right amount of the nutrient liquid for the amount of water you use

Building a Nutrient Film Technique System
The nutrient film technique is a more advanced type of hydroponic system that involves a continuous flow of nutrient solution over the roots of the plants, which are supported by a sloping trough or tube. Here's how to build one:
Prepare the Reservoir
Make a hole 2 inches down from the top of a 20-gallon plastic tote with a utility knife. Set an air stone in your tote on the same side with the hole and feed the air tube through it. Attach the tubing to an air pump.
Set up the Water Pump
Set the water pump on the opposite side of the tote as the air stone. Cut a hole on the side of the tote that’s 2–3 inches down from the top and large enough for the power cable and 1/2 inch tubing. Feed the tube and the power cord through the hole.
Fill the Reservoir with Nutrient Solution
Use about 10 gallons of tap or purified water in your tote so your pump and air stone are completely submerged. Any nutrient mix can be used regardless of the plants you’re growing. Add the amount of nutrient liquid listed on the label for the water in your tote. Mix the solution together with a stir stick.
Prepare the Water Channel
Slope a rain gutter or PVC pipe between 2 sawhorses to make a channel. Use a 4–6 foot piece of rain gutter or PVC piping. Attach a 2 inch × 4 inch board on top of one of the sawhorses with 2 screws or nails. Space your sawhorses 3 feet apart so your tote fits between them, and set the piping or rain gutter on top.
Grow Plants in the System
Hydroponic gardens are ideal for plants with shallow roots, such as leafy greens like lettuce, spinach, and kale, and herbs like mint, basil, and dill.
Start with a base that will provide moisture and air for the plants. A mixture of eight parts perlite and one part coco fiber is a good start.
You can Use sprouted seedlings in cubes of soil. Place the cube with the started seedling in the pot and fill the pots ⅓ of the way with the mixture.

Maintaining the Hydroponic Garden
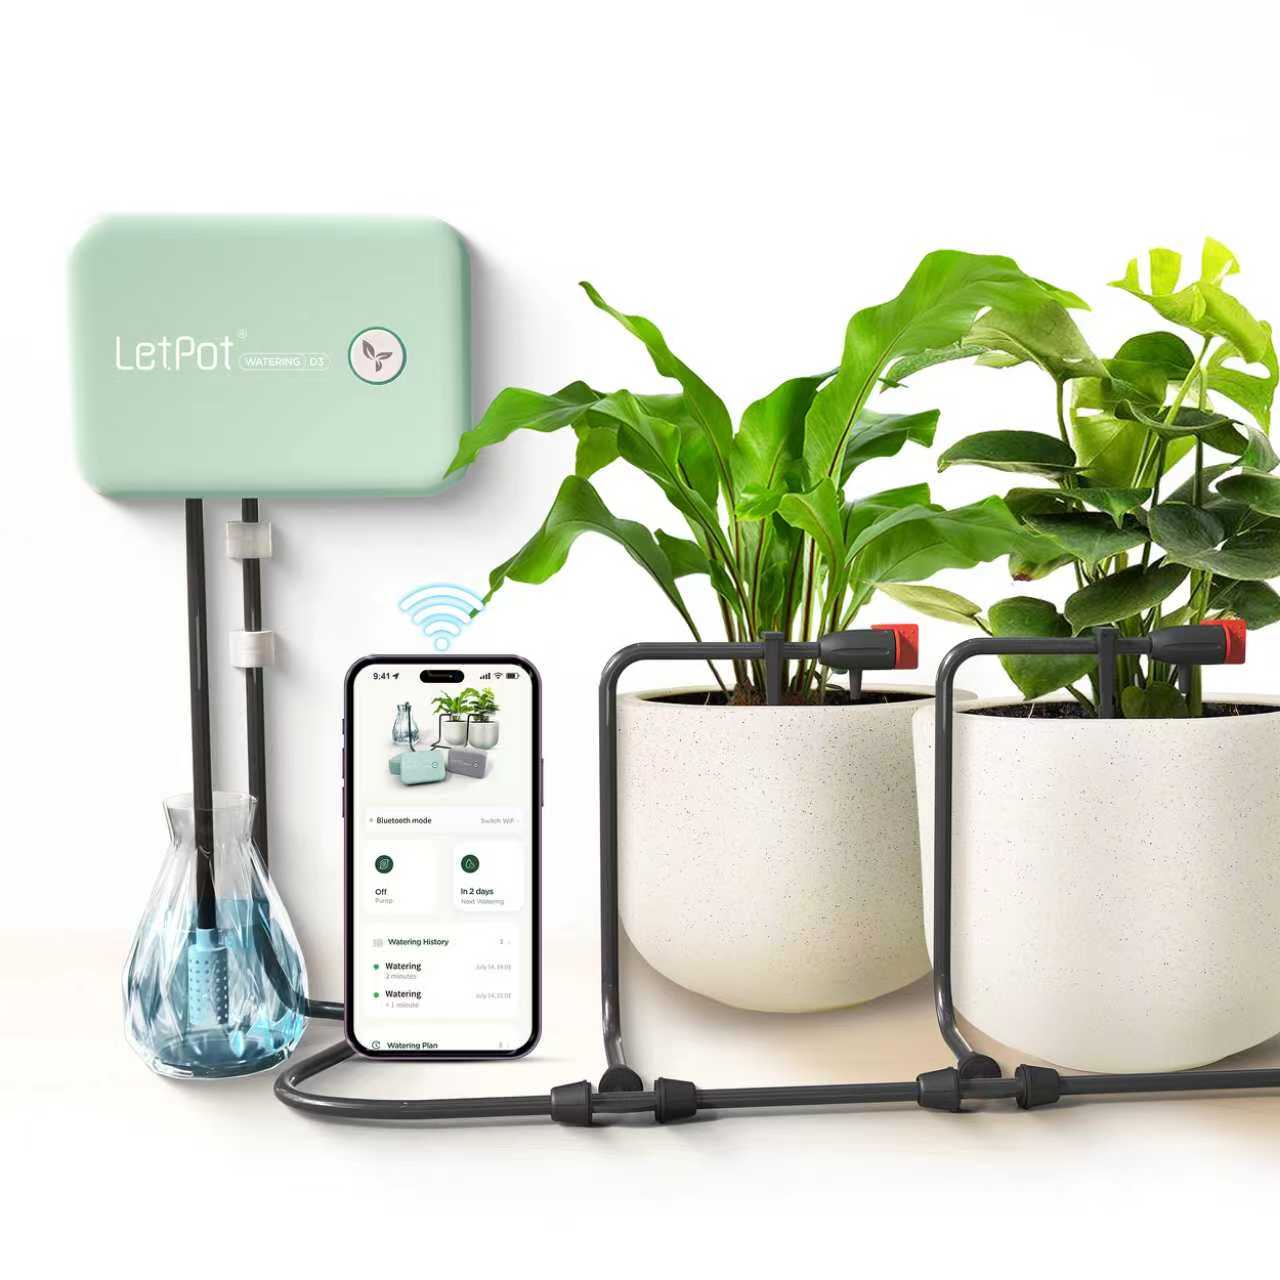
You will need to periodically check the water levels in the tank, as water is crucial to the entire growing system and will be absorbed by the plants or evaporate into the air.
Remember, it's not just the water that needs to be added to the tank; you must also mix in nutrients. There is a specific ratio for combining water and nutrients. You can refer to the table below to determine the amount of plant food required for mixing.
| Water | Nutrient |
| 1.5 L (Mini's water tank) | 7.5ML A + 7.5ML B |
| 2 L | 10ML A + 10ML B |
| 3 L | 15ML A + 15ML B |
| 4 L | 20ML A + 20ML B |
| 5.5 L (Senior's water tank) | 27.5ML A + 27.5ML B |
| 7.5 L (Max's water tank) | 37.5ML A + 37.5 ML B |
If you're growing the plants outdoors, make sure the plants get constant, direct sunlight for 10-15 hours a day. If you're growing the garden indoors, just plant use grow lights for 15-20 hours a day.
Harvest Your Herbs or Vegetables
Use clean gardening shears to trim the garden. Harvest your yield as it grows so it thrives.

With these steps, you can enjoy a thriving, healthy hydroponic garden at home. Happy gardening!

1 comment
richard
what kind of cherry tomato seeds and what brand of solution are you using. Thank you
Leave a comment
All comments are moderated before being published.
This site is protected by hCaptcha and the hCaptcha Privacy Policy and Terms of Service apply.